Einleitung

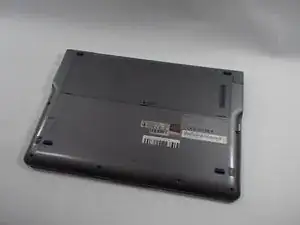
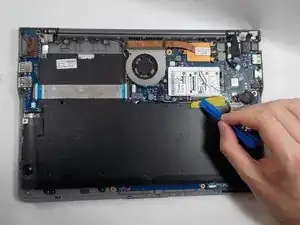
This guide covers how to replace the battery for the Samsung Series 5 NP540U3C-A02UB.

The battery provides constant power to the device. This gives the laptop its portability and makes it possible to use the device without being plugged into a wall outlet for long periods of time. The battery may need to be replaced if the device appears to be overheating or has a short battery life. If the device exhibits these symptoms, see our troubleshooting guide for possible causes before attempting to replace the battery.

The Samsung Series 5 NP540U3C-A02UB uses a 7.4 V rechargeable Lithium Polymer battery. Ensure that such a battery is chosen before attempting a replacement. A compatible battery is provided below.

  1. VOTR6G1CfSiq2tMM
    • Turn off the laptop before beginning disassembly and unplug it from the power cord.

    • Place the laptop flat with its bottom facing up.

  2. ebSMIjb6ORVBGlyA
    ebSMIjb6ORVBGlyA
    laWudhPJobvwBQ21
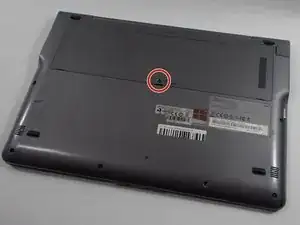
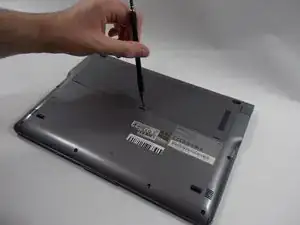
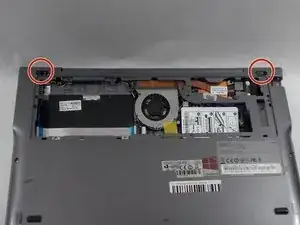
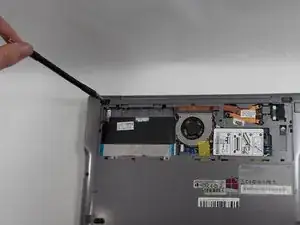
    • Remove one 4 mm Phillips #00 screw labeled "HDD Memory".

  3. AOpWDG5paVOFkdin
    AOpWDG5paVOFkdin
    K4FxhYCumWU5rHRd
    obefTlyhPoAx5LRg
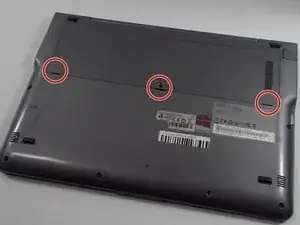
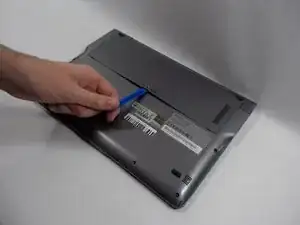
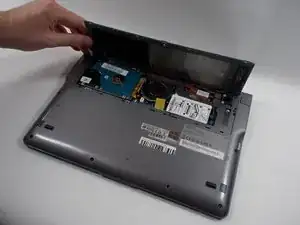
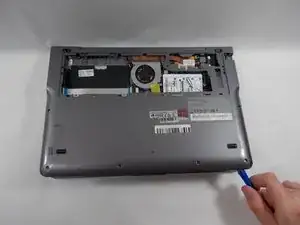
    • Gently release the 3 clips holding the HDD cover with the plastic opening tool.

    • Remove the HDD cover from the device.

  4. wFco3SMgyZHJtNVj
    wFco3SMgyZHJtNVj
    n2PgIxGfuEPhUdwW
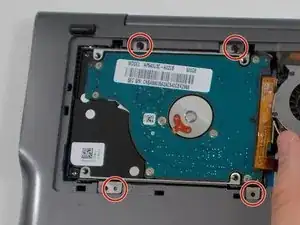
    • Remove the four 6 mm Phillips #00 screws attaching the hard drive to the case.

  5. wBNCXUr4mTJJYNN3
    wBNCXUr4mTJJYNN3
    Z5ZMRNrNCNRbKkvV
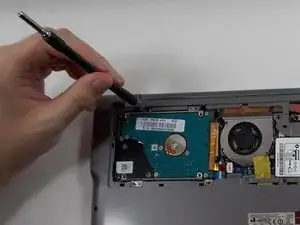
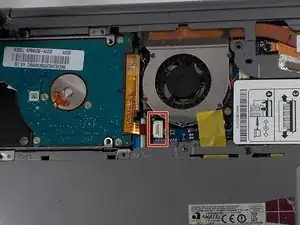
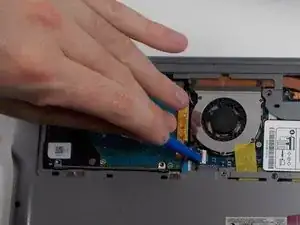
    • Using the plastic opening tool, push the hard drive connector clip upwards in order to release the cable.

  6. u2K6WwyORP42HX2S
    u2K6WwyORP42HX2S
    EOpNTpVunVwIktlL
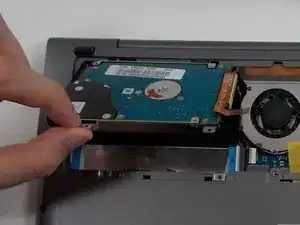
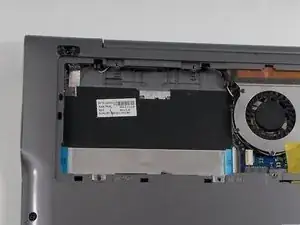
    • Remove the hard drive from the case.

  7. 5ysCPLMMmLmslx2j
    5ysCPLMMmLmslx2j
    Yg4qEoAJsNW6tdjV
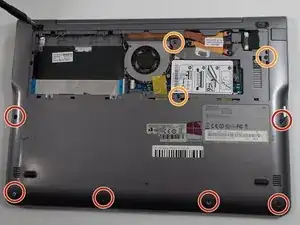
    • Remove the following screws holding the case together:

    • 6x 4mm Phillips #00 screws.

    • 3x 6mm Phillips #00 screws.

  8. cCJqIFthwJowUHsM
    cCJqIFthwJowUHsM
    utJLHeRfle364Isq
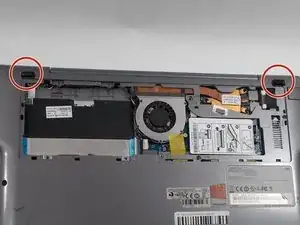
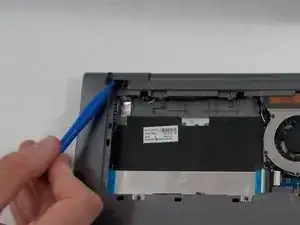
    • Using the opening tool, remove the two rubber pads just above the hard drive cover.

  9. 1E1AIxZEyQsGZsRI
    1E1AIxZEyQsGZsRI
    cmB3Nk16NLWATowU
    • Remove the 2x 4mm Phillips #00 screws formerly concealed by the pads.

  10. aGtBOdyePaZuRtsV
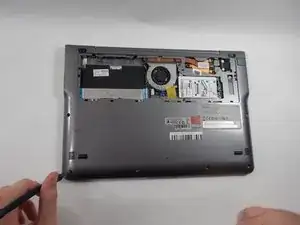
    • Using the plastic opening tool, gently lift and remove the back cover.

    • There are clips along the edges of the back cover that hold it in place. Be careful not to break these.

  11. vsH2fPgRMLCVWnqy
    vsH2fPgRMLCVWnqy
    F4C4kwQNL3chm6FV
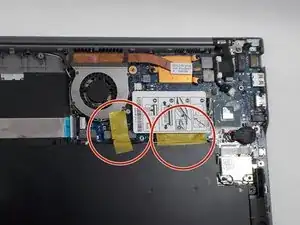
    • Using your hands or the plastic opening tool, gently remove the tape holding the wires in place.

  12. g12tX6xVHUrcLcr4
    g12tX6xVHUrcLcr4
    fdvkExWqRhqCO1Fj
    NjmGo6VkFLBZjrsf
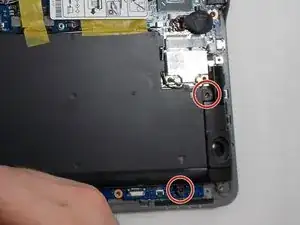
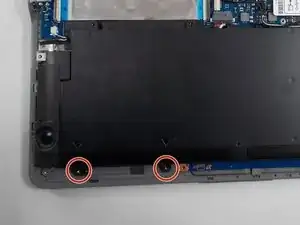
    • Remove the 4x 4mm Phillips #00 screws securing the battery to the chassis.

  13. i1kZuSqnZV2ScKfZ
    i1kZuSqnZV2ScKfZ
    ODgbmr1SFb3mJZmo
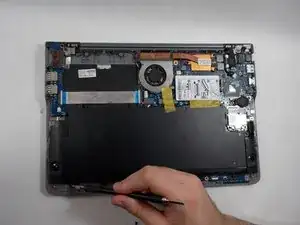
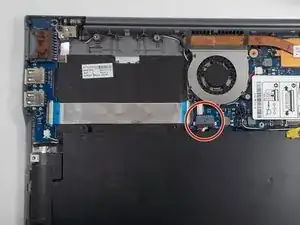
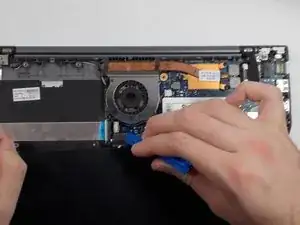
    • Using the plastic opening tool, gently pull the battery connector towards the battery to disconnect it.

  14. Yx5CJUPFOSkqdL1c
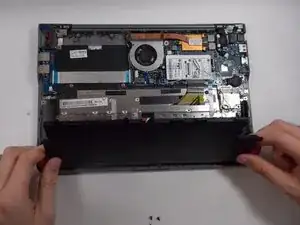
    • Remove the battery from the laptop.

Abschluss

To reassemble your device, follow these instructions in reverse order.
Alejandro

Mitglied seit: 28/03/22

241 Reputation

0 Kommentare