Einleitung

This guide covers how to replace the hinges for the Samsung Series 5 NP540U3C-A02UB.

The hinges allow the laptop to open and close for compact storage, and provide a customizable screen angle. However, as the joint between the display assembly and bottom of the laptop, they are a common failure point of the laptop. If the device has trouble or fails to open or close properly, see our troubleshooting guide for possible causes and solutions before attempting to replace the hinges.

While replacing the hinges, the laptop should always be supported from underneath. The hinges are designed to bear the full weight of the display assembly, and when they are not attached, the wires connecting the display can be pulled loose or broken.

  1. VOTR6G1CfSiq2tMM
    • Turn off the laptop before beginning disassembly and unplug it from the power cord.

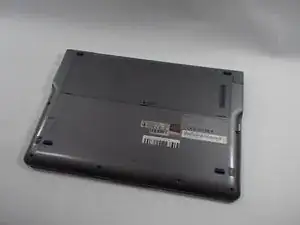
    • Place the laptop flat with its bottom facing up.

  2. ebSMIjb6ORVBGlyA
    ebSMIjb6ORVBGlyA
    laWudhPJobvwBQ21
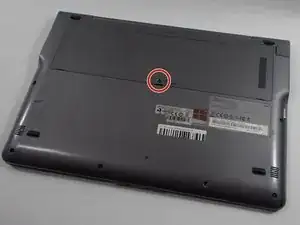
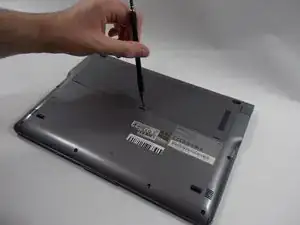
    • Remove one 4 mm Phillips #00 screw labeled "HDD Memory".

  3. AOpWDG5paVOFkdin
    AOpWDG5paVOFkdin
    K4FxhYCumWU5rHRd
    obefTlyhPoAx5LRg
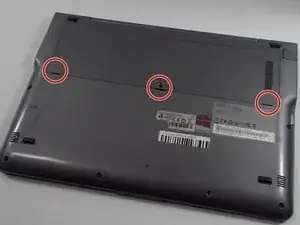
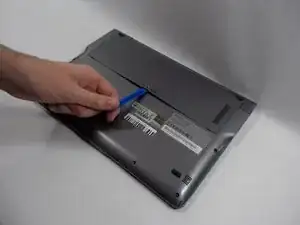
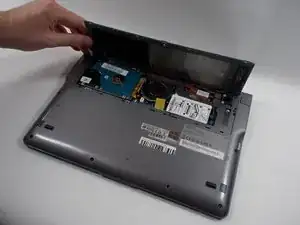
    • Gently release the 3 clips holding the HDD cover with the plastic opening tool.

    • Remove the HDD cover from the device.

  4. wFco3SMgyZHJtNVj
    wFco3SMgyZHJtNVj
    n2PgIxGfuEPhUdwW
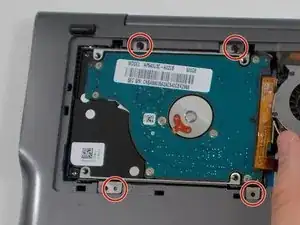
    • Remove the four 6 mm Phillips #00 screws attaching the hard drive to the case.

  5. wBNCXUr4mTJJYNN3
    wBNCXUr4mTJJYNN3
    Z5ZMRNrNCNRbKkvV
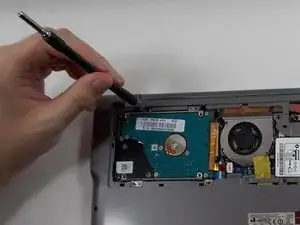
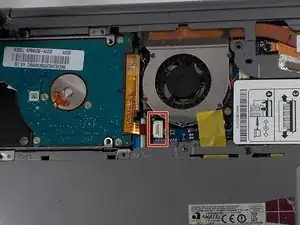
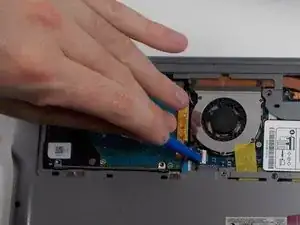
    • Using the plastic opening tool, push the hard drive connector clip upwards in order to release the cable.

  6. u2K6WwyORP42HX2S
    u2K6WwyORP42HX2S
    EOpNTpVunVwIktlL
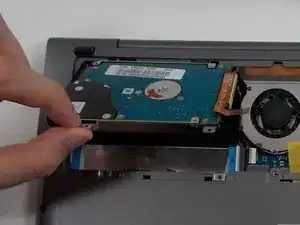
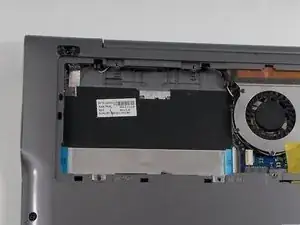
    • Remove the hard drive from the case.

  7. aYrObGHDSNiV44xU
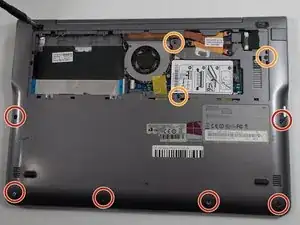
    • Remove the following screws holding the case together:

    • 6x 4mm Phillips #00 screws.

    • 3x 6mm Phillips #00 screws.

  8. PXgX1UNTXL3oOiFp
    PXgX1UNTXL3oOiFp
    GvemYBL1mdMGUjL5
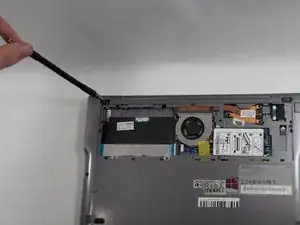
    • Using the opening tool, remove the two rubber pads just above the hard drive cover.

  9. S1jhbPbeUshTqmym
    S1jhbPbeUshTqmym
    iOgkGQGIkwD3tMld
    • Remove the two 4 mm Phillips #00 screws formerly concealed by the pads.

  10. gMnLgcnQrQWhaWLc
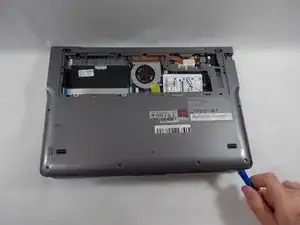
    • Using the plastic opening tool, gently lift and remove the back cover.

    • There are clips along the edges of the back cover that hold it in place. Be careful not to break these.

  11. HLsfdG6eeUMWNuWd
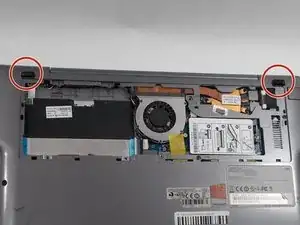
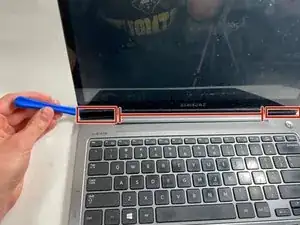
    • Open the laptop.

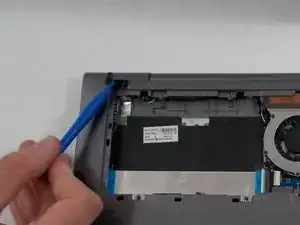
    • Use the Opener Tool to gently pry off the plastic piece that is covering the hinges.

    • The hinges and frame of the laptop are made of aluminum; be gentle when removing this section.

  12. A4ZLExjCBNHKLgRM
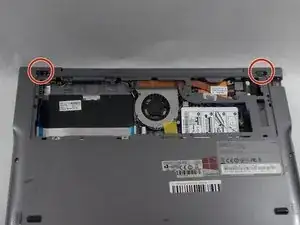
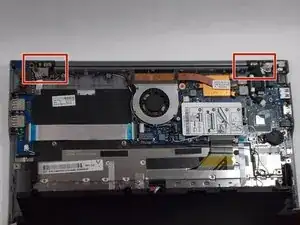
    • Close the laptop and flip it so its bottom is facing up and the hinges are exposed.

  13. OWXywPeIJjnaG6eJ
    • For each hinge needing a replacement:

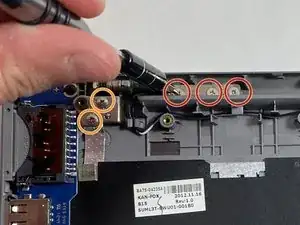
    • Remove the three 4 mm Phillips #00 screws attaching the hinge to the display assembly.

    • Remove the two 4 mm Phillips #00 screws attaching the hinge to the base of the laptop.

  14. IQKHMbgVMoMMNOmq
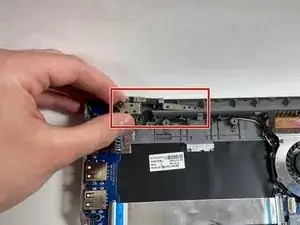
    • Remove the hinge.

Abschluss

To reassemble your device, follow these instructions in reverse order.
Caleb Hunt

Mitglied seit: 28/03/22

157 Reputation

0 Kommentare