Einleitung
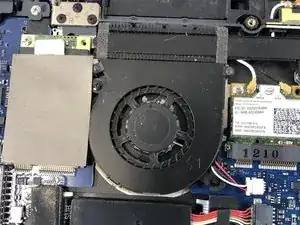
Use this guide if your computer is overheating, or if you are hearing a sound originating from the fan.
Werkzeuge
-
-
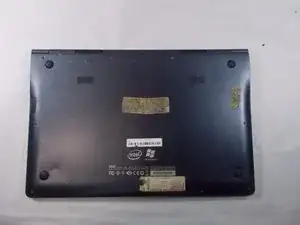
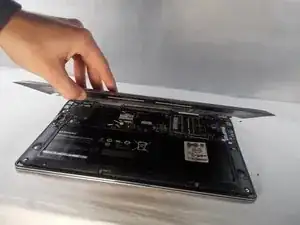
First turn the computer over so you are looking at the back panel.
-
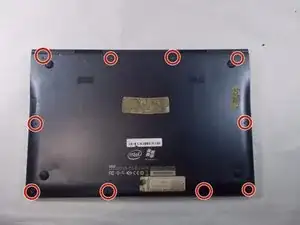
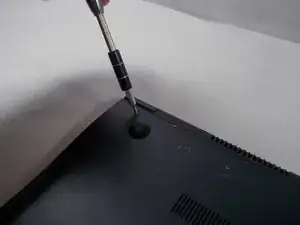
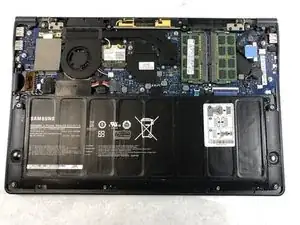
Next locate all ten Phillips #0 3.5mm screws on the back panel that are securing it down.
-
-
-
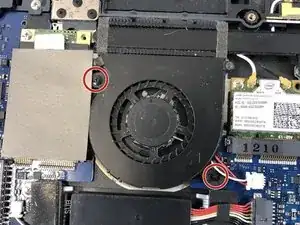
Next locate the two Phillips #0 2.5mm screws on both the top right and bottom left corner of the fan.
-
-
-
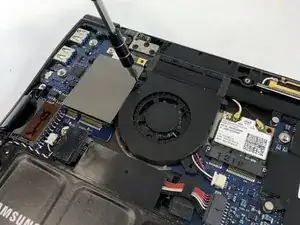
After locating the screws, using the Phillips #0 screwdriver, remove the screws from the fan.
-
-
-
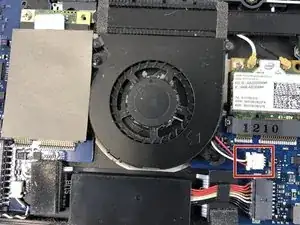
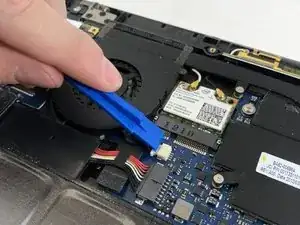
Use the plastic opening tool to remove the cable connector from its housing which is just to the right of the fan.
-
-
-
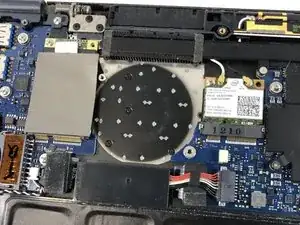
Once the cable has been removed from its housing you are free to remove the fan from the laptop.
-
You can either clean the fan with a computer duster or other cleaner, or replace it with a new one.
-
To reassemble your device, follow these instructions in reverse order.
