Einleitung
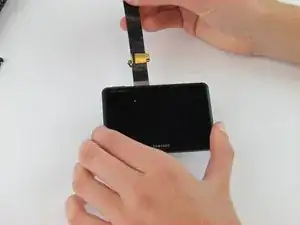
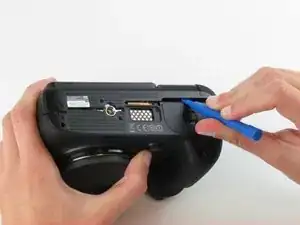
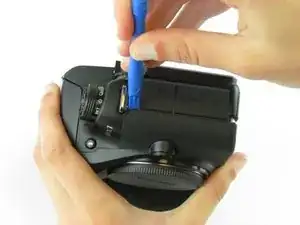
The LCD touch screen displays the image and the camera settings.
Werkzeuge
-
-
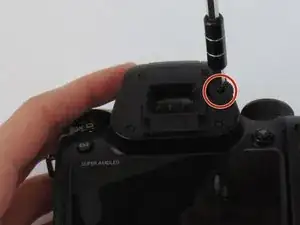
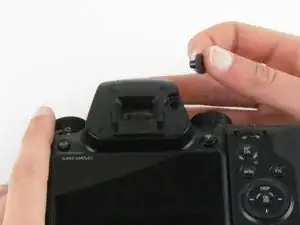
Use the Phillips #00 screwdriver to remove one 6.4 mm screw in the center of the dial.
-
Remove the dial by lifting upward with your fingers.
-
-
-
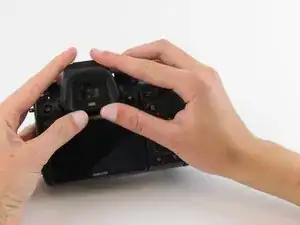
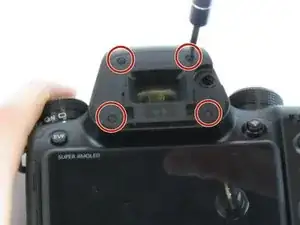
Use the Phillips #00 screwdriver to remove the four 5.5 mm screws surrounding the viewfinder.
-
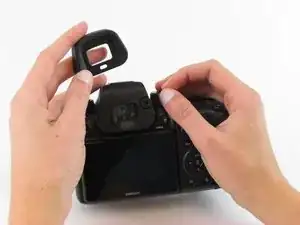
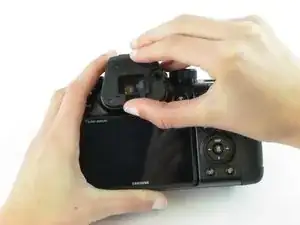
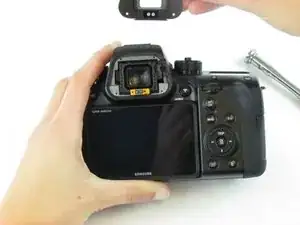
Use your fingers to lift the plastic viewfinder cover upward.
-
-
-
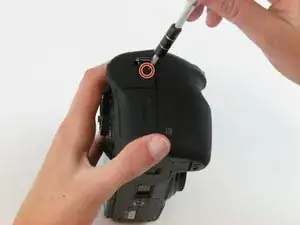
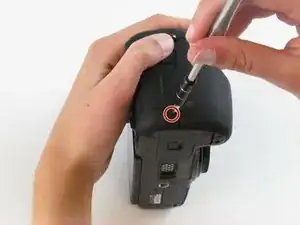
Use the Phillips #00 screwdriver to remove the two 5.5 mm screws from the right side of the camera above the SD card port.
-
-
-
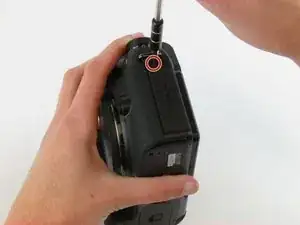
Use the Phillips #00 screwdriver to remove one 5.5 mm screw on the left, above the HDMI port.
-
-
-
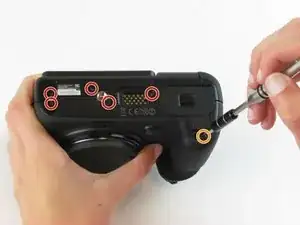
Use the Phillips #00 screwdriver to remove the five 5.5 mm screws from the bottom, near the battery compartment.
-
Use the Phillips #00 screwdriver to remove one 3.8 mm screw from the bottom of the hand grip, below the battery compartmen.
-
-
-
Use the Phillips #00 screwdriver to remove the seven screws (three silver 3.5 mm screws and four black 2.7 mm screws).
-
-
-
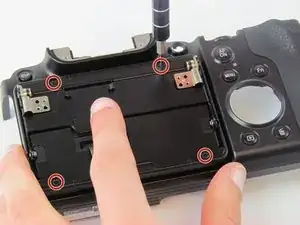
Use the Phillips #00 screwdriver to remove the four black 2.3 mm screws.
-
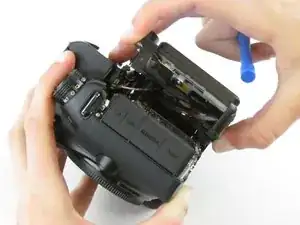
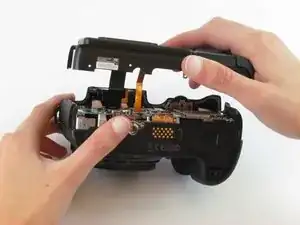
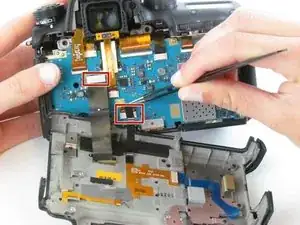
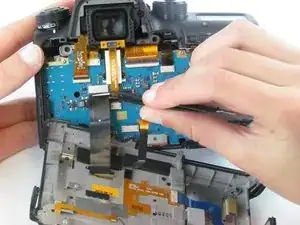
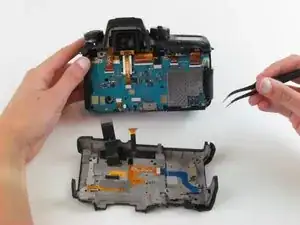
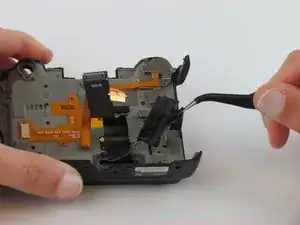
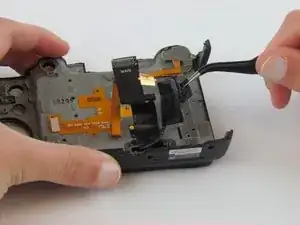
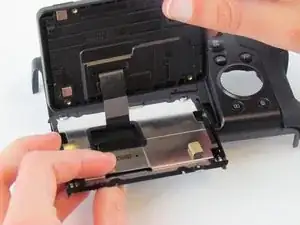
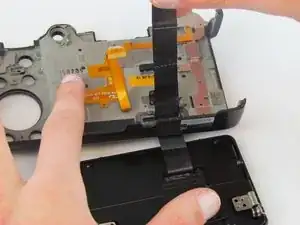
Use your fingers to separate the LCD screen from the folding mechanism.
-
To reassemble your device, follow these instructions in reverse order.
4 Kommentare
Where can one buy a new screen?
Where to get new screen?
Thanks! This guide is missing some steps and details once you open it up, but it was enough for me to get the job done. Thank you.
Once inside be super careful with the ribbon cables. One slides out the side and the cable labeled “Main” pops off the top. At first I thought I broke the Main cable. You’ll need to unhood the main cable from the frame before you can detach the LCD… and the LCD is glued on airtight to the articulating frame.
I ordered a new replacement LCD on ebay from S. Korea. Good luck to anyone else who has to do this. I killed my screen after a couple heavy rain storms.
drew -
