Einleitung
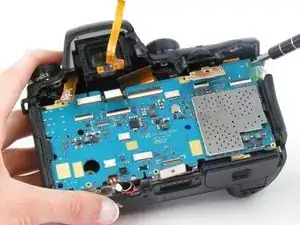
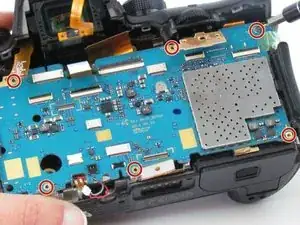
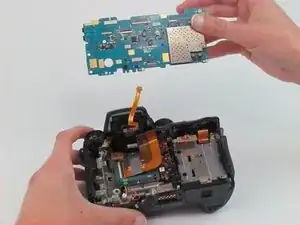
Replace the motherboard of the camera, located underneath the back cover.
Werkzeuge
-
-
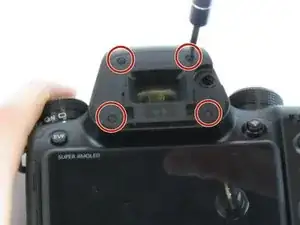
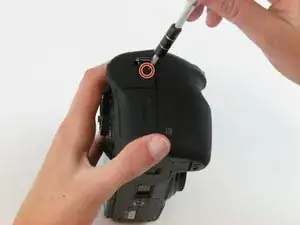
Use the Phillips #00 screwdriver to remove the four 5.5 mm screws surrounding the viewfinder.
-
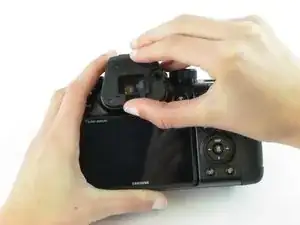
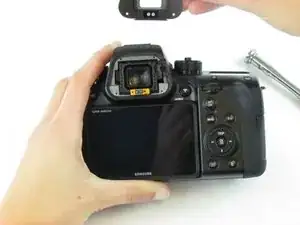
Use your fingers to lift the plastic viewfinder cover upward.
-
-
-
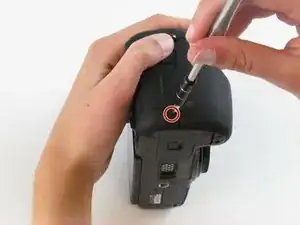
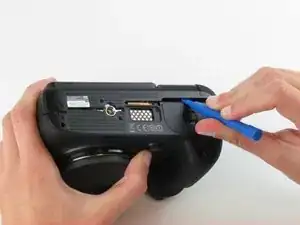
Use the Phillips #00 screwdriver to remove the two 5.5 mm screws from the right side of the camera above the SD card port.
-
-
-
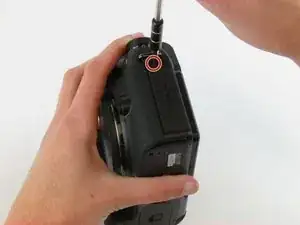
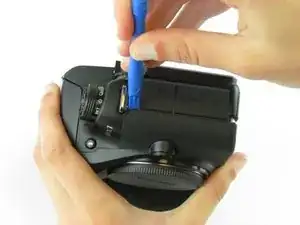
Use the Phillips #00 screwdriver to remove one 5.5 mm screw on the left, above the HDMI port.
-
-
-
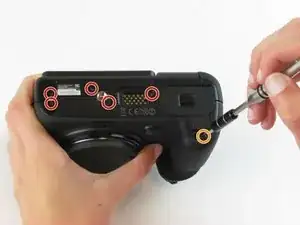
Use the Phillips #00 screwdriver to remove the five 5.5 mm screws from the bottom, near the battery compartment.
-
Use the Phillips #00 screwdriver to remove one 3.8 mm screw from the bottom of the hand grip, below the battery compartmen.
-
-
-
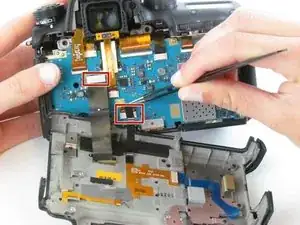
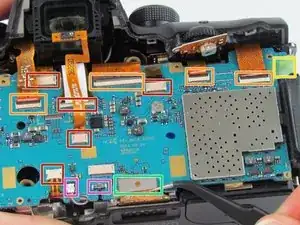
Use tweezers to pull the five ribbon cables horizontally out of their clips.
-
Use a spudger or your fingernail to flip up the four, small retaining flap, or zero insertion force (ZIF) connectors. Then, pull the ribbon cable out to disconnect it.
-
Remove the green tape using your fingernail. Then, use a spudger to pry the one antenna cable connector straight up from the board.
-
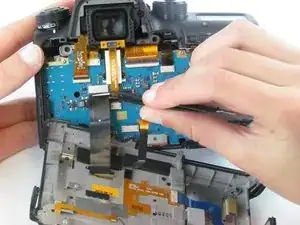
Use tweezers or a spudger to pry up each side of the flat-topped connector. Then, lift the one connector straight up from its socket.
-
Use tweezers or your fingers to pull the two double-bundled cables up and away from the connector in the same direction that the individual wires are running.
-
-
-
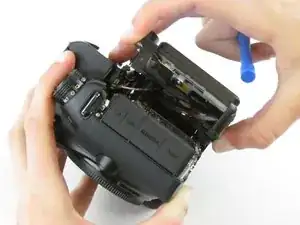
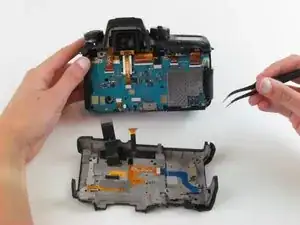
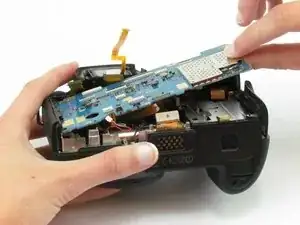
Use a spudger to lift the motherboard up starting on the right side proceeding to the left side.
-
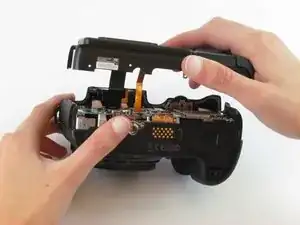
Use your fingers to lift the motherboard completely out of the camera.
-
To reassemble your device, follow these instructions in reverse order.
4 Kommentare
Hi this was very informative, bt do you know where i can find a replacemen mainboard ?...i've been looking but no luck
Hi all
Does anyone know where can I found the service manual for this camera? I really need it!!! I need to take off the upper buttons and the upper LCD screen!!!
Thanks in advance.
Sotirios Konstantinou
sotsma@gmail.com
Hi, thanks for the tutorial ! I would like to know where i can find a motherboard for samsung nx1 please ? I would like to buy it because my sd card broke the sd slot of my camera. Thanks for your help.
Steven -
