Einleitung

The buttons on the back panel are the main controls for features such as adjusting the exposure value, saving selected picture options, selecting a focus point manually, or deleting files. If these buttons are not responsive, damaged, or missing, this guide will help you replace them.

Please note that all green strips shown in the photos are just green tape. They are not necessarily significant for the replacement of the buttons.

  1. 2NCZvLL6BnRuTQkh
    2NCZvLL6BnRuTQkh
    cuKhvIQwlvElQXsL
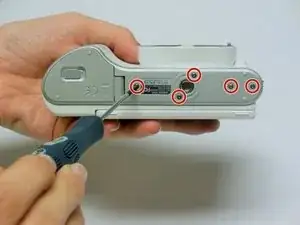
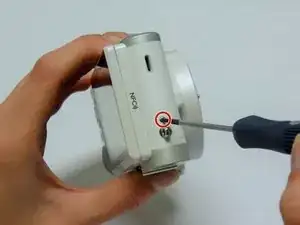
    • Using a Phillips #00 precision screwdriver, remove the seven 4mm screws (5 on the bottom of the device and 1 on each of the two sides) holding the back panel to the camera.

    • On the NX300M model, there is an additional screw under the text AMOLED behind display which should be removed before detaching the back panel of the camera.

  2. 3QdQ4Lakcs6AZKSj
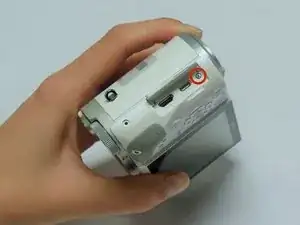
    • Using a Phillips #00 precision screwdriver, remove the last 4 mm screw located inside the input ports' compartment.

    I've tried this before and I remember this screw not coming off why is this?

    Jun Hong -

    Hello Jun. If you are using the correct screwdriver, there may be a few answers to your question:

    The camera screw is stuck:

    This happened to the team that did this project, just keep working with the screwdriver until it comes loose.

    The camera screw lost threads:

    If a screw is screwed in incorrectly, it could be permanently lodged in the camera and you will be unable to open it.

    The camera screw head is rounded:

    If the small pieces of the head (visible) part of the screw are gone with groove marks, the screw is permanently damaged and cannot be removed unless you have special equipment.

    Other than these tips, you may need to look elsewhere for more help.

    -Victoria

    Victoria Leppold -

    Thank you for the quick reply! Does this have to do with it being the last screw to be taken out? do the screws have to be screwed out in this order? Thank you

    Jun Hong -

    There is no order for removing the screws. However, we did take note it was the most difficult to remove because of it's placement. It is difficult to get a grip on the camera when attempting to loosen this screw, therefore it is more prone to damage. Keep trying, but don't force the screw out to where the part may become damaged by means listed in the previous comment.

    -Victoria

    Victoria Leppold -

  3. LLyLqQPunSpZsCeQ
    LLyLqQPunSpZsCeQ
    y5jS6tSWnMApW6SX
    4NeUYX2TRhRIdVTB
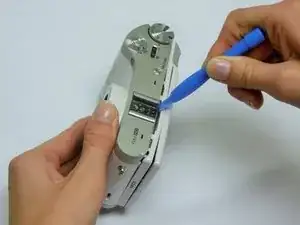
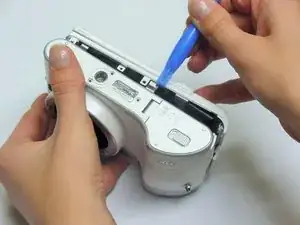
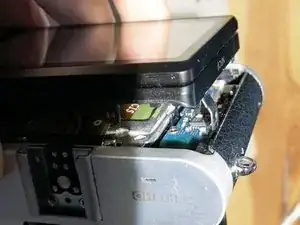
    • Place a plastic opening tool into the gap between the back panel and camera body, from both the top and the bottom of camera. Carefully pry open the camera and separate the back panel.

  4. 6OwVRkE5tOZ3nNFy
    6OwVRkE5tOZ3nNFy
    vFZeOALauomeid1Y
    ZkfvTggOWY3iUHfC
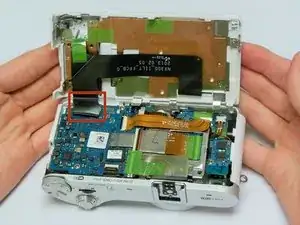
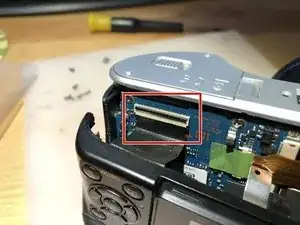
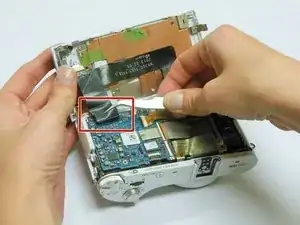
    • Using tweezers or your fingers, pull the display's black ribbon from the motherboard. This frees the back panel altogether.

    • To safely remove ribbons, you would need to first unlock the holding mechanism by lifting up the black strip atop the ribbon adapter.

    Hi, I have follow the 4 steps and now my question is about the proper lcd screem. In my case the touch "cristal" is broke do I have to buy all the back side of the camara (with the keys, I mean) o can I take off only the "cristal". I saw in Aliexpress taht they sell all the piece or the "cristal" alone. I do not know how to take out the broken cristal from the back piece. please can you help me. Sorry by my english I am Spanish and I do not now if I did explain properly. Thank you.

    cvaragarcia -

  5. XvGSdHrhO5o4sTiP
    XvGSdHrhO5o4sTiP
    PBvbqQwRpahPqvXe
    gc4psqDDCQ25qpWZ
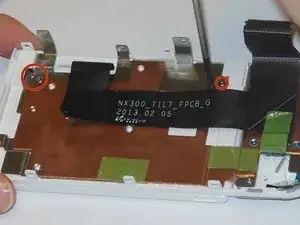
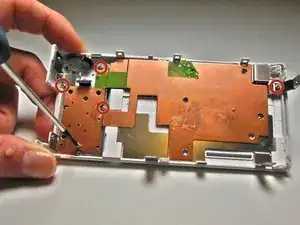
    • Using a Phillips #00 precision screwdriver, remove the four 1mm screws that are holding the black supports to the panel.

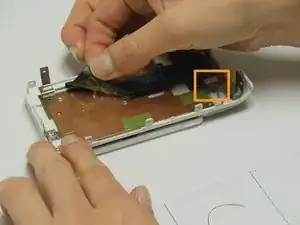
    • Remove the little ribbon tab from the contact pad using tweezers or your fingers, then peel off the black ribbon from the metallic panel.

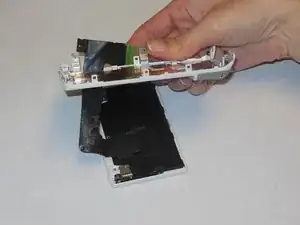
    • Feed the ribbon through the slot on the back panel to free the LCD Screen. You need to bend the ribbon to get the small tabs through it.

  6. AbTtklGBYPkcmeNN
    AbTtklGBYPkcmeNN
    h1DkQig1tHthvu4D
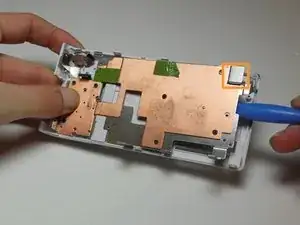
    • Using a Phillips #00 precision screwdriver, remove the five 3mm screws.

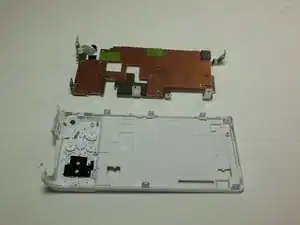
    • Using a plastic opening tool, slowly lift up the entire metal piece from the back of the camera.

    • If the panel has never been removed from the camera before, it will be glued firmly to the back panel and will require some force to remove. To prevent breaking the back panel, work the plastic opening tool under different areas of the metal plate until it is completely released.

    • There are two small magnetic blocks housed underneath the metallic plate. These are for securing the swivel screen in place while it is closed.

  7. NpqwJAdtsFAvGhKs
    NpqwJAdtsFAvGhKs
    aKePPxym5hFcZBwG
    jjF4S6WjwBXT4pKU
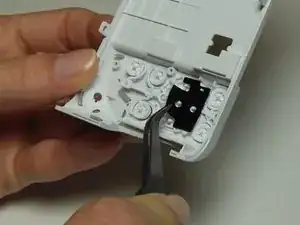
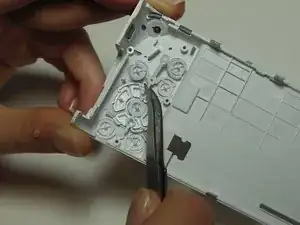
    • Once you remove the metallic panel, peel off the black pad from the buttons using tweezers.

    • Using tweezers, remove any button you need to by pulling on the plastic strips near the connection point to the back panel.

    • If most of the menu buttons need to be replaced, it is better to replace all of the buttons, since the plastic connector pieces break easily during removal.

  8. ivLOohjbhQr5qBuA
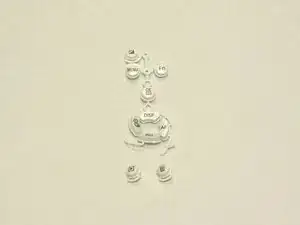
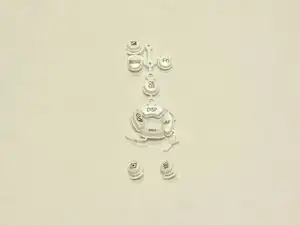
    • The menu buttons are now free from the camera.

    my Camera doesn't come with the menu buttons? Where can I buy it? :((

    anneasa82 -

Abschluss

To reassemble your device, follow these instructions in reverse order.
Andres Perez

Mitglied seit: 22/01/15

951 Reputation

0 Kommentare