Einleitung

Use this guide to replace a damaged back case, or open the case to access other components of your camera.

We highly suggest you use a magnetic project mat or an organization tray. This camera has many different types of screws and keeping them organized is key to proper reassembly.

  1. GIkMMb6eElYskyfR
    GIkMMb6eElYskyfR
    v1SdkxFgRiWmSkiX
    pbuPdnboQJqUgYiS
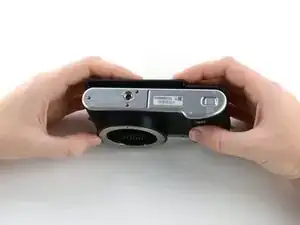
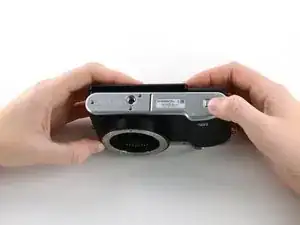
    • If you haven't done so already, remove the lens from the camera.

    • Turn the camera upside down.

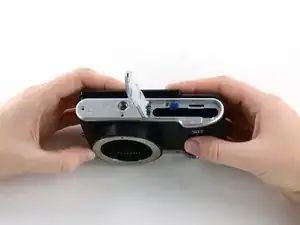
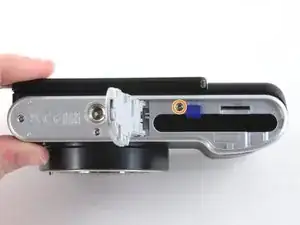
    • Slide the button to the left to open the battery compartment.

    • Push the blue button up to release the battery.

    • The battery is not shown in these photos.

  2. XEkPSEQtSQQNm65o
    XEkPSEQtSQQNm65o
    TVnrHHlgWjbFqjMS
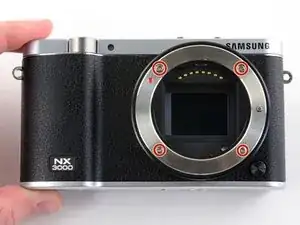
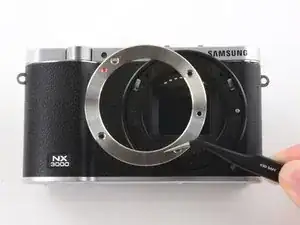
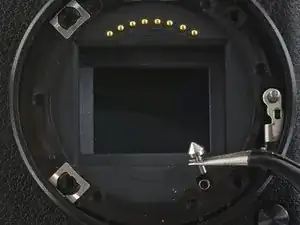
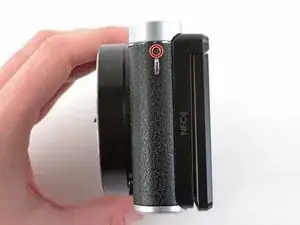
    • Remove the four 7.3 mm Phillips screws from the front of the lens assembly.

    • Remove the silver ring with tweezers.

  3. PtZXXHmxWyTcMwEX
    PtZXXHmxWyTcMwEX
    JFSjBYhPsH3jmfhH
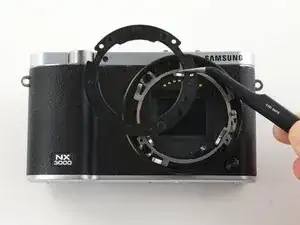
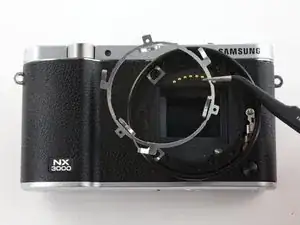
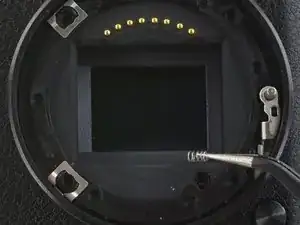
    • Use tweezers to remove the black plastic ring and small metal ring inside the lens assembly.

  4. PdAp3WadHdMCZLYd
    PdAp3WadHdMCZLYd
    rExqpeCCfFMv3HJk
    DeAomvuiJILiJyHV
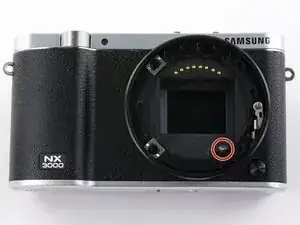
    • Use tweezers to lift the pyramid screw and spring from the lens assembly.

  5. NWZ2sRgyZOEsLbMt
    NWZ2sRgyZOEsLbMt
    bNCK2cwPfbcJ1vCL
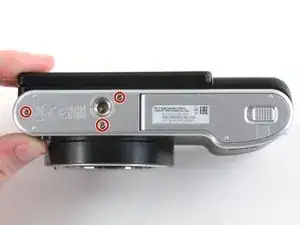
    • Remove the three 4.3 mm Phillips screws from the bottom of the camera.

    • Remove the 4.3 mm Phillips screw hiding inside the battery compartment.

  6. EdbdBLphTWgRlilI
    EdbdBLphTWgRlilI
    h3NJDVHFGdtlDJid
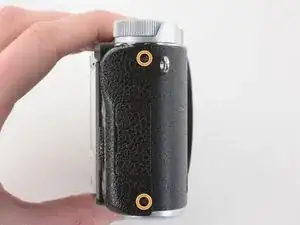
    • Remove the 4.2 mm Phillips screw from the left handgrip.

    • Remove the two 4.2 mm Phillips screws from the right handgrip.

  7. K5xtxBsKxZRsVCPm
    K5xtxBsKxZRsVCPm
    L5YqVTsKoeGiKKZf
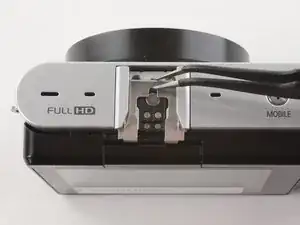
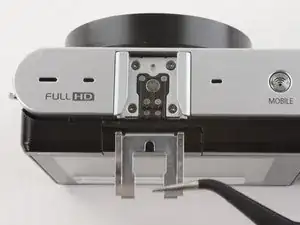
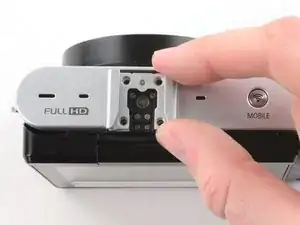
    • Use tweezers to remove the metal shield from the external flash mount.

    You have to lift the front and then slide back

    Anthony Hunter -

  8. vJdWVqA6BEgDQoxw
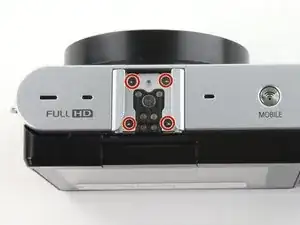
    • Remove the four 5 mm Phillips screws from the external flash mount .

  9. KWEFnP3DOqlNscba
    KWEFnP3DOqlNscba
    fp2siyRnfCmrObyq
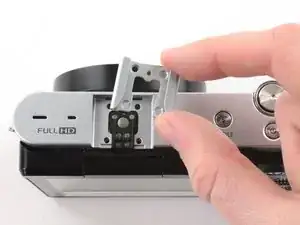
    • Remove the external flash mount.

  10. AZ6RCnN51Oa3U1pa
    AZ6RCnN51Oa3U1pa
    Ebb4VEWQGycIK1lX
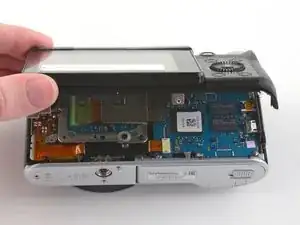
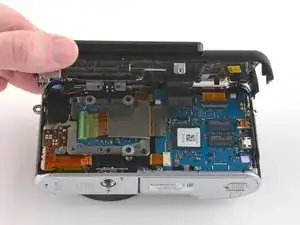
    • Slowly pull the bottom of the back case away from the camera.

    • Do not attempt to remove the back case as it is attached to the motherboard by a ribbon cable.

  11. fXDvkWa5ElFfRIyd
    fXDvkWa5ElFfRIyd
    lqumKR1QGUna5XHy
    hMMjSasaQtQTaNjA
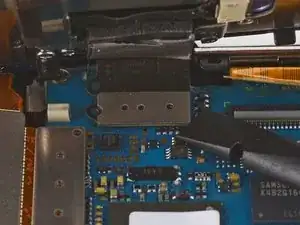
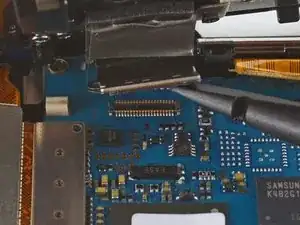
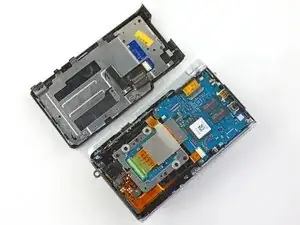
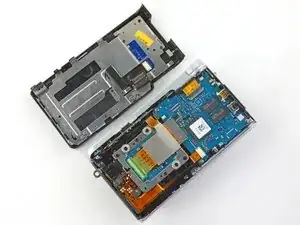
    • Use the flat end of a spudger to pry the flat topped connector straight up from the motherboard.

    • Remove the back case.

Abschluss

To reassemble your device, follow these instructions in reverse order.
Kelsea Weber

Mitglied seit: 12/11/15

19058 Reputation

0 Kommentare