Einleitung
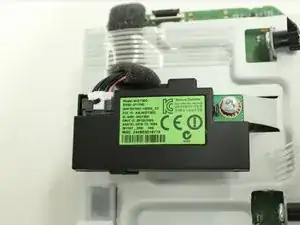
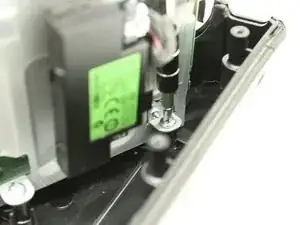
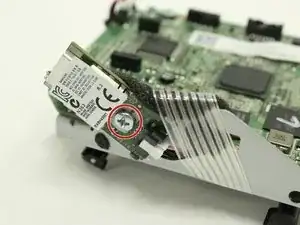
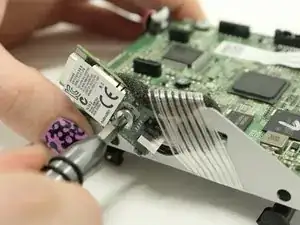
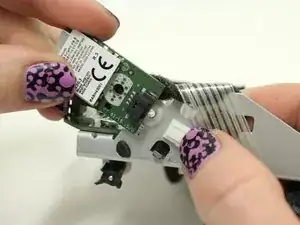
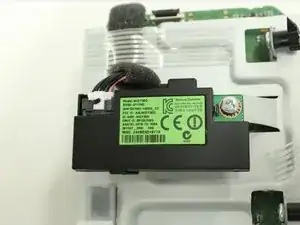
The Wifi module is one of the ways you can pair your music device to the speaker as well as be used to pair the speaker to other speakers. This module could be faulty in the case of water damage or damage due to electric shock. This guide will demonstrate the removal of the WiFi module and from mounting tape.
Werkzeuge
-
-
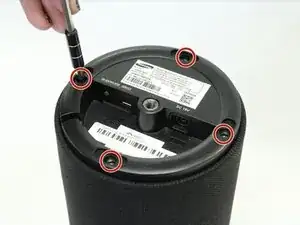
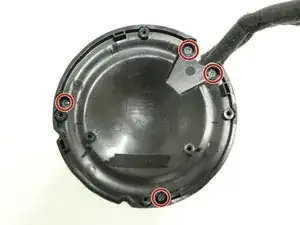
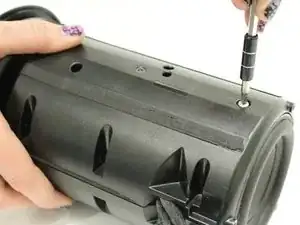
Using a PH1 Philips screwdriver, remove four (9.5mm x 1.6mm) screws from the base plate.
-
Remove base plate by stabilizing speaker and using plastic prying tool to pry the base plate from the speaker.
-
-
-
Place the speaker on the table with the Touch Pad facing down. This will leave you with the Port Panel exposed.
-
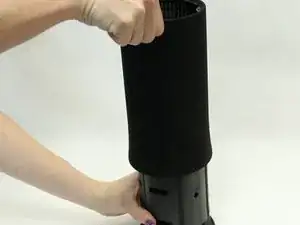
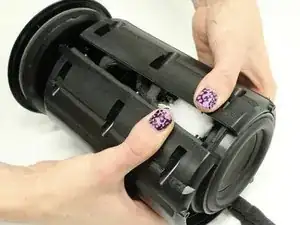
Remove speaker grill by stabilizing speaker on a table and applying pressure to the bottom of the speaker. Slide the speaker grill up and away from the remaining endcap.
-
-
-
Remove the two exposed (9.5mm x 1.6mm) PH1 Phillips screws on the Port Panel.
-
Remove the Port Panel from the speaker body, exposing the ribbon cables.
-
-
-
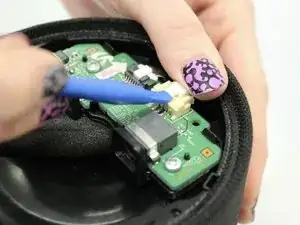
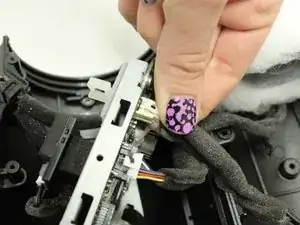
While stabilizing the Port Panel remove the two ribbon cables one at a time by pressing the locking clip down on the ribbon cable connectors and pulling the connector away from the Port Panel.
-
-
-
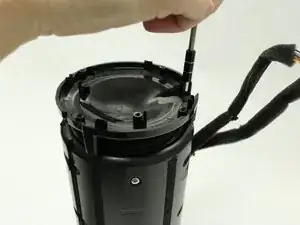
Remove the four (9.5mm x 1.6mm) PH1 Phillips screws on the port speaker body.
-
Remove the Port Panel exposing the subwoofer.
-
-
-
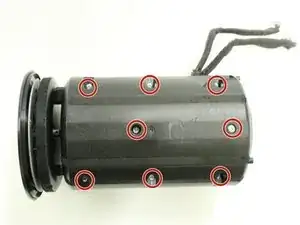
Remove the eight (9.5mm x 1.6mm) PH1 Phillips screws on the right side of the speaker body.
-
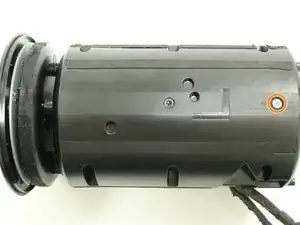
Remove the one (9.5mm x 1.6mm) PH1 Phillips screw on the left side of the speaker body.
-
-
-
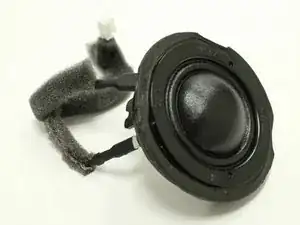
Remove the ribbon cable from the tweeter which is attached to the main motherboard.
-
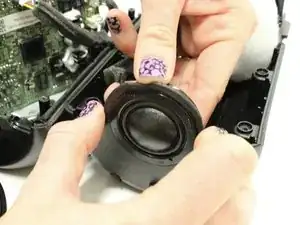
Slide the tweeter out of the enclosure.
-
-
-
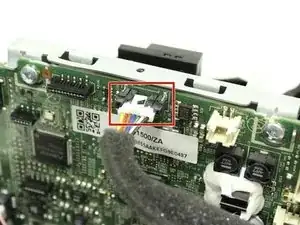
Disconnect white connector by pushing down on the release tab while gently pulling the connector free from the socket.
-
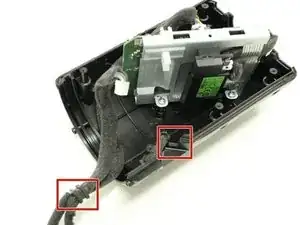
Remove wiring harness and set aside.
-
-
-
Flip the motherboard assembly over and locate the Bluetooth module on the side of the metal frame.
-
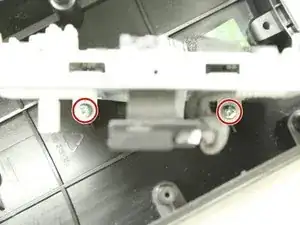
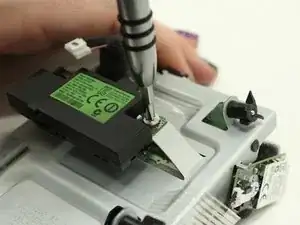
Remove the one PH2 Philips screw.
-
-
-
Press the white tab while gently pulling the Bluetooth module away from the connector and frame.
-
-
-
Disconnect cable from WiFi module.
-
Flip the motherboard assembly over and locate the black WiFi module.
-
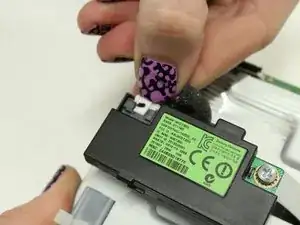
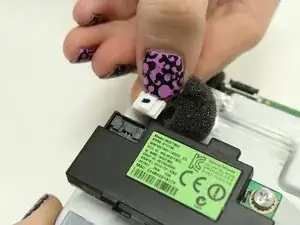
Press the white tab on the connector while gently pulling on the connector to disconnect it.
-
-
-
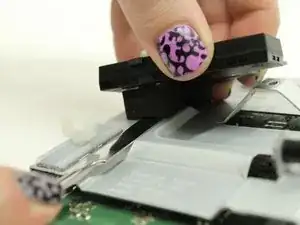
Use a flat prying tool to cut under the foam holding the WiFi module to the motherboard assembly.
-
To reassemble your device, follow these instructions in reverse order.
Ein Kommentar
Hi,
I am new here. You did an excellent job! I would like to know the point of removing the wifi module. Is it to replace it? If you were to replace it, where would you buy the part? Also, I do not have the R1. I have the R7. Do you know if it is similar? Thanks very much
Alex
