Einleitung

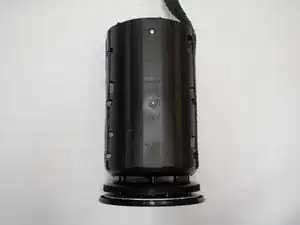
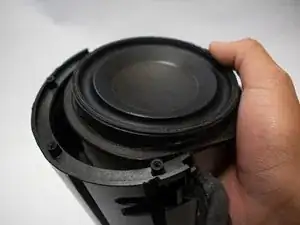
This guide will walk you through the process of removing the bottom of the speaker, the outer shell, and the motherboard to access the subwoofer for removal.

  1. DxWnpIKkgSCDT6jW
    DxWnpIKkgSCDT6jW
    WJvwpGBfwL226foZ
    2ctofAqy3pEEBHuE
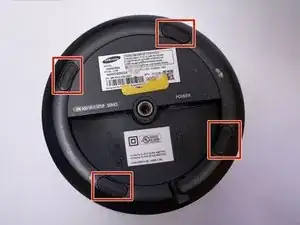
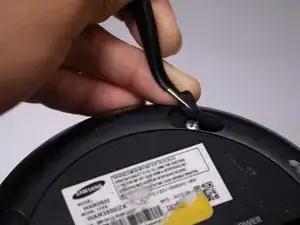
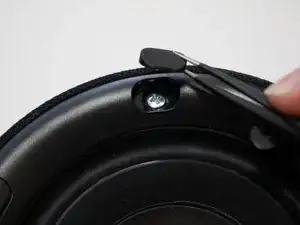
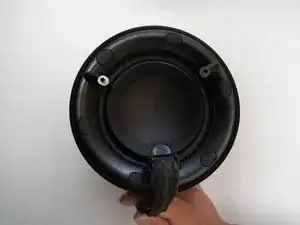
    • Flip the device so that the bottom of the device is facing you. Remove these feet with a pair of tweezers.

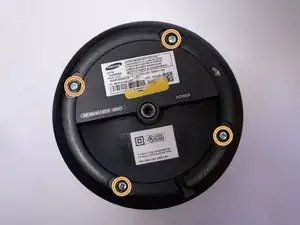
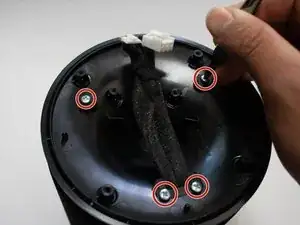
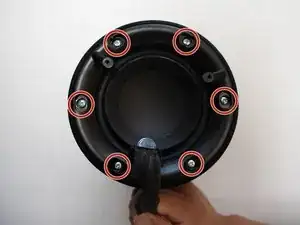
    • Remove the four 10mm long screws with the Phillips #1 screwdriver.

  2. UnRxL1wYtjZQAVY2
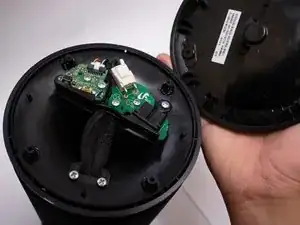
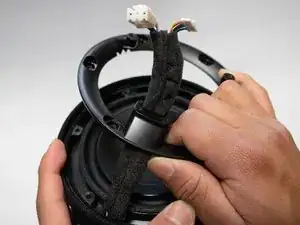
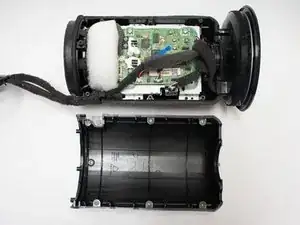
    • Remove the bottom shell from the speaker.

  3. bFsZIGYx4vyj2Xn4
    bFsZIGYx4vyj2Xn4
    dGMlJ4HFCvV6o1vf
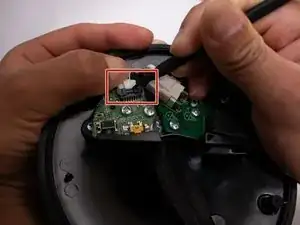
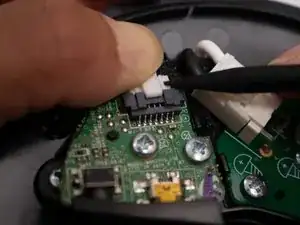
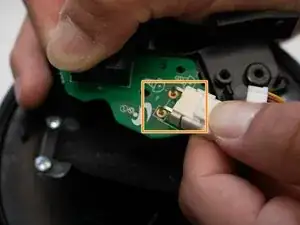
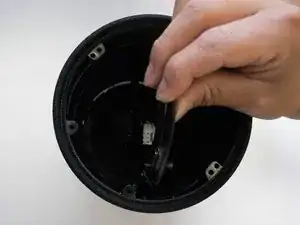
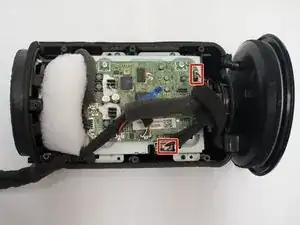
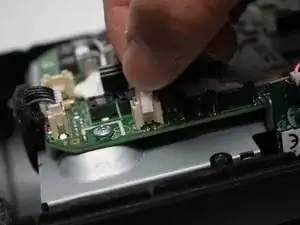
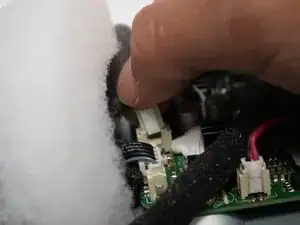
    • Remove the connector from the board by pressing down on the center tab while nudging the connector away with a spudger.

    • Be careful not to pull directly on the wires or apply too much pressure, or you risk breaking the connector.

  4. g4wdOKdeTXTkubj2
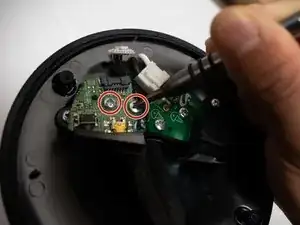
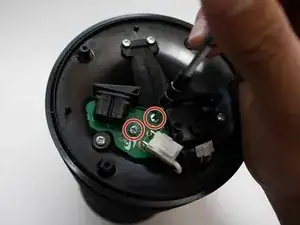
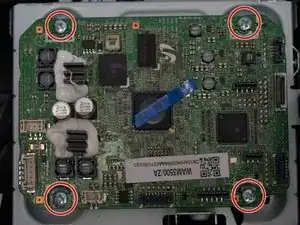
    • Remove the two 10mm long screws from the board utilizing the Phillips #1 screwdriver.

  5. EfA1u15ARBcFUrPt
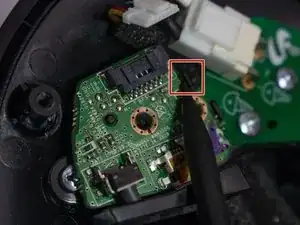
    • Use a spudger to press the plastic tab away from the board until the board pops up.

    • Remove the board with the USB module from the device.

  6. DtUwUZJsHkpdlfBI
    DtUwUZJsHkpdlfBI
    Ep1LuAKWUj6xmrIE
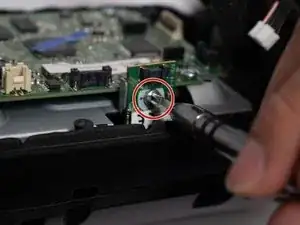
    • Remove the two 12mm long screws with the Phillips #1 screwdriver.

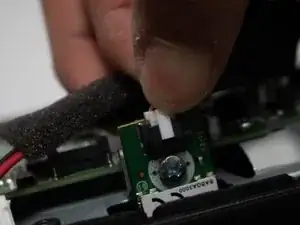
    • Unplug white plug connected to the green circuit board.

  7. XPPZTVAv2L2GnEgl
    XPPZTVAv2L2GnEgl
    fQwHt5kDWDGFJkHV
    • Remove the four 12mm long screws with the Phillips #1 screwdriver.

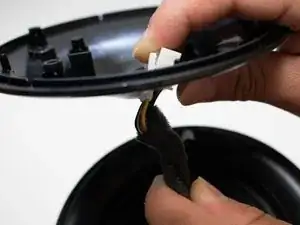
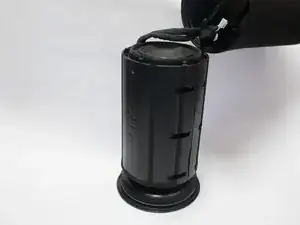
    • Remove the cover, and slide the cord through the hole.

    Can you tell how to modify with adding a female AUX connector to this board? I would like to use two of these speakers in stereo to my pc so not depending on the SAMSUNG Multiroom app. Looking forward to any suggestion.

    Regards,

    Robbert van Gom

    Robbert van Gom -

  8. TaEqWkH5Gp1mTK5P
    TaEqWkH5Gp1mTK5P
    VtdMKR5fpepJmXgU
    QSrYmFLRHb24ACZM
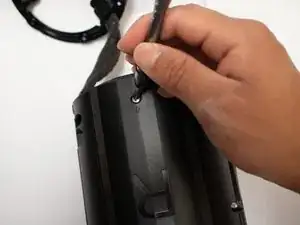
    • Remove rubber covers covering the screws with pair of tweezers.

    • Remove the six 12mm screws that are under the rubber covers with the Phillips #1 screwdriver.

  9. YEOIWhScCvt3FKFZ
    • Remove the unscrewed cover as much as possible.

    • It is very difficult to get plugs at the end of the cord through the cover without breaking, so just slide to the edge.

  10. xHU2yD3DDMnXlAXS
    xHU2yD3DDMnXlAXS
    EfHgGonHdkpyUqA1
    6v2YlUPIr1NorAAu
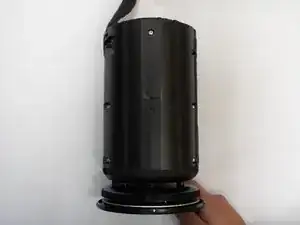
    • Push the body out through the outer shell of device.

    • Carefully push the ring attached to the cable through the shell.

  11. SYPBgQTDUPEN3eRa
    SYPBgQTDUPEN3eRa
    HGnjVYBlZMng6AXZ
    CvFKw5QSln6RF6gT
    • Remove the eight 12mm long screws around the body with the Phillips #1 screwdriver.

  12. gc2ZIiJfpch6Mls2
    gc2ZIiJfpch6Mls2
    OpNFc5C1IU2gAK6m
    • Pry the two halves of the body open using a metal spudger.

  13. OVlq4tgEB4PxHhwP
    OVlq4tgEB4PxHhwP
    fm1NV5ZBpPpXTgjJ
    RbWouCbKD3lYSZoA
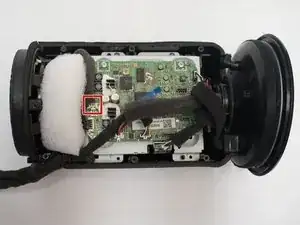
    • Remove the plugs located topmost right and closest to the bottom in picture.

  14. MJ6xA13yNa2RK3sb
    • Remove the four 12mm long screws with the Phillips #1 screwdriver .

  15. Cp3u5kUHU6QHfEcT
    • Unscrew the four 8mm screws on the side of the motherboard with the Phillips #1 screwdriver .

    • Remove the Wireless Module from the device.

  16. x4LtccungbqeLuAV
    x4LtccungbqeLuAV
    1YEMxgxyiCilBr4F
    • Disconnect the plug in the device.

  17. HJGCEyvXinQNqD4k
    • Slide the subwoofer out of the speaker.

Abschluss

To reassemble your device, follow these instructions in reverse order.
Fadi Alzammar

Mitglied seit: 23/04/18

782 Reputation

0 Kommentare