Einleitung

The screen casing may become worn or broken over time. This guide will allow you to remove/replace it.

  1. EwyrueDKcObk1KKr
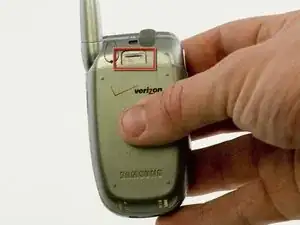
    • Slide the latch on the back of the phone up.

  2. CAPloLSYkPpHAHxk
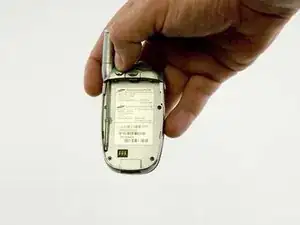
    • Remove the battery.

  3. sxFkx4WIUTgSeoHZ
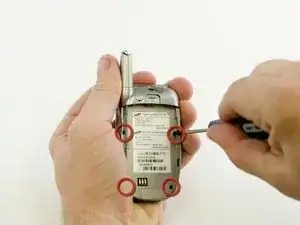
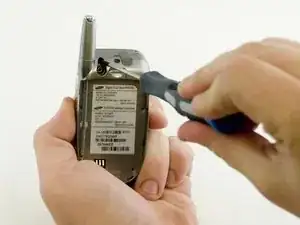
    • After removing the battery, remove the four small Phillips-head screws with a #0 Phillips screwdriver.

  4. CUUeIZMurQ44GDwv
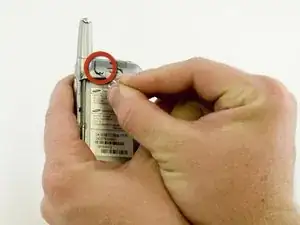
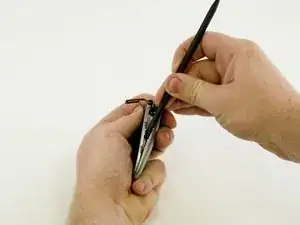
    • Using a thumbtack, pry the small plastic cover from the case near the base of the antenna.

  5. SFJT4fn2lCJEKhQq
    • With a #0 Phillips screwdriver remove the screw which you just uncovered.

  6. VU1dEjVZupfHmkVE
    VU1dEjVZupfHmkVE
    PqGNJp6BxAdwqhEr
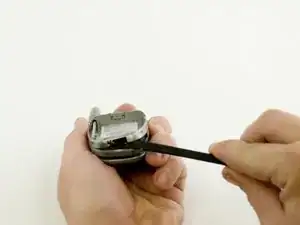
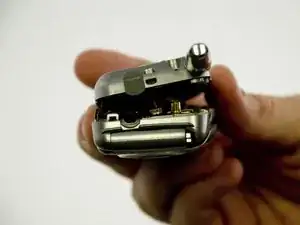
    • Using the spudger, carefully pry the case apart starting near the charging port. Ease the case open.

    • Then disconnect the small power connector near the top of the phone.

  7. Kx1diRj31iy5UrMN
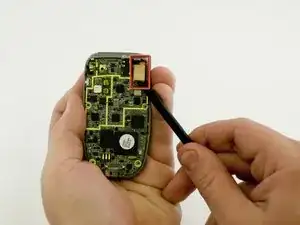
    • Gently pry up the ribbon-type connector with the spudger.

  8. iMxQns5MQN6VRkZe
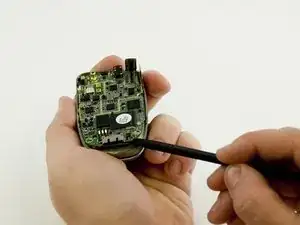
    • Carefully pry the logic board from the case with the spudger.

  9. H3jnme2pxU66Zr36
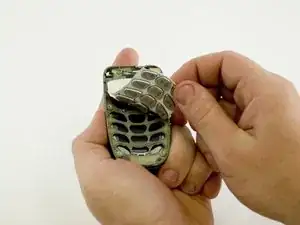
    • Once the logic board has been removed, peel the keypad up.

  10. c2kskKbqGIaivTOc
    c2kskKbqGIaivTOc
    Xjhh3rSmwOP62ssG
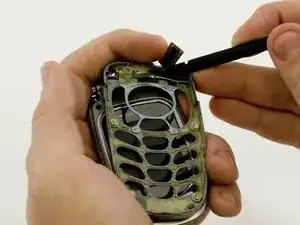
    • When using a spudger the keypad housing comes off quite easily, although it may be necessary to guide the ribbon cable through the slot in the housing.

  11. JtwQeQAj3PH6gMPs
    • Remove screws with #0 Phillips screwdriver.

  12. oKdYWHJU4yYvODGZ
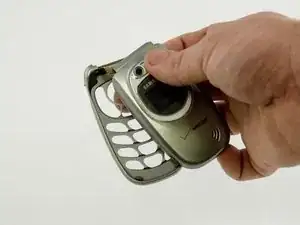
    • Carefully pry apart the casing with the spudger tool.

Abschluss

To reassemble your device, follow these instructions in reverse order.
Nathan Brink

Mitglied seit: 11/04/10

19 Reputation

0 Kommentare