Einleitung
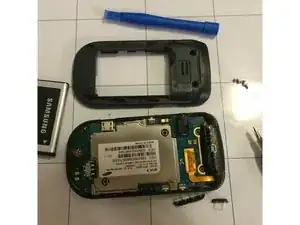
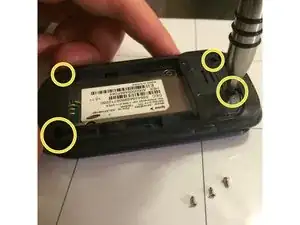
This guide will require a screwdriver with a Phillips #0 head (labeled PH0 in iFixit 54 bit driver kit) and a plastic opening tool. Be careful not to lose the small screws involved with removing this part of the device.
Werkzeuge
-
-
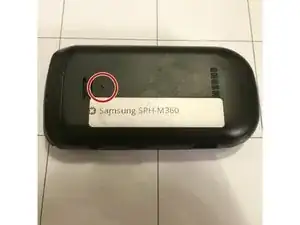
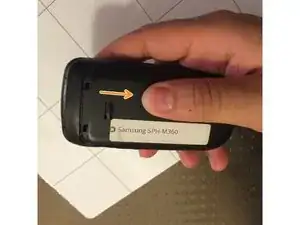
Locate the arrow on the panel of the rear side of the phone.
-
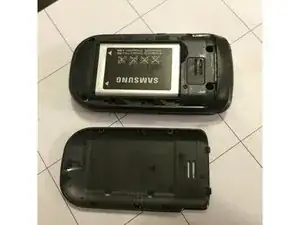
Use one or two fingers to apply light pressure downwards on the rear panel and push or pull in the direction of the arrow.
-
-
-
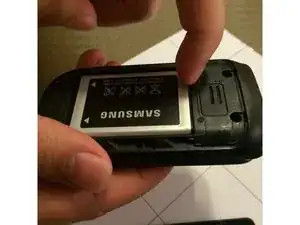
Place finger inside the small semi-spherical slot near the top of the battery.
-
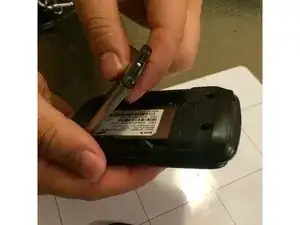
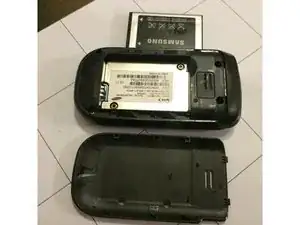
Lightly pull the battery away from the phone. This should not require much effort.
-
-
-
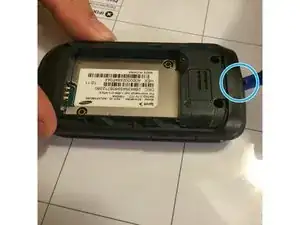
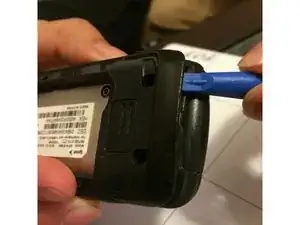
Starting near the top of the casing, use the plastic opening tool to gently pry the casing open.
-
Slowly work the plastic opening tool around the edge of the casing, gently prying it around at all sides.
-
-
-
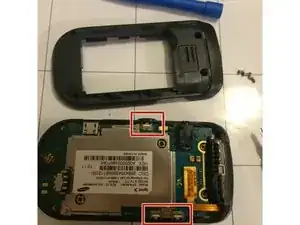
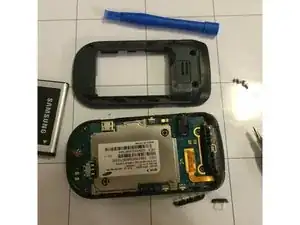
Once the casing has been fully pried off of the phone, it should be easily removed by hand.
-
To reassemble your device, follow these instructions in reverse order. Be sure to secure the casing around the entire perimeter of the phone.
