Einleitung
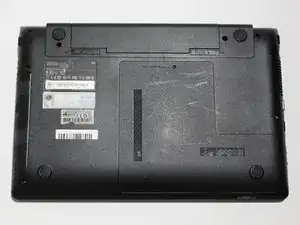
To get to key parts of the computer, such as the disc drive and the motherboard, you will have to remove the two bottom panels of the computer. Once you have done this, you will be able to get to the innards of the computer for repairs or replacements. This guide will walk you through the steps of removing these panels.
Werkzeuge
-
-
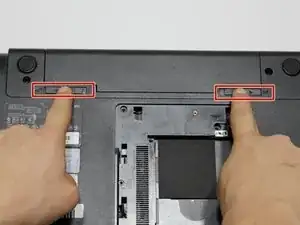
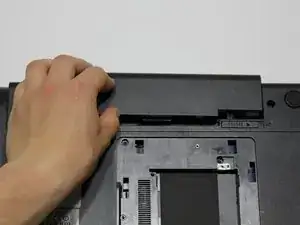
Remove the battery by pushing out the locks on either end then pushing the battery away from you.
-
-
-
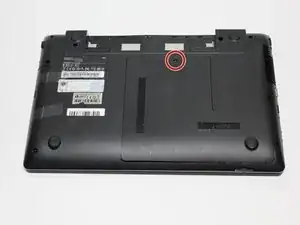
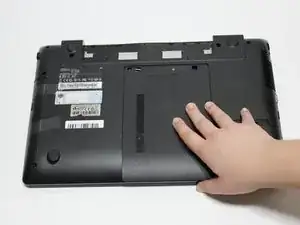
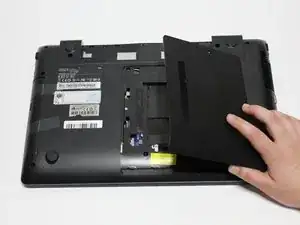
Using the J0 Japanese Industrial Standard screwdriver, remove the 4.5mm screw on the ODD/HDD Memory panel.
-
-
-
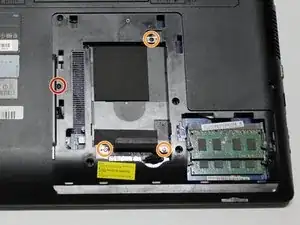
Using the J0 Japanese Industrial Standard screwdriver, remove the 4.5mm screw next to the label “ODD."
-
Remove the three 4.5mm screws from around the memory drive nest.
-
-
-
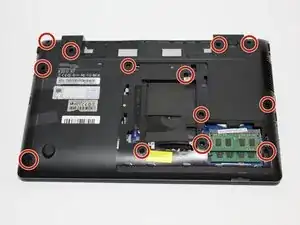
Using the J1 Japanese Industrial Standard screwdriver, remove the thirteen 9.5mm screws from the panel that cover the bottom of the computer.
-
-
-
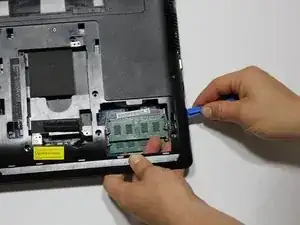
Begin removing the computer casing by prying beside the disk drive with the iFixit opening tool and the spudger, working counterclockwise.
-
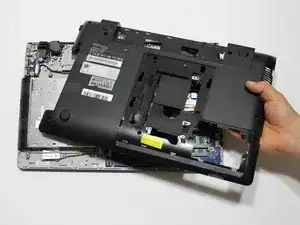
Lift the panel from the computer.
-
To reassemble your device, follow these instructions in reverse order.
