Einleitung

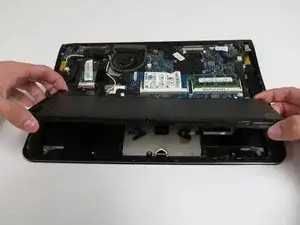
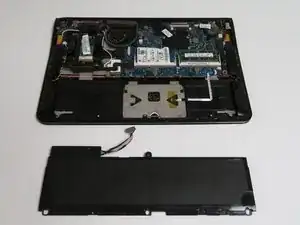
If your computer is no longer holding a charge or is dying quickly without a charger, then you should replace the battery. This guide will help you replace the battery.

  1. P4hnMYOl1Fv2vLwV
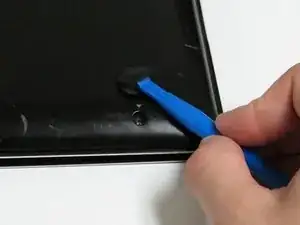
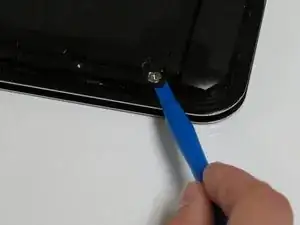
    • Locate the rubber feet at every corner of the laptop back panel. Use the ifixit prying tool, and break the adhesive between the rubber feet, and the case.

    • Screws securing the back panel underneath the adhesive will be exposed.

    • Removing the rubber feet will weaken the adhesive making reassembly difficult. Apply new adhesive if you choose to place the rubber feet back on to the device.

  2. xkTaRDrF2aSghSFJ
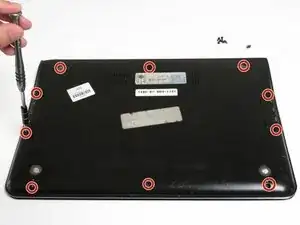
    • Use a Phillips #0 screwdriver to remove the ten 0.2mm screws from the bottom cover.

    • Keep track of the screws and their placement on the laptop. This will help make reassembly easier and more organized.

  3. opS3PMVRJTreYLEK
    opS3PMVRJTreYLEK
    6rkUPuEOIckoVVrl
    BPSw2KUlYA14t2AT
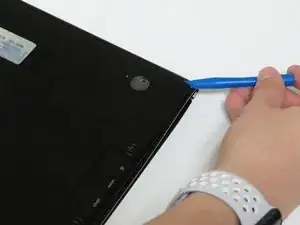
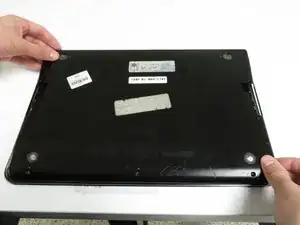
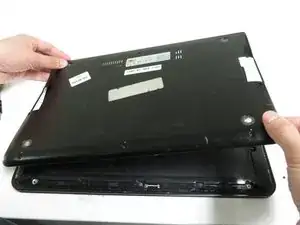
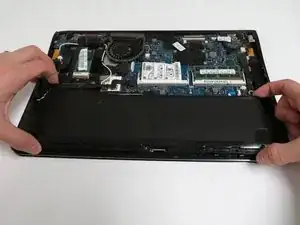
    • Find an opening on the back of the laptop. Use the plastic prying tool to help pry open the back panel of the laptop.

    • Use both hands when removing the back case cover. Too much force will bend the cover making it difficult to reassemble.

  4. U2LiLThVvRtcdt1A
    U2LiLThVvRtcdt1A
    31KEKeaBNYXHLWEk
    cxDaXRHKGrTEMogV
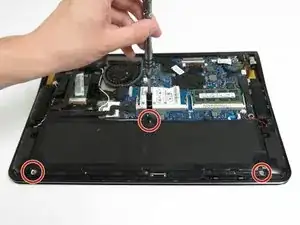
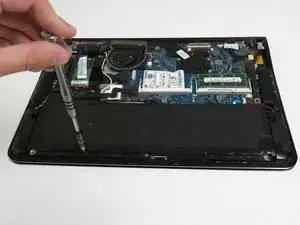
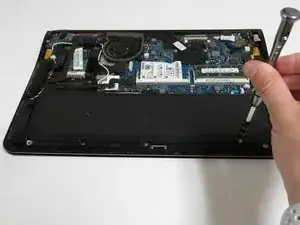
    • Remove the last three remaining 0.1mm screws attached to the battery.

    • Keep track of the screws and remember their placement. This will make it easier to replace the battery.

  5. 2VAoFsgIITvGjKZP
    2VAoFsgIITvGjKZP
    N5AJIxUWZpYYQe2U
    CZR2BD2pLVUnZjdg
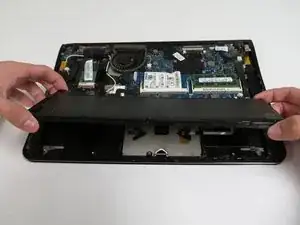
    • Remove the battery from the laptop by prying it out from its compartment.

    • The battery should be loose and can move for the next step.

    • You will need to use force to pry open the battery.

  6. xB3S2tP2TDsPlVeV
    xB3S2tP2TDsPlVeV
    UJCSGWpLplTeCFPy
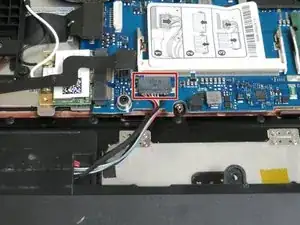
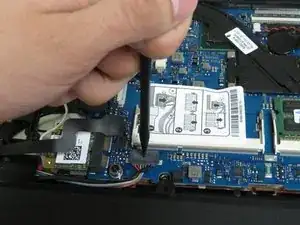
    • Find the battery's output plug, and use a spudger or pointed precision tool to press on the indention in the middle of the plug to unlock.

    • Do not press too hard unlocking the plug or you will puncture plug's pins ruining the connector.

  7. Z2MEIdAxloxOMyQ3
    Z2MEIdAxloxOMyQ3
    Sc65AUZoHPbOfSVT
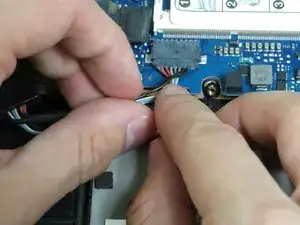
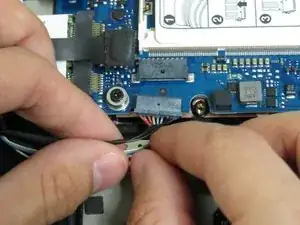
    • Remove the connection from the motherboard and the battery, by carefully placing both hands on the wires and tug on the wires.

    • You will need to use some force, be cautious when removing this component. Pull the plug out slowly while applying pressure with the tool in necessary.

  8. uy1VxCKGeYkKD4jV
    uy1VxCKGeYkKD4jV
    T5nVvj1WJ1xVuwpR
    2UHPsJEHI2NcDv2W
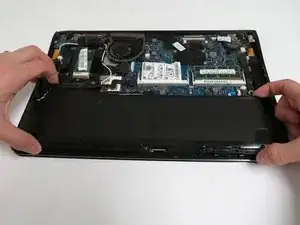
    • Remove the battery and place it from the laptop. At this point you can replace the battery with a new one.

Abschluss

To reassemble your device, follow these instructions in reverse order.
Zahir Sanchez

Mitglied seit: 08/02/18

493 Reputation

0 Kommentare