Einleitung
This guide was intended to be a prerequisite guide.
Werkzeuge
-
-
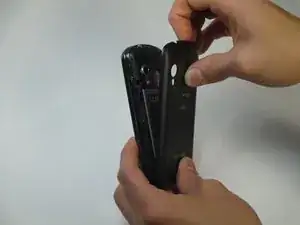
Using your fingers, pry along the groove at the top of the phone.
-
Pull back on the rear casing until it comes free from the device.
-
The casing will make a cracking sound as it is removed.
-
-
-
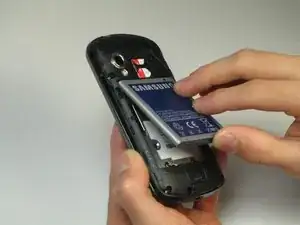
With your fingers, pry from the bottom of the battery to loosen it.
-
Lift away to remove the battery from the phone.
-
-
-
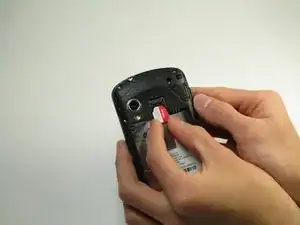
Locate the red and white sim card located above the battery housing.
-
Remove the sim card by sliding it downwards from its slot with your fingers.
-
-
-
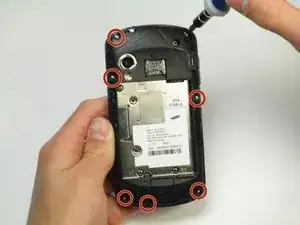
Remove the seven silver 3mm screws securing the rear panel using the Phillips #000 screwdriver.
-
-
-
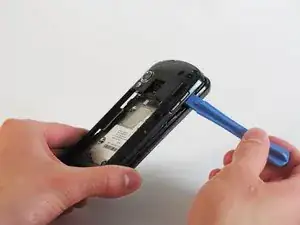
Pry around the rear panel with a plastic opening tool to loosen it.
-
Remove the rear panel from the phone with your fingers.
-
-
-
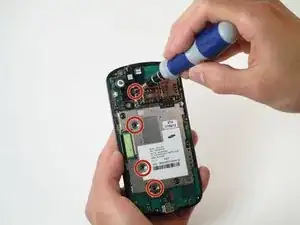
Remove the four black 3mm screws securing the motherboard with the Phillips #000 screwdriver.
-
-
-
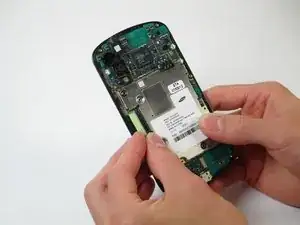
Locate the flex cable attachment at the tab with a green arrow printed on top.
-
Pry from the side the arrow is pointing with your fingers.
-
The cable will audibly snap as it is removed from its attachment.
-
Let the cable hang loosely to the side of the phone.
-
-
-
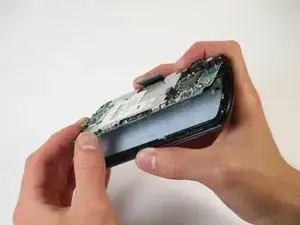
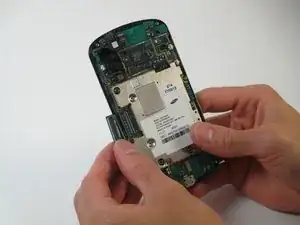
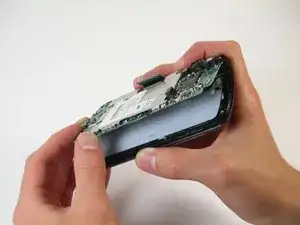
Pull the motherboard up from the side opposite the loose flex cable.
-
Lift to remove the motherboard from the device.
-
To reassemble your device, follow these instructions in reverse order.
