Einleitung
Werkzeuge
-
-
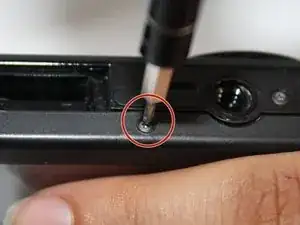
Begin by unscrewing all seven 4 mm phillip's screws located on the outside of the camera.
-
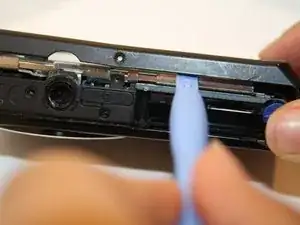
Using the plastic opening tool carefully pry open the camera, lifting the back casing off.
-
-
-
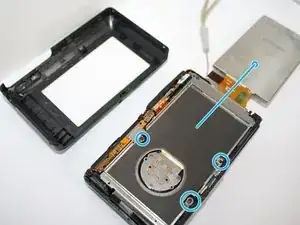
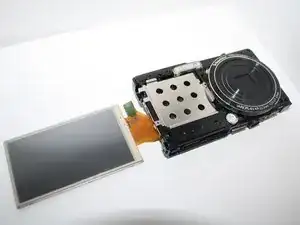
Now that you have the back casing off, gently move the LCD screen from the camera to the right and lay it facing down on the table.
-
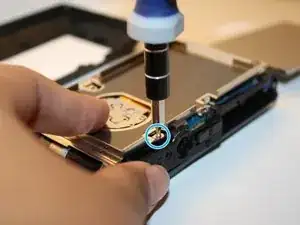
Next unscrew the three 4 mm Philips screws on the back panel with the same screw driver.
-
-
-
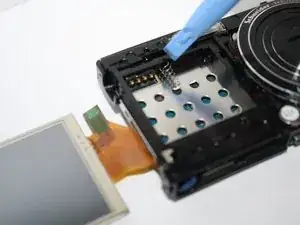
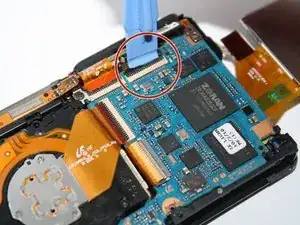
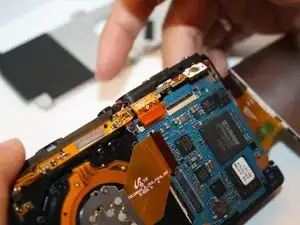
Unclip the four connectors with the plastic opening tool which holds down the orange film strips.
-
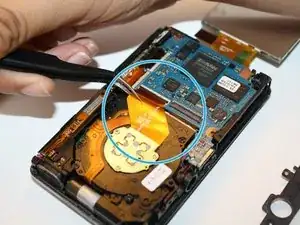
Gently with the tweezers remove the four orange film strips from the connectors.
-
-
-
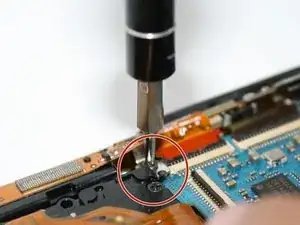
Once the orange film strips have been released from the connectors, unscrew the Phillips 4 mm silver screw which holds down the top of the camera's frame.
-
With your fingers gently push up the camera's top frame. Once the camera's top frame is off you can than gently remove the camera's front casing off, as well.
-
-
-
Flip the entire camera over so that the lenses are facing upward with the LCD screen showing to the side.
-
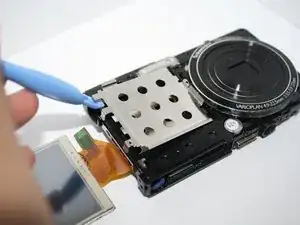
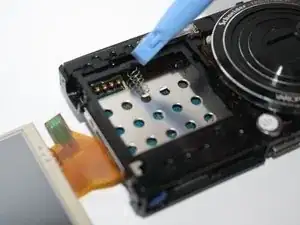
Now remove the silver case, seen demonstrated in the picture.
-
To reassemble your device, follow these instructions in reverse order.
