Einleitung
Werkzeuge
Ersatzteile
-
-
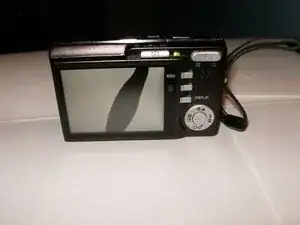
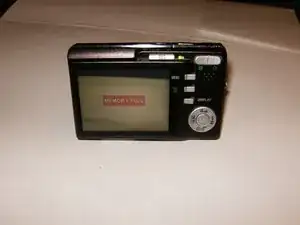
Cameras powers on and the broken LCD becomes immediately evident.
-
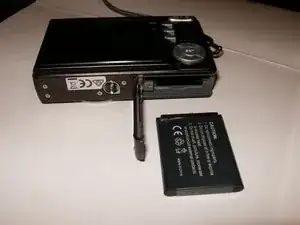
Remove the battery
-
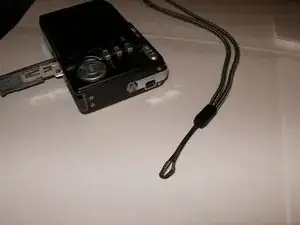
Remove the camera strap
-
-
-
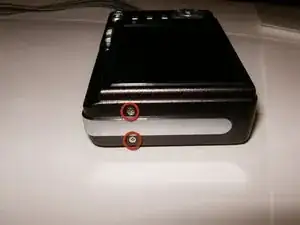
Remove the four screws on the right side of the camera
-
Remove the two screws on the left side.
-
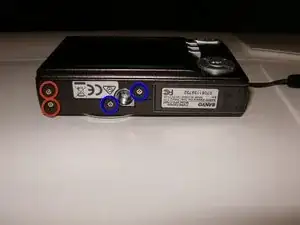
remove the four screws on the bottom of the camera.
-
The two screws on the thread for a tripod are longer than the others, keep those separated.
-
-
-
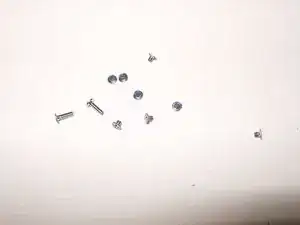
Here is a look at the screws from the camera. The two screws from the tripod thread are the longest.
-
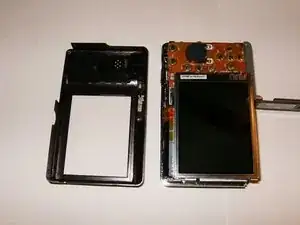
Start splitting the housing with either an opening tool or your fingernails. The housing does not require a lot of force and will easily unsnap.
-
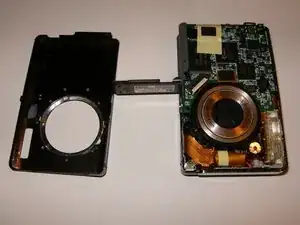
The front cover seems to be easiest and will come off first
-
-
-
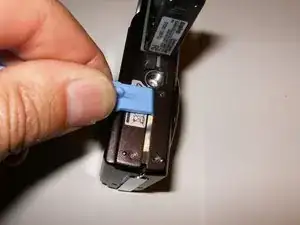
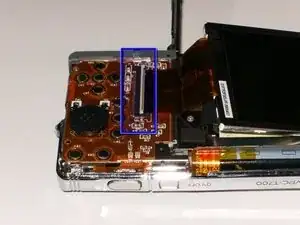
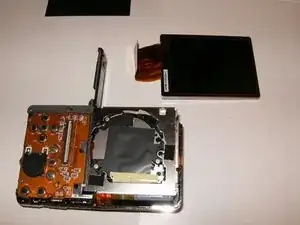
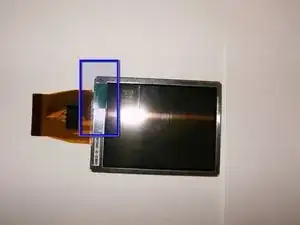
Here is the new LCD. Note the protective cover. Remove that cover by pulling on the green tab after installing the LCD to the PCB.
-
After reassembling your camera, hopefully it will look like this.
-
To reassemble your device, follow these instructions in reverse order.
