Einleitung
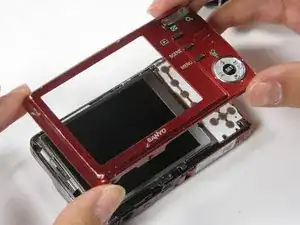
This guide helps you to remove and replace the lens unit
Werkzeuge
-
-
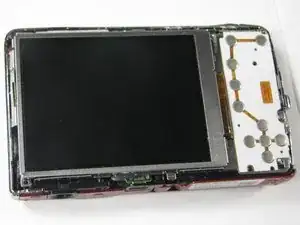
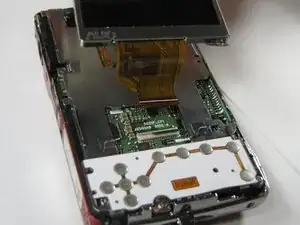
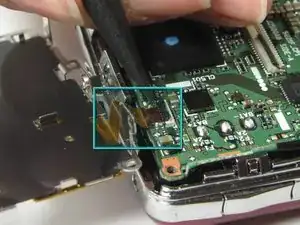
Gently lift up on the left side of the LCD and slowly pull it to the left side of the camera but do not remove entirely, there is a ribbon connector.
-
-
-
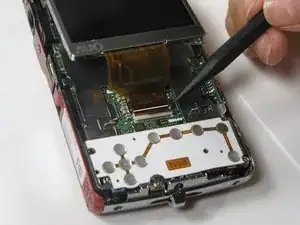
To clear the ribbon connection underneath the screen, lift up the black ribbon gate with the spudger.
-
Gently lift ribbon out of the gate and set screen aside.
-
-
-
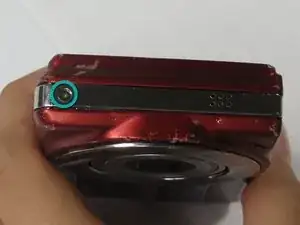
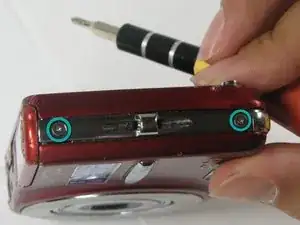
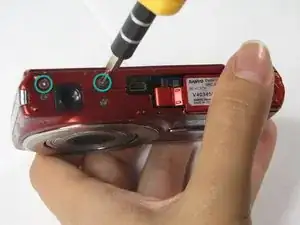
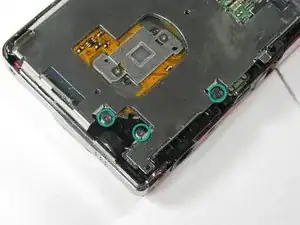
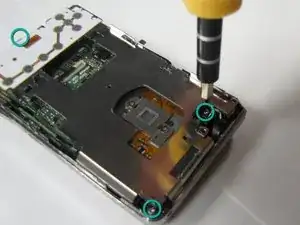
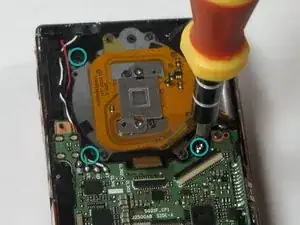
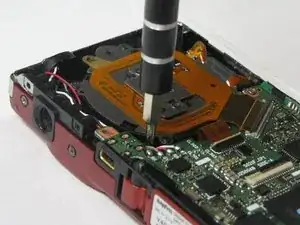
There are five screws of three different sizes which need removal.
-
One 4.5mm screw
-
Four 3.5mm screws, one on the button side
-
One 5.5mm screws
-
-
-
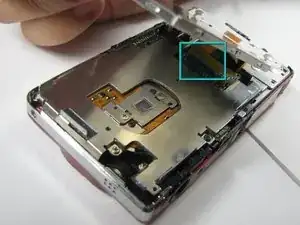
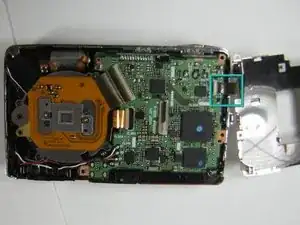
Slowly lift metal tray to the right.
-
Remove ribbon cable by using the spudger to lift up the black ribbon gate to release the ribbon
-
-
-
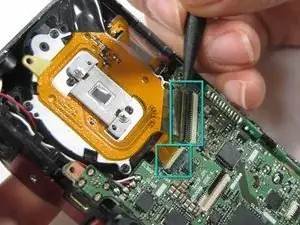
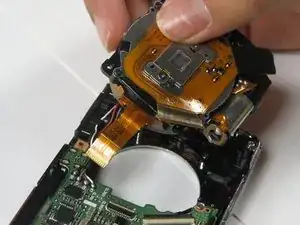
Disconnect the two ribbon cables from the lens unit by using the spudger to lift the ribbon gates.
-
-
-
Lift the lens unit free of the camera. A spudger can be used to separate the lens unit if necessary.
-
To reassemble your device, follow these instructions in reverse order.
