Einleitung

We all know that the Sega Genesis brought to us many hours of fun, but, as we get older, the reset button gets older too.

Today, let's lend a hand to our nice friend and replace its reset button!

  1. lW54ikSVnq4KmSq3
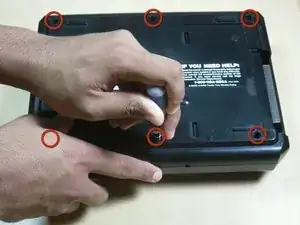
    • Remove the six screws from the underside of the console with a Phillips #1 screwdriver.

  2. MLFiOdPgBoRqk1KA
    • Flip the Sega Genesis upright.

  3. HKXYLvGvcYhQnPuf
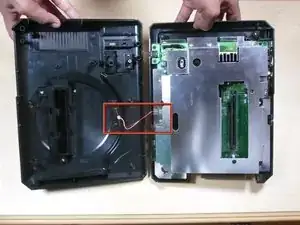
    • Gently lift the top casing.

    • Note: the case will be connected to the main board by LED wires.

  4. LcxoJ4RWNK5fHMVY
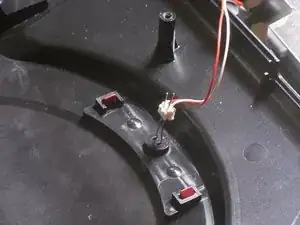
    • Bend out the LED leads into vertical positions.

  5. TFQoTpYHAYOpPmnf
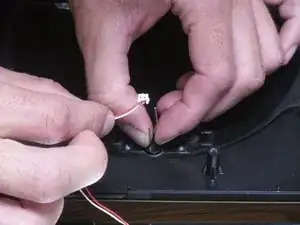
    • Slide the LED wire apparatus off the lead pins.

    • Note: observe which color wire corresponds with which length of pin.

  6. yjpZlChAPxVmPjZy
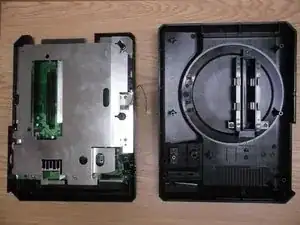
    • Separate the main board from the outer case.

  7. yKTTVvf4VaNRmRn2
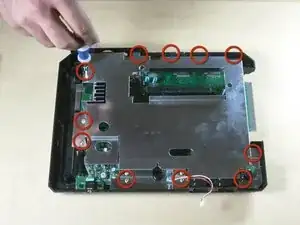
    • Using Philips screwdriver, remove 11 screws securing silver casing.

  8. U5BMTgUf53DjnSxe
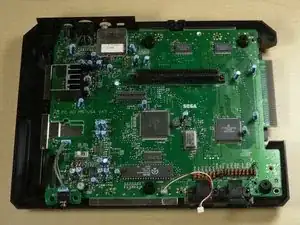
    • Remove silver case.

  9. jvpgeIPKnmHmpYT3
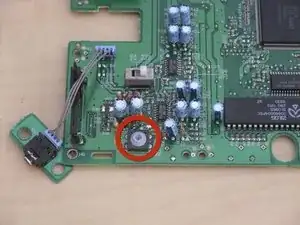
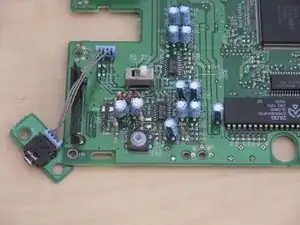
    • Locate reset button on motherboard

  10. fUHtOMTH2HIJIVlw
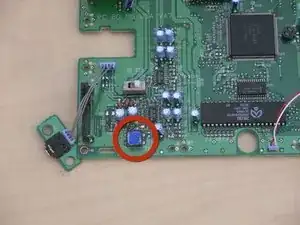
    • Place three pieces of 1cm x 1cm masking tape over reset button.

    You could also, if you feel confident in your skills, desolder the old button and replace it with a standard 4-pin pushbutton. Resolder the new one, and it should work.

    Tsaku -

    This isn't a fix, it's a gash bodge job.

    Peter H. -

    this is sooooooooo $@$*, de-solder the old one and pickup a similar tactile switch and replace it, its works better than factory. You will need to trim the bottom plastic of the switch portion to allow clearance for tactile.

    Konrad P -

Abschluss

To reassemble your device, follow these instructions in reverse order. And the most important, be happy!
calvin

Mitglied seit: 05/10/10

231 Reputation

0 Kommentare