Einleitung

If your vacuum will not turn on and the power cable/connector is faulty, use this guide to replace the power cable/connector. You will need wire strippers, wire end caps, and the T10 and T20 Torx Screwdrivers. Reassembly requires rewiring.

  1. OMnZ1H2BOmUDtmEo
    OMnZ1H2BOmUDtmEo
    HG1qRwXcMeNnmnDW
    O4QDVKPJqnGT1Otu
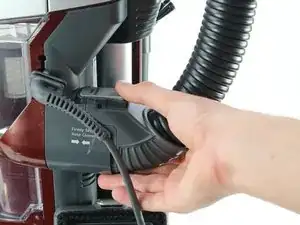
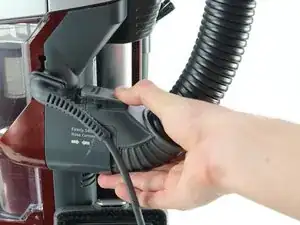
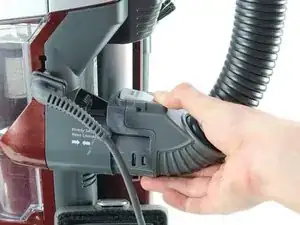
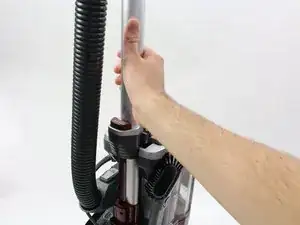
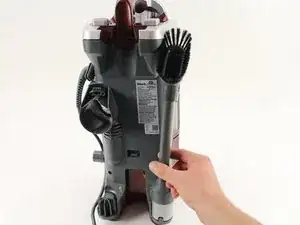
    • Press the Hose Release button and pull back to detach the hose.

  2. XDZNsHw2StHglRch
    XDZNsHw2StHglRch
    tPNTpgNfmtcVMRBO
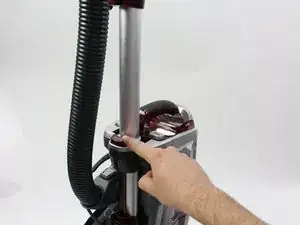
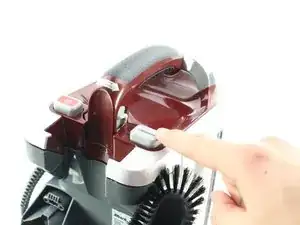
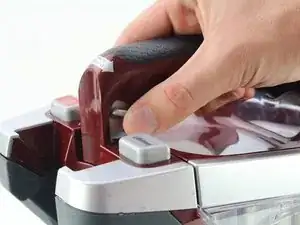
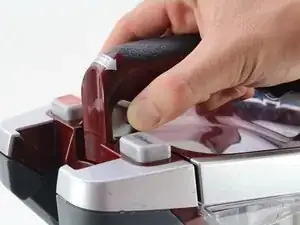
    • Press the Wand Release button and pull up on the metal tube to remove the entire hose.

  3. kd5is5aOEfoLvMaO
    kd5is5aOEfoLvMaO
    ygiIIK3SPSEYCVf2
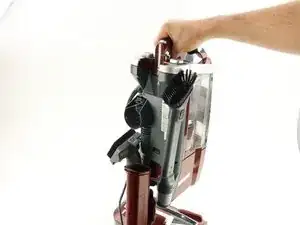
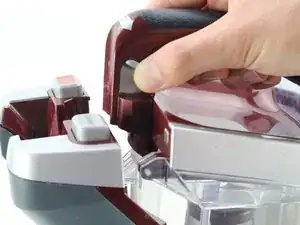
    • Press the Lift Away button and pull up on the handle to separate the top of the vacuum from the bottom.

  4. ZJnGQP3RIBYGg4ux
    ZJnGQP3RIBYGg4ux
    vAIsA1aKNbkLBfvw
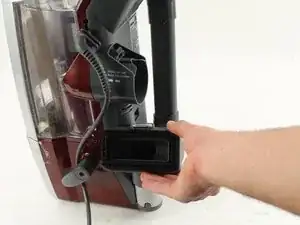
    • Pull up on the extra brush pieces to remove them from the vacuum.

  5. 5bHHVknmhC6dG14b
    5bHHVknmhC6dG14b
    6sCLvFjcw5C6Vaup
    AqMciwWbnKEAgXC5
    • Pull up on the Dustbin Release button, and pull up on the handle to detach the dustbin.

  6. mACJwkPTUEdxADuk
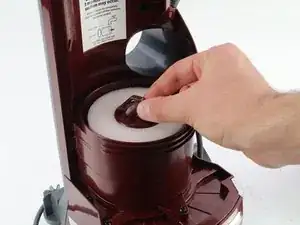
    • Pull up on the filter tab to remove the large foam filter.

  7. Qj2CSZJsZayPEYsL
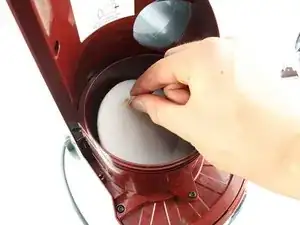
    • Pull up on the small tab to remove the filter pad.

  8. cwNLsnfwnTPQM3sQ
    cwNLsnfwnTPQM3sQ
    MpDmJMJsHfJFaMXF
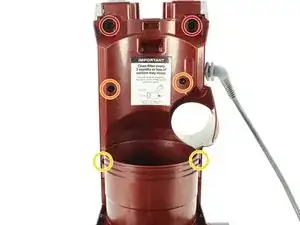
    • Use the T20 screwdriver to remove the two 12 mm screws by turning counterclockwise.

    • Use the T20 screwdriver to remove the two 17 mm screws by turning counterclockwise.

    • Use the T20 screwdriver to remove the two 14 mm screws by turning counterclockwise.

    Hi , the T 20 worked on all screws apart from the 17mm ones. I also tried T15 and T10. They would not work. Do you know what else I could try?

    Son1 -

  9. BtqPZwLkmEU2dvkt
    BtqPZwLkmEU2dvkt
    EcS6oHZtPLlkD6oU
    • Use the T20 screwdriver to remove the three 15 mm screws by turning counterclockwise.

    • Use the T10 screwdriver to remove the one 17 mm screw by turning counterclockwise.

  10. ioDZjbdoEq6RDgLM
    ioDZjbdoEq6RDgLM
    aix5DYAHBTEeMGaF
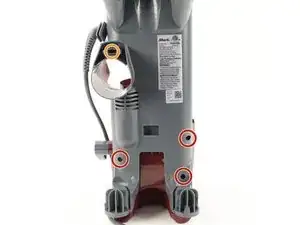
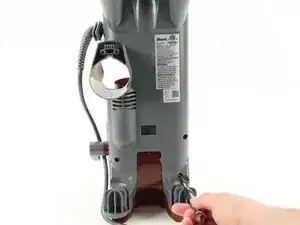
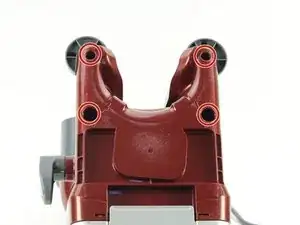
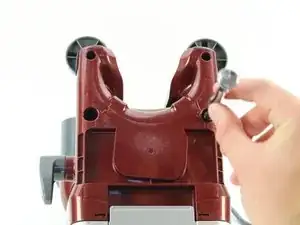
    • Use the T20 screwdriver to remove the four 14 mm screws from the bottom of the vacuum by turning counterclockwise.

    • The grey plastic cylinders will detach.

  11. sdv56r6blXMReyfg
    sdv56r6blXMReyfg
    FQPVnEThPJZw1leA
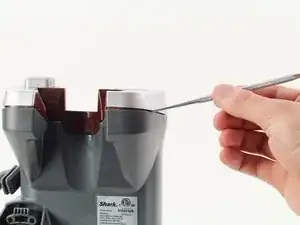
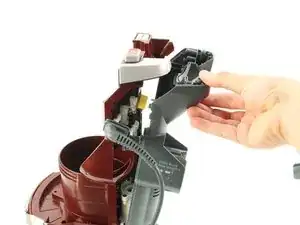
    • Use the metal spudger to pry off the back panel.

    • Be careful not to break or snap any plastic.

    There are 2 TT20 under the top silver cups

    Dmitry Melanchenko -

  12. Zo3lvmset5F6mwZE
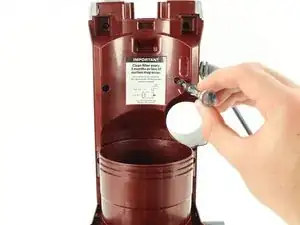
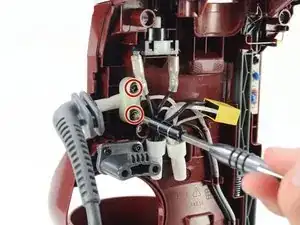
    • On the white cap holding the wire, use the T20 screwdriver to remove the two 12 mm screws by turning counter-clockwise .

    • Remove the white cap by pulling it off the device.

  13. 5srbvFRVXLx3oVLZ
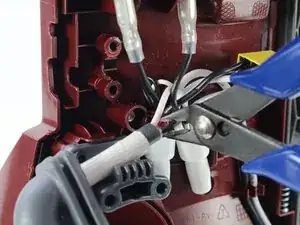
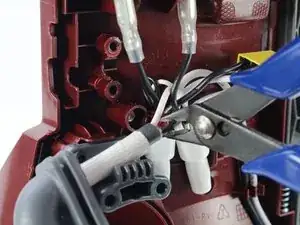
    • Use wire cutters to detach the power cord by cutting the black and white wires.

    • For reassembly, you must strip and then rewire the new power cord using wire strippers and end caps. Use this guide to learn more about stripping wires.

Abschluss

To reassemble your device, you must rewire a new power cord, then follow these instructions in reverse order.

Catie Halvorsen

Mitglied seit: 08/10/18

695 Reputation

Ein Kommentar

Very well done. You need a few stars,/.
David Nancoo -