Einleitung

Soldering skills are required.

  1. OTotc1BW1BuNABlm
    OTotc1BW1BuNABlm
    dEmbNd4ZkBJH6RGf
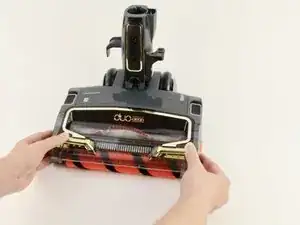
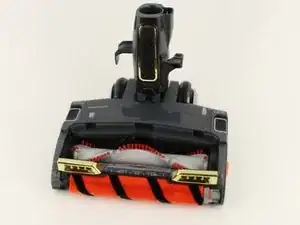
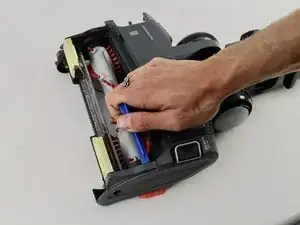
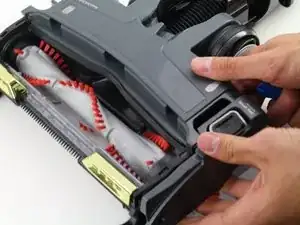
    • Open the garage door by sliding both of the release buttons away from you.

    • Lift off the garage door.

  2. LhQCDWh5s3xGQ1HK
    LhQCDWh5s3xGQ1HK
    DX2wX23HBOFnJq64
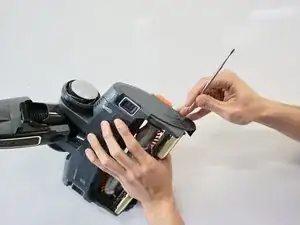
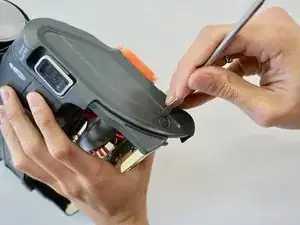
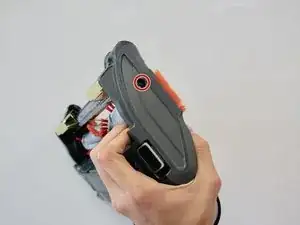
    • Remove the plastic screw covering using a metal spudger by pushing the sharp side into the crevice and prying the cover out.

  3. WWx2UIU6EuURFHwx
    WWx2UIU6EuURFHwx
    o4BH3LgOGsJYYaO4
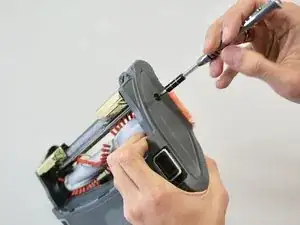
    • Turn the T10 Security Torx screwdriver counterclockwise to remove the 15mm screw.

    I know it is absolutely essential to have a security bit on here to change the belt as you wouldn't want anyone accidently changing it.

    Deb Winters -

  4. FPTmsSwjZgykC2gN
    • Use the iFixit Opening Tool to pry the side of the vacuum open.

  5. kMgeIBnm6mSHKold
    • Remove the side component with your hands.

  6. Mt1eH62XiXrrsaxJ
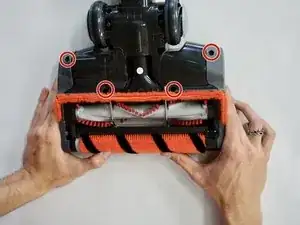
    • Remove the four 15 mm T10 screws on the underside of the vacuum.

    needed to remove 8 screws to get top off

    Martin Bell -

  7. OKDJWGsXX2nLDKNM
    OKDJWGsXX2nLDKNM
    rNPyPrFAboqIN1t2
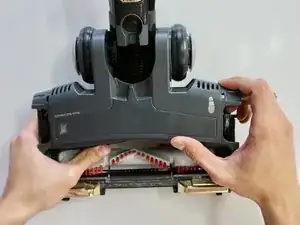
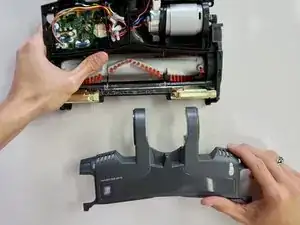
    • Using the plastic spudger, pry the back seam of the top component to pop it off the vacuum.

  8. 2cNQFMGO2mlPGeuO
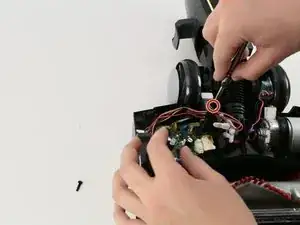
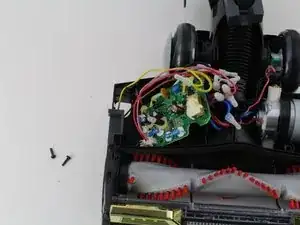
    • Remove one 15mm T10 screw from the inside left of the base of the vacuum to access the motherboard.

  9. 61LIrytNlTMGeUBJ
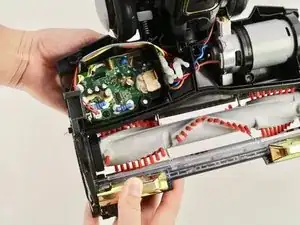
    • Using the nylon spudger, place the curved side under the motherboard.

    • Gently pry the motherboard out of the base of the vacuum.

    • Do not use your fingers to take out the motherboard, as the bottom can be sharp.

    • The motherboard will still be connected to the base with wires.

  10. WYYuj6LPFQyqWRVS
    • Desolder the motherboard wires using wire cutters.

Abschluss

To reassemble your device, follow these instructions in reverse order.
Samantha Mickelson

Mitglied seit: 08/10/18

496 Reputation

0 Kommentare