Einleitung
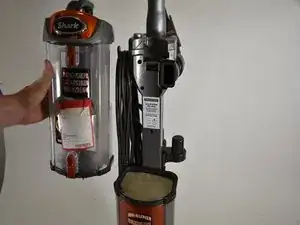
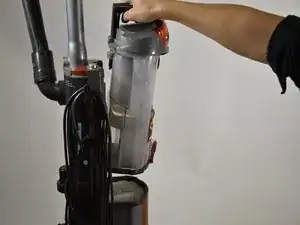
Before completing this guide, it's important to know how to remove the dust cap. If you are unsure how to do so, the dust cap guide is shown below to help you out.
-
-
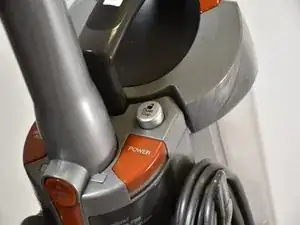
First, locate the button that says "Dust Cup". It is right next to the power button at the base of the handle.
-
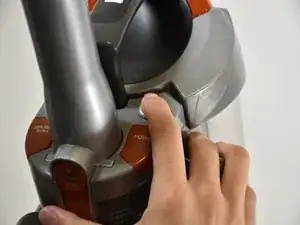
Press the button down completely; you should feel a click.
-
-
-
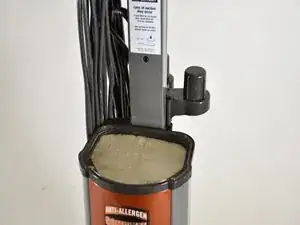
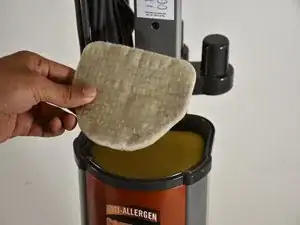
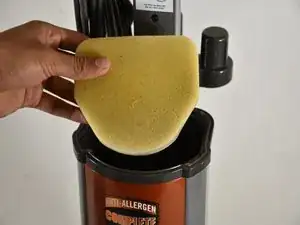
As you look beneath the base of the dust cup, you will see a white foam filter. Remove this filter with your fingers.
-
-
-
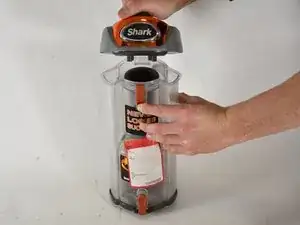
A dust filter is located within the dust cup. To access it, open the dust cup by pressing the orange tab on the front and pulling up on the handle.
-
-
-
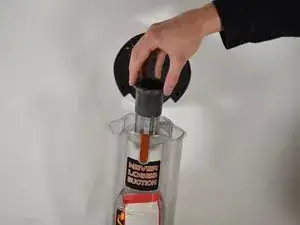
Find the cylindrical screen in the center of the dust cap, grab the top, and pull it straight out.
-
To reassemble your device, follow these instructions in reverse order.
