Einleitung

When the vacuum is turned on, the headlights should simultaneously turn on.

If the headlights don’t turn on, the lights can be inoperative due to electrical malfunctions or due to broken components.

Follow this guide to replace your Shark Rotator Powered Lift-Away headlights.

  1. JFgGGvHaIYWyK6NH
    JFgGGvHaIYWyK6NH
    FUlLsc42FWO1Reiq
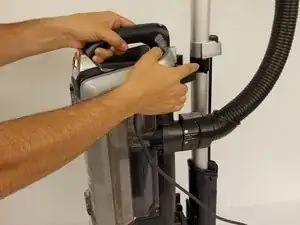
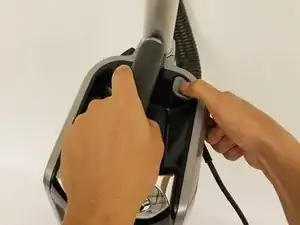
    • Push the lift away button and pull the handle up to separate the body from the wand section.

  2. CfMmOWh6friaxtVC
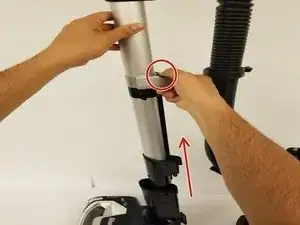
    • Push lift away button on the wand then lift up on the top section to separate.

  3. tNNc5MJkQbvHdOMo
    tNNc5MJkQbvHdOMo
    6AKVFMAb61ohsRqF
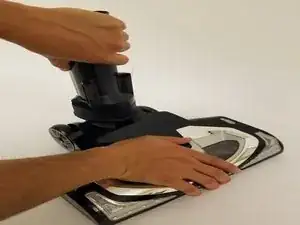
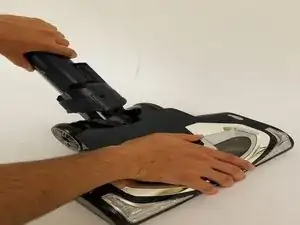
    • Tilt the wand shaft backwards for convenient.

  4. GUA5Wp23NOxU3LiD
    GUA5Wp23NOxU3LiD
    k1LSXTOLKTQnZ2RM
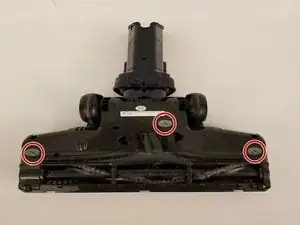
    • Lay the head nozzle piece upside down.

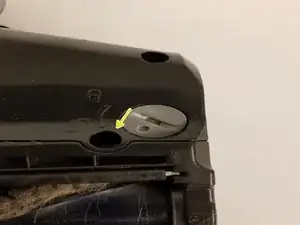
    • Rotate the three gray taps to the unlock position.

  5. WFDqvtBjKV1MwBHX
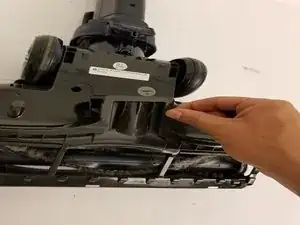
    • With your fingers, pry and pull the brush cage open.

  6. Aa5HbbQFTivWATcm
    Aa5HbbQFTivWATcm
    yqLZWGdhOvB5VGH1
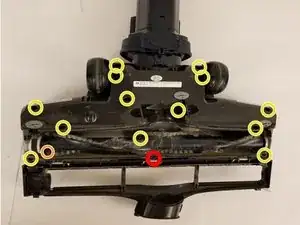
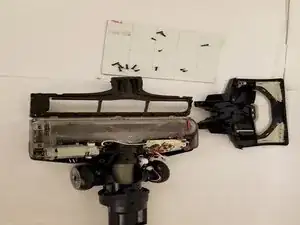
    • Remove the 13 screws (circled in yellow) using a phillips screwdriver.

    • Be sure to keep track of which screws go into which hole.

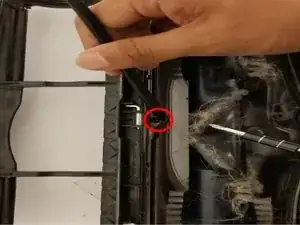
    • Remove the one screw (circled in red) that has a Torx head (might be Phillips head on some models).

    • The Torx screw is hidden under a rubber gasket. Carefully, lift up the gasket without damaging it to access this screw.

    • Remove the horizontal screw (circled in orange) that attaches the gray side panel (necessary to remove the white cap on the roller brush in step 8)

    The 13 Philips screws are Torxt 25 screws not philips head screws it’s a Special torx drive tool.

    John Murray -

    You forgot to explain how to remove the two silver end caps one of them has a philips head screw that has to be removed from the inside,

    and it’s hard to find because it’s usually full of lint.

    John Murray -

    On model NV 752 the torx screw is a T20, not T25. and it is the screw that is in the middle of the unit, not on the end where the red circle is shown above. This is not for the feint of heart. I have now replaced the roller and I am having trouble putting it back together again.

    I have replaced roller brushes on other vacuums and this doesn’t have to be this difficult people. I love my Shark but may reconsider buying another based on how difficult it is to replace this roller brush.

    Jkg Gardiner -

    I agree with you. The designer knew nothing about "design for assembly" and "design for servicing". I was a design engineer for over 30 years for generators. Those are two important aspects of design. Also, one tries to minimize the number of screws and attempts to make then all the same size. Anyone attempting this for the first time will rate this replacement as difficult. So why is a recessed torx bit required? Obviously, they want service reps to make money.

    Tim Gurr -

    My NV 752 had all Phillips screws - 15 of them total. One is hidden on the belt side almost under the brush--the only one positioned horizontally--and holds the gray side panel that covers the cap discussed in step 8.

    E A -

    My model number is UV770QCH but it's similar to NV 750 W. I too had a Phillips screw hidden on the belt side under the brush. There was a Phillips screw that ran horizontal to the brush roll cassette that was very difficult to find. As others noted, it was located in a different position from the one pictured in this demo. Also, it was covered in lint and very awkward to reach (glad to have small hands for once). Most other screws required a Torx 20. Four screws (including hidden under brush screw) needed a 2.0 50ml Phillips. Hopefully, my new brush roller lasts a while.

    Nancy McElroy -

  7. xsveySkwrIsS5wMT
    • Lift up the top cover now that all of the screws have been removed.

  8. TadoFxfALdBrBFRs
    • Detach the headlight’s red and black wires from plastic clip as shown.

  9. 1V6DPWhB1SJUGiZo
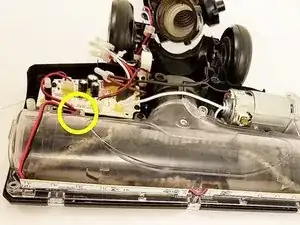
    • Follow the headlight’s red and black wires to the circuit board.

  10. R3tjbjEyIClxOFDW
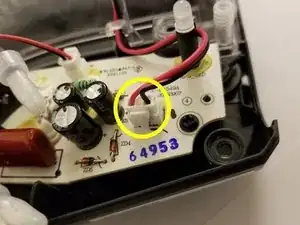
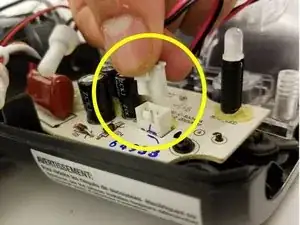
    • Unclip the 2-pin electrical connector by pressing the tab then lift up.

  11. vpR3UGDQuOuNVHEy
    vpR3UGDQuOuNVHEy
    YHb2OVFltqcPAbaT
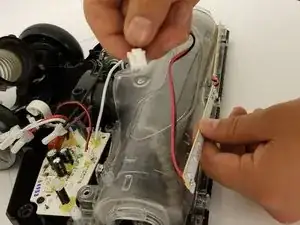
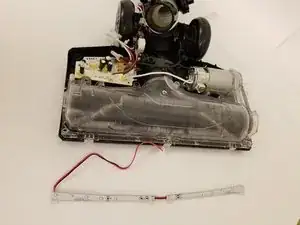
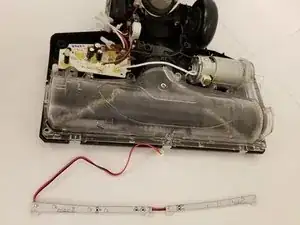
    • Carefully lift the headlights and its wires from the vacuum assembly.

Abschluss

To reassemble your device, follow these instructions in reverse order.

Diego Ruvalcaba

Mitglied seit: 28/09/17

129 Reputation

3 Kommentare

Shark sent a brand new replacement nozzle to me (covered in their 5yr warranty) but head lights STILL DO NOT WORK - which makes me wonder where else the issue could be because the above “fix” would not have fixed my vacuum head lights.

Ginger Myrick -

These steps are great, but how do you ACTUALLY replace the led light strip itself? Do u need a special strip? Just any led strip? U left a few more steps out. Is like to replace mine instead of buying a whole new vacuum head.

Lisa Janette -

Protip: Print out a copy of the first photo for step 6 as large as will fit on the page. Tape it to a piece of foam board and poke the screws into it as you remove them. This makes it easy to remember which screw came from where.
Dave Thayer -