Einleitung

I am not responsible for anything in this article.

  1. RgEiemF1PKWT36Lk
    RgEiemF1PKWT36Lk
    ZitvOg1Mn5GJoO5O
    X21pqR1Xtjb2xSSN
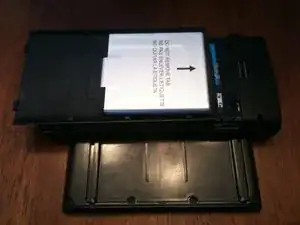
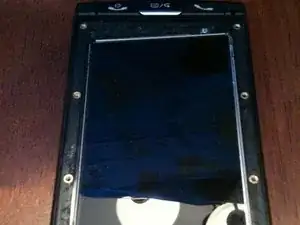
    • Remove - Back,microSD,battery,sim

    • Remove black rubber screw covers on back of display.

    • Remove 000 phillips screws (4) from top of display.

  2. uNUbejD3UEetU1oR
    uNUbejD3UEetU1oR
    uf1e2lUkq5I3DJqh
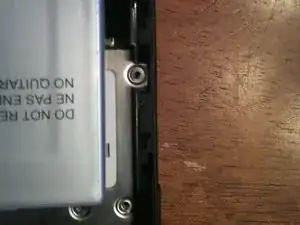
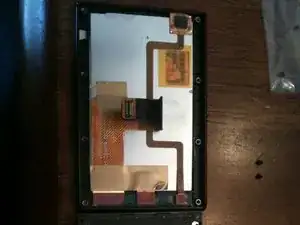
    • Remove 3 small silver screws from battery area.

    • Remove 2 Torx t-7's by MicroSD slot.

    • After screws are removed you can detach screen.

  3. IJeEQTuUsJKTFkmI
    IJeEQTuUsJKTFkmI
    wHywQJw6G2QmDcSI
    NSoU5DPHuDKGkYgW
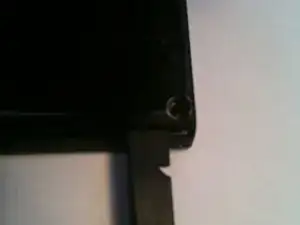
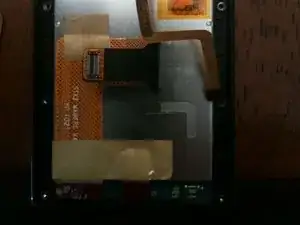
    • Remove 4 additional 000 phillips screws from display.

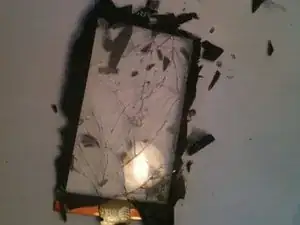
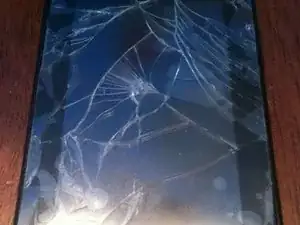
    • Using some heat,spudger,frce pry away the broken display from the frame.

    • Use extreme caution the actual display is very fragile.

  4. NrFxPGNVcMGdAnOO
    NrFxPGNVcMGdAnOO
    fpSYuTNRExCNIyNL
    n2mjVgRLmNSDcBYe
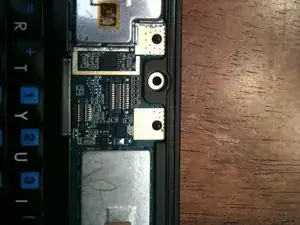
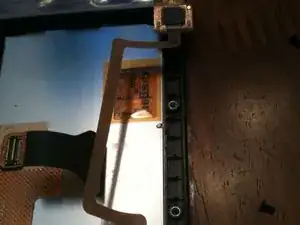
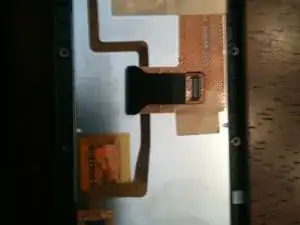
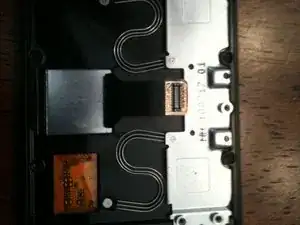
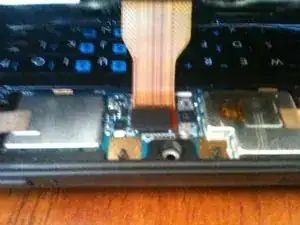
    • Remove connector for digitizer

    • replace connector with new digitizer and rebuild.

  5. nYAND1KQnmVY13Xf
    nYAND1KQnmVY13Xf
    23Xn2MjW4cs2Dqpt
    LvCGj1lZex5AhKY2
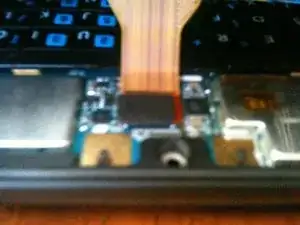
    • Reconnect to main motherboard.

  6. MuQckhpa6FmT2vH6
    MuQckhpa6FmT2vH6
    DNQVd5UWtdPkZuhx
    dbc4fHBCC6EyBR1V
    • reassemble.

    • Enjoy the new display

Abschluss

To reassemble your device, follow these instructions in reverse order.
jckoniecki

Mitglied seit: 08/11/10

51 Reputation

0 Kommentare