Einleitung
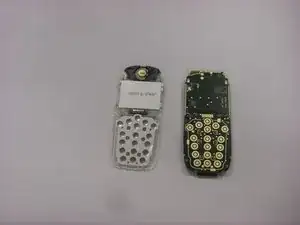
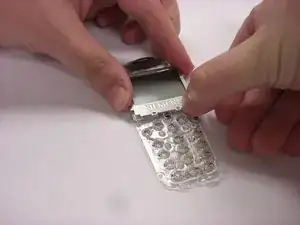
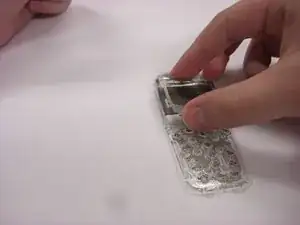
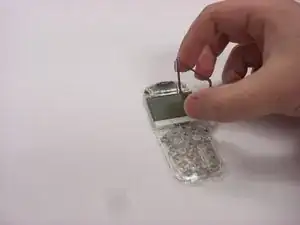
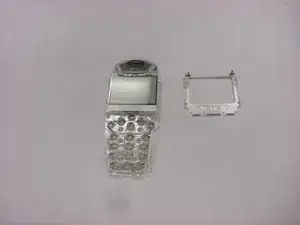
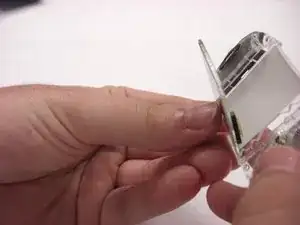
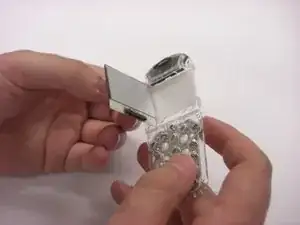
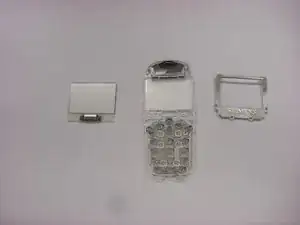
After testing other solutions for a malfunctioning screen, replacement of the LCD screen may be necessary. This guide will show the user how to open the Siemens A56 cell phone and remove the LCD screen. If a pixel is not displaying or the screen in general is not displaying, this guide may be a solution.
Werkzeuge
-
-
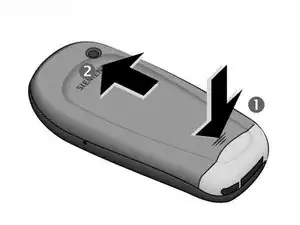
Press down on the grooved area firmly in the direction of arrow #1.
-
While maintaining the downwards pressure, push the back cover in the direction of arrow #2 until the back cover slides off.
-
-
-
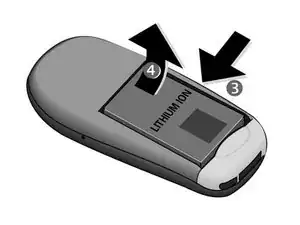
Press the latch on the battery in the direction of arrow #3.
-
Lift battery at the cutout on the side of the phone, then tilt upwards and remove.
-
-
-
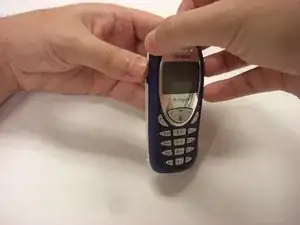
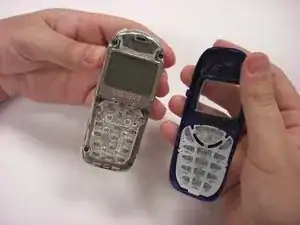
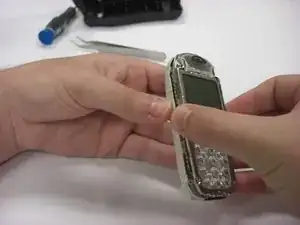
Firmly grasp the white casing of the phone with one hand and the blue cover with the other hand as seen in the first picture.
-
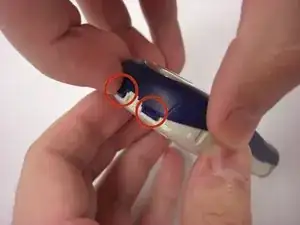
Pull up on the two plastic clips at the top of the phone.
-
While the clips are pulled up, pull the blue cover away from the white casing to remove it.
-
-
-
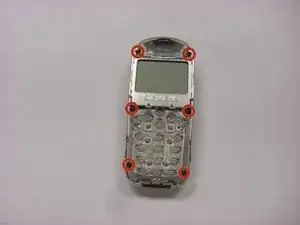
Along the side of the metal frame of the phone, locate the six screws.
-
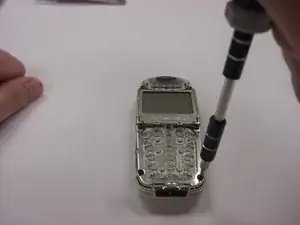
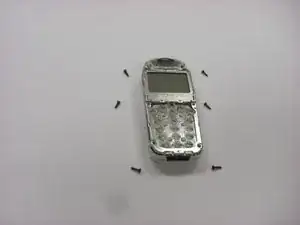
Using a T5 screwdriver bit, unscrew the six 1/4 inch screws and store them in a safe place.
-
-
-
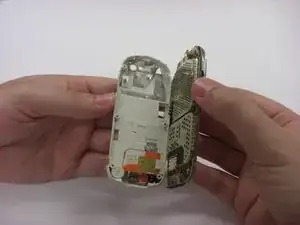
To remove the back plastic cover, grasp the device with both hands as seen in the first picture.
-
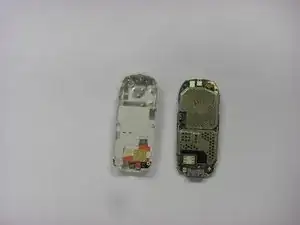
Gently remove the motherboard from the back plastic cover.
-
-
-
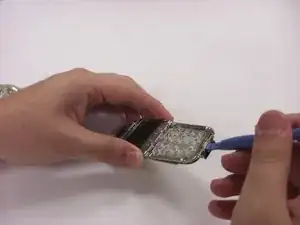
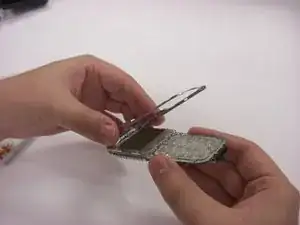
Turn over the keypad interface and using the blue plastic opening tool, gently pry the bottom of the metal frame.
-
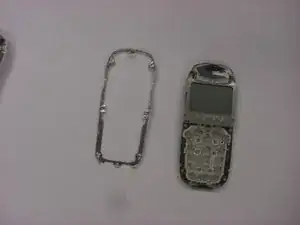
Once loosened, the metal frame should be able to be lifted from the motherboard.
-
-
-
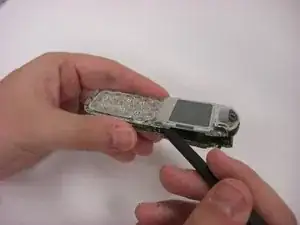
Insert the fine-tipped spudger in between the motherboard and the keypad interface.
-
Gently work the spudger across the length of the motherboard.
-
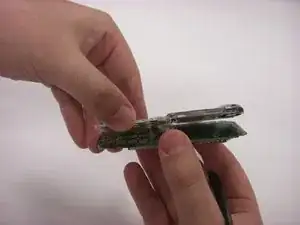
Once loosened, the motherboard should easily separate from the keypad interface.
-
-
-
Locate the LCD Display.
-
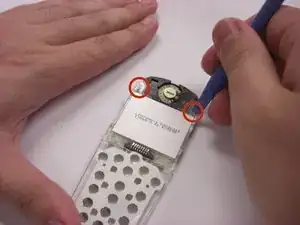
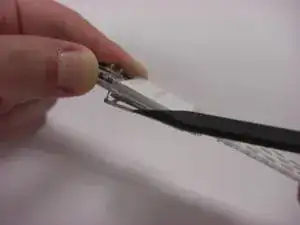
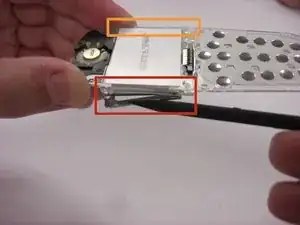
Above the display, there are two metal clasps. Bend the clasps until they are straight.
-
-
-
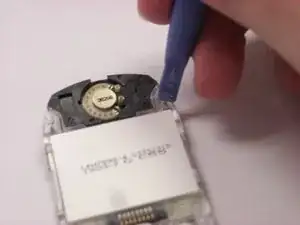
On the sides of the display there are two more metal clasps.
-
Gently bend the clasp so that the metal display frame becomes loose from the screen.
-
Flip the device over and gently bend the other clasp so that the metal display frame becomes loose from the screen.
-
-
-
Place the device so the display screen is facing up.
-
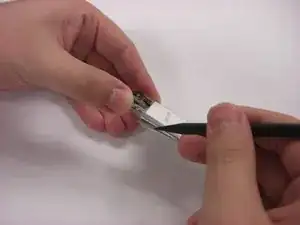
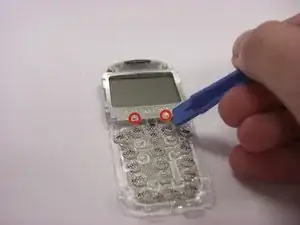
On the bottom of the display frame, locate two plastic rivets.
-
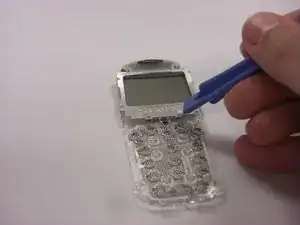
Remove these rivets by scraping with the plastic opening tool or a fingernail.
-
-
-
Once the metal frame is removed, the LCD display should fall from the keypad interface when tilted.
-
To reassemble your device, follow these instructions in reverse order.

