Einleitung
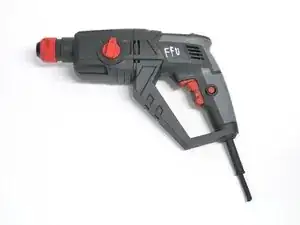
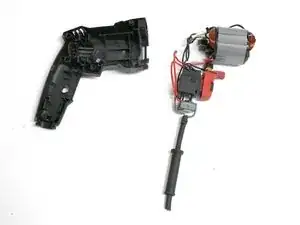
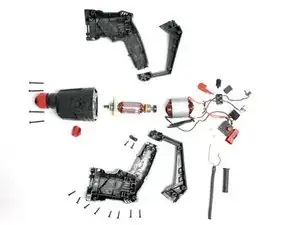
This guide is helpful if you need to access any of the internal parts of this (Skil) hammer drill. We demonstrate how to take out the cord, the trigger, and motor assembly.
Werkzeuge
-
-
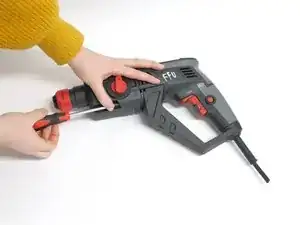
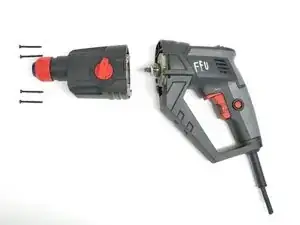
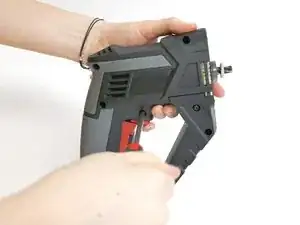
With a Phillips size 2 screwdriver, unscrew the four 40mm screws from the front body.
-
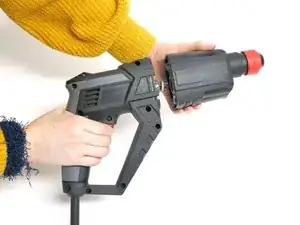
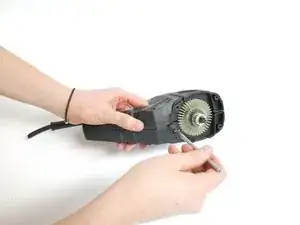
The front comes right off. Unfortunately this part is very rigidly put together, in fact so rigidly we were not able to disassemble it any further.
-
-
-
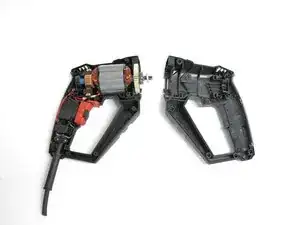
With a pry tool, separate the two halves. You might need to go all around before they come loose.
-
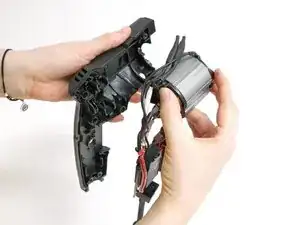
Take a moment to admire all that is inside.
-
-
-
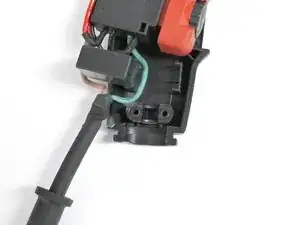
Unscrew the two 15mm screws that secure the cord.
-
The cord and its cradle look like one part, but actually they aren't.
-
-
-
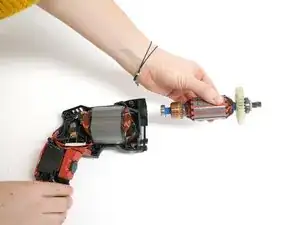
Before we go any further, release the rotor from the motor assembly. Beautiful thing to behold, no?
-
You might need to lift the bearing from its position behind the motor in order to take the rotor out.
-
-
-
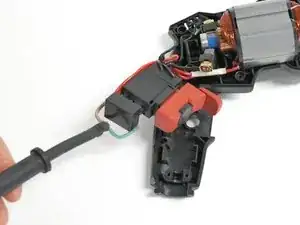
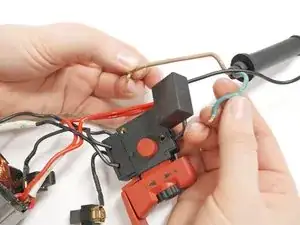
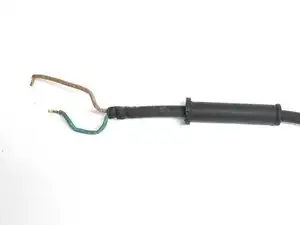
We are now going to take out the power cable. Its leads are attached to the trigger box.
-
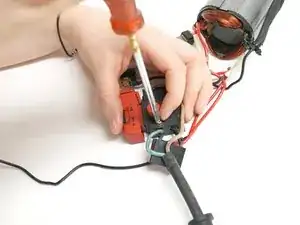
With a size 3 slotted screwdriver, unscrew the two 10mm brass screws to release the power cord.
-
-
-
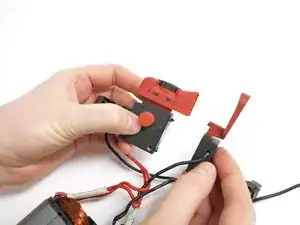
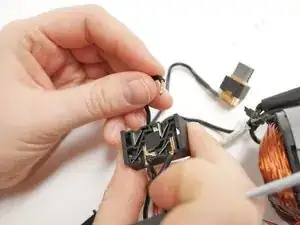
Pull apart the trigger and polarity switch boxes.
-
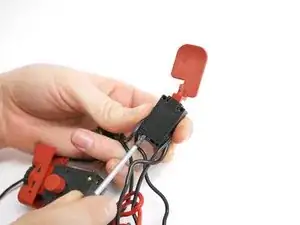
With your size 3 slotted screwdriver, or the pry, pry off the lid of the polarity switch. Using this switch the current to the motor is reversed to it turns the other way.
-
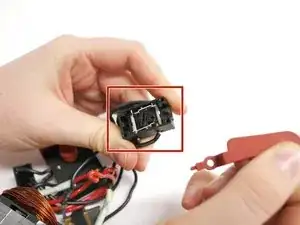
Interesting spring mechanism!
-
-
-
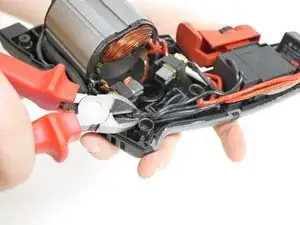
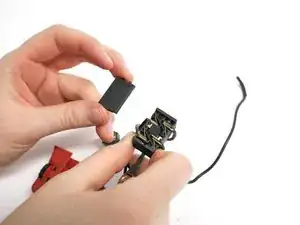
Flip over the polarity swith box. The brushes that transfer power to the motor are attached inside here.
-
The wires are not soldered which allows you to replace the brushes. Don't lose the springs that hold 'em in place though!
-
To reassemble your device, follow these instructions in reverse order.
