Einleitung
Prerequisite Only
Werkzeuge
-
-
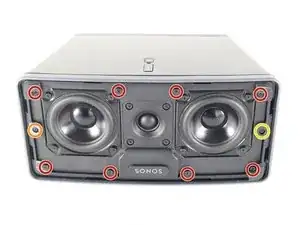
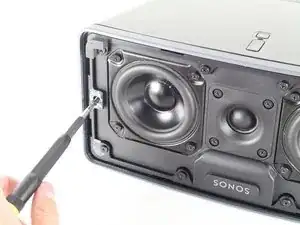
Unscrew eight 1.5 inch Phillips #2 screws attaching the front speaker panel to the box.
-
Unscrew the single 1 inch Phillips #2 screw located on the left side of the panel. This may be hidden beneath the warranty void sticker that you'll want to remove.
-
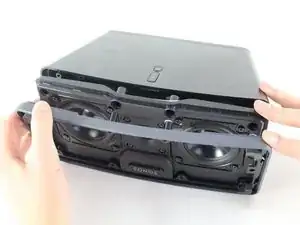
Unscrew the single 3/4 inch Phillips #2 screw, which is the last thing holding the front panel to the casing.
-
-
-
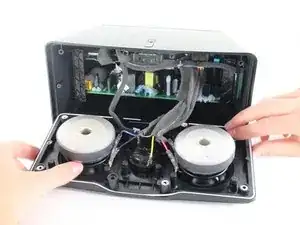
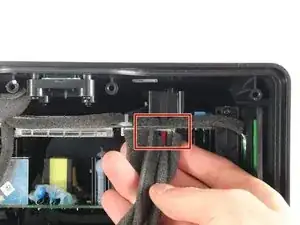
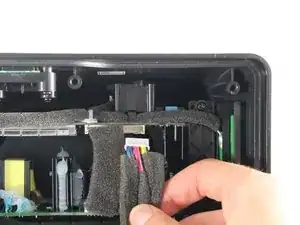
Disconnect the front panel from the motherboard by gently reaching in and pushing the tab underneath the wire connector and pulling towards you.
-
-
-
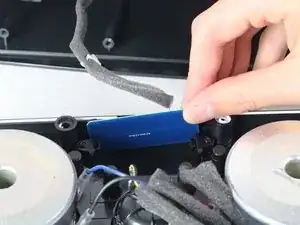
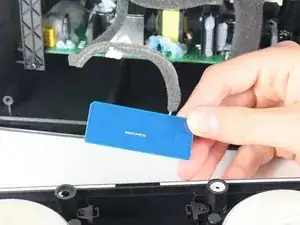
Gently remove the wireless card located at the bottom of the front speaker panel by pulling up and out with your index finger and thumb.
-
Abschluss
To reassemble your device, follow these instructions in reverse order.
