Einleitung

This guide shows how to replace a speaker from the main array of a Sonos Playbase.

  1. VKXYAE6tEwo11DgF
    VKXYAE6tEwo11DgF
    fGKASXj4yk4Sxwoa
    nNwTIGAsZKfhY5Fy
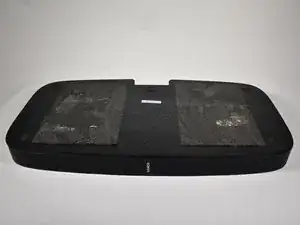
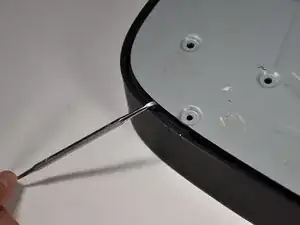
    • Turn the Playbase upside down so that the "Sonos Playbase" imprint is face up.

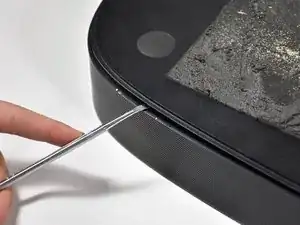
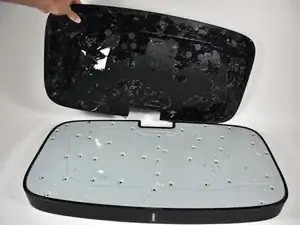
    • Remove the bottom panel with an Opening Tool by inserting underneath and prying upwards.

    • Melt the adhesive with an iOpener for ease of opening

    • Use a Metal Spudger if the plastic spudgers do not work.

    • Take care to avoid damaging the plastic or the device if using a metal spudger.

    what good is this without a link to where to buy the part you are replacing?

    Rob Wright -

  2. foPotuMrdmuO3fWH
    foPotuMrdmuO3fWH
    LoXPZsfpkqAVcyoB
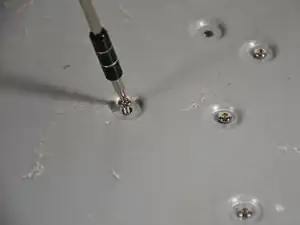
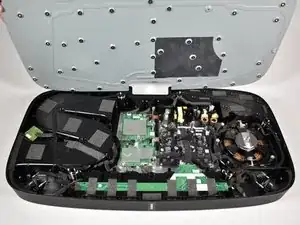
    • Remove the fourteen 11mm T-10 screws by turning counter-clockwise.

    • Remove the seven 44mm T-20 screws by turning counter-clockwise.

    • Remove the twenty-two 34mm T-20 screws by turning counter-clockwise.

    • Record where each screw belongs for easier reassembly.

  3. fqbLjYotpPXykwjb
    fqbLjYotpPXykwjb
    3W5mUoqtpAGPDZwK
    • Remove the metal plate with a Opening Tool by inserting underneath and prying upwards.

    • Use a metal spudger if plastic openers do not work.

    • Take care to avoid damaging the plastic or the device if using a metal spudger.

  4. bWShwrkGcxexaYSS
    bWShwrkGcxexaYSS
    xFeQA44ELNeVYkKx
  5. e1jYhpiqpvLIDSsv
    e1jYhpiqpvLIDSsv
    CY5xPuFDbqQZOC5I
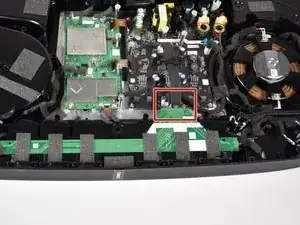
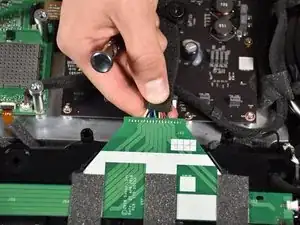
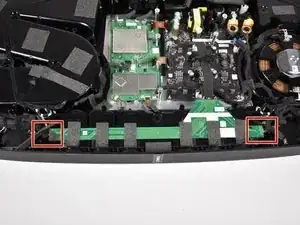
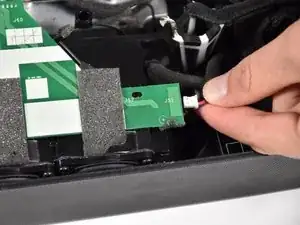
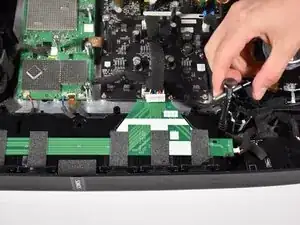
    • Remove the side speakers from the green printed circuit board (PCB) running along the top of the main speaker array by pinching and pulling out the connector.

    • See Recognizing & Disconnecting Cable Connectors for more information.

  6. VvTuXpIA46Sh6SHP
    VvTuXpIA46Sh6SHP
    ZBgUKhEKYknTBNkW
    ehUGlvONlqJoRxZ2
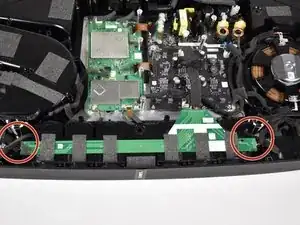
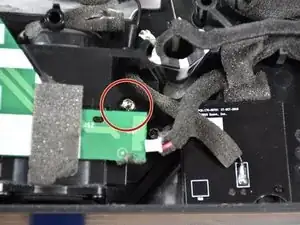
    • Remove the two 16mm T-20 screws located on both sides of the main speaker array by turning counter-clockwise.

  7. hGXt5Jx5kGi1IRYn
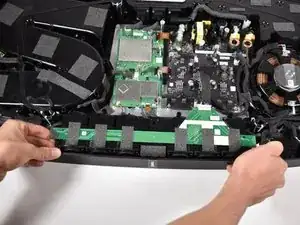
    • Remove the main speaker array by gripping it on both sides and pulling it out.

    • The array may require a significant amount of force to remove.

    • Use prying tools as necessary to remove the main speaker array if you are unsuccessful using your hands.

    • Do not to yank the array out too suddenly or too far as this may damage the device.

  8. Buaxark2HYJ4XD4Q
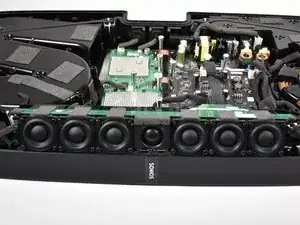
    • Prop the removed main speaker array up on top of the main circuit board.

  9. NQ1sMd1IHkhpgI2I
    NQ1sMd1IHkhpgI2I
    BgTbOeh3UDsFwWmA
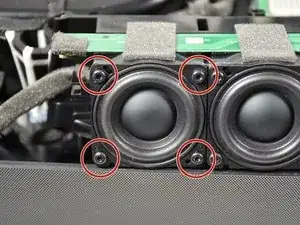
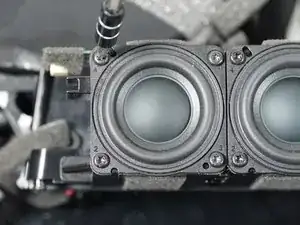
    • Remove the four 11mm T-10 screws from the individual speaker that needs replacement, by turning the screws counterclockwise.

  10. PRrAhoXQG2mPH6Ao
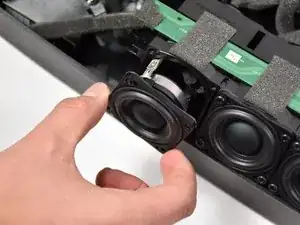
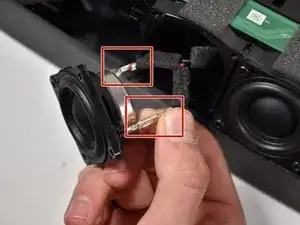
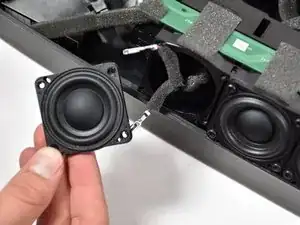
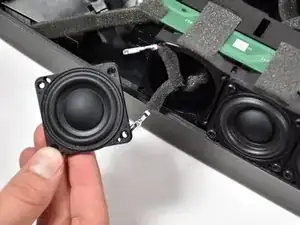
    • Remove the damaged speaker from the array socket, by grasping the speaker with one hand, the array with your other and pulling outward.

  11. 2gJxhPpqThcNGtRQ
    2gJxhPpqThcNGtRQ
    EwSHB1ePJNStwieh
Abschluss

To reassemble your device, follow these instructions in reverse order.
George Slivka

Mitglied seit: 08/10/18

339 Reputation

0 Kommentare