Einleitung
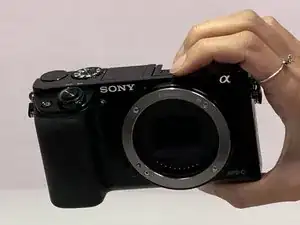
This guide will tell you how to replace the flash assembly of the a6000 camera if it breaks or gets damaged.
Werkzeuge
-
-
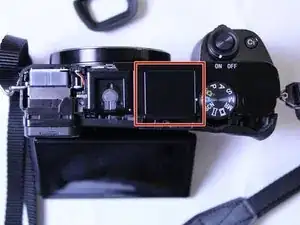
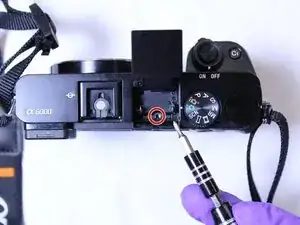
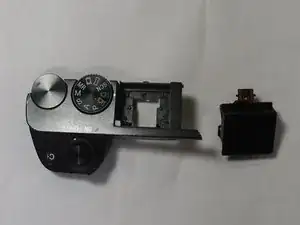
Open the flash assembly.
-
Using the Phillips #00 screwdriver, remove the single screw beneath the flash assembly.
-
-
-
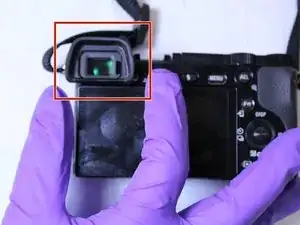
Position the camera with the LCD screen facing upwards.
-
Pull back the LCD Screen.
-
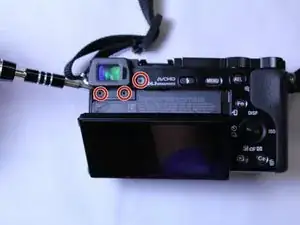
Using the Phillips #00 screwdriver, remove the three screws beneath the viewfinder.
-
-
-
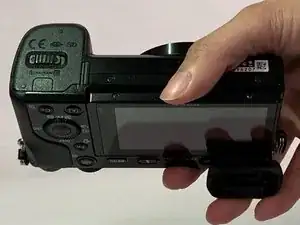
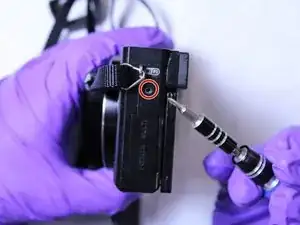
Position the camera with the HDMI port facing upwards.
-
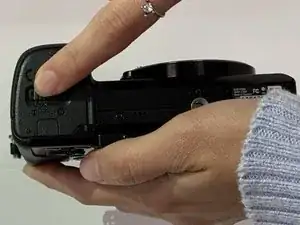
Using the Phillips #00 screwdriver, unscrew the single screw on the left side of the camera body.
-
-
-
Position the camera with the top panel facing upwards.
-
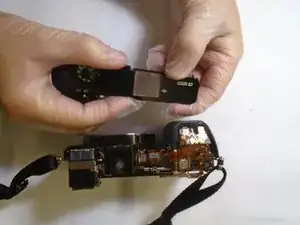
Carefully separate the top of the camera from the body using plastic opening tool.
-
-
-
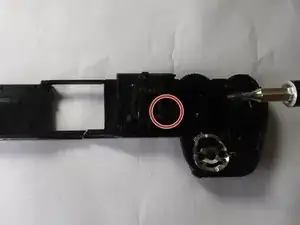
Position the camera so the top panel's underside is facing you
-
Using the Phillips #00 screwdriver, unscrew the screw underneath the flash assembly.
-
To reassemble your device, follow these instructions in reverse order.
3 Kommentare
Anyone know where to get the flash? My daughter’s has the “won’t stay closed” problem so common to the a-series and I need to replace it.
Thanks, good guide but please update it according to Jürgens comments or there is a big risk people will break their top panel.
David: I got the flash unit from AliExpress, but you can find it on Ebay as well.
Thanks for the guide! I had to open additional 2 more screws inside the battery compartment. and only had to remove 2 bottom screws on Step 8 (instead of 3). Replaced the flash unit without any issue. Thank you!
