Einleitung
Werkzeuge
-
-
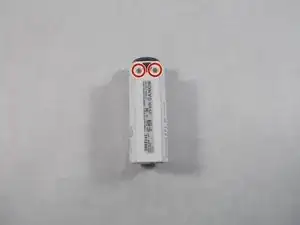
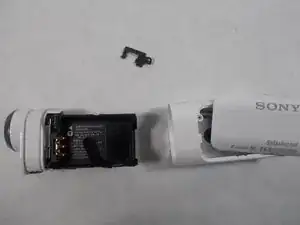
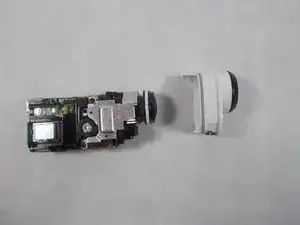
Start by removing the two screws on the bottom, and the screw inside the battery room. Once these are removed, slide the door out, and the small piece of plastic with the door. Now, grab the lens and pull the body out of the plastic, this will reveal the insides of the device.
-
-
-
You'll see a screw on the top of the device, towards the front, remove this screw. Next pull the tabs on the bottom and top of the lens, and pull outward, this will remove the lens housing from the body. Once removed, flip the device onto its side, leaving the LCD display facing up.
-
-
-
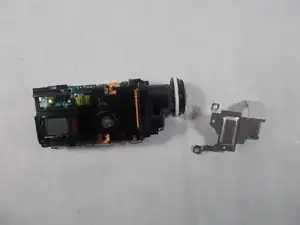
Remove the screws connected to the silver metal plate, once done, remove the plate by pulling the back up and pushing it towards the front. Now remove the screw directly above the LCD display, this will loosen the plastic up. Pull the plastic up gently, it will be connected by cables on the bottom.
-
-
-
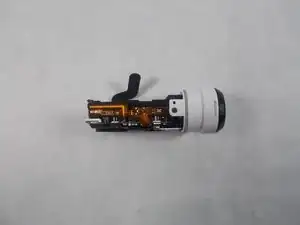
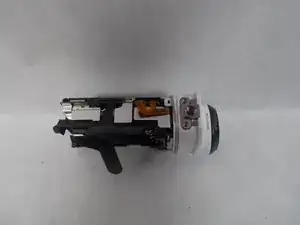
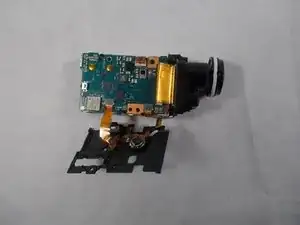
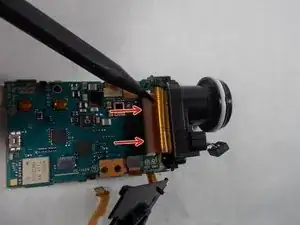
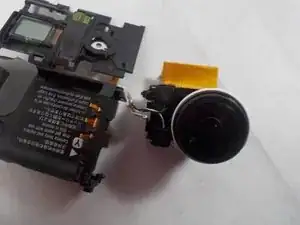
This will reveal the thick cable, carefully pull this cable towards the front. Next remove one last screw on the top of the device, and slowly pull the lens out. You'll notice that the microphone is still connected to the lens, just pop these out and the lens is off.
-
-
-
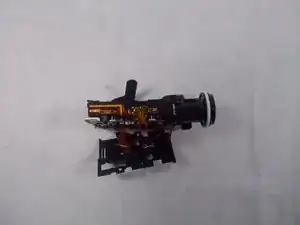
Next unsolder the microphone cables from the board. This will only take a few moments. Once completed put the new cables in the same place and resolder.
-
To reassemble your device, follow these instructions in reverse order.
