Einleitung
The E-mount, the interface between a camera body and a lens, can be easily replaced when it's time to change a dented or non-functioning E-mount. E-mount is also referred to as a lens mount when the camera it is attached to has an interchangeable lens.
Werkzeuge
-
-
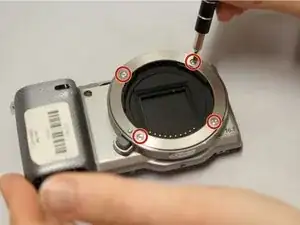
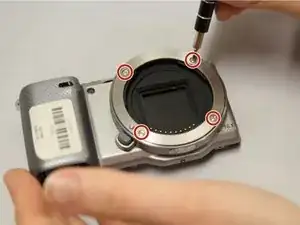
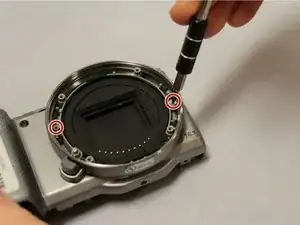
Unscrew the 4 silver 1.2 mm Phillips #000 screws along the front outer lens mount.
-
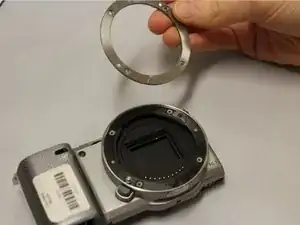
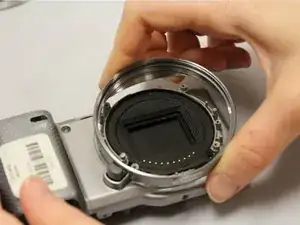
Detach the outer lens mount ring.
-
-
-
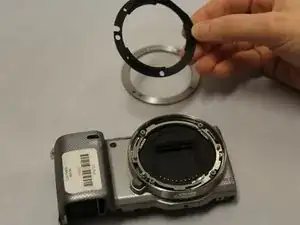
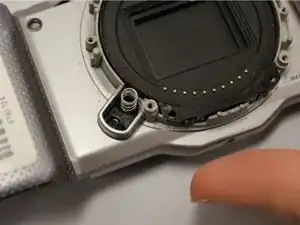
Using your fingers, pull out the first black spacer ring.
-
Repeat the previous step for the second silver spacer ring.
-
-
-
Unscrew the 2 silver 1.2 mm Phillips #000 screws on opposing sides in the lens ring area.
-
Using your fingers, easily pull off lens housing. This will complete the removal of the E-mount.
-
Abschluss
To reassemble your device, follow these instructions in reverse order.
