Einleitung
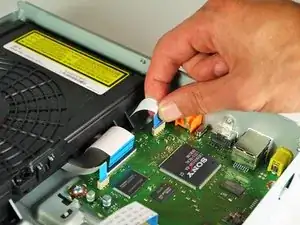
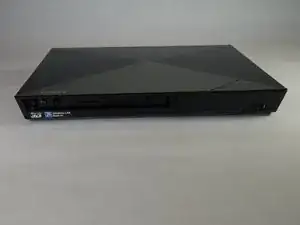
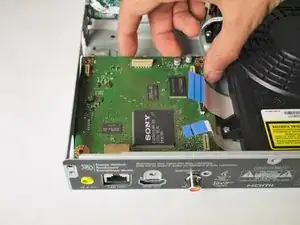
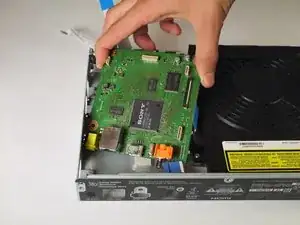
The motherboard is the brains of a Blu Ray Player. If it gets damaged, you will have to replace it. This is also how you would start to replace any of the ports on the back of the device, as they connect to the motherboard.
Werkzeuge
-
-
Plug in the Blu-Ray player, then press the power button, making sure the Blu-Ray player is powered on.
-
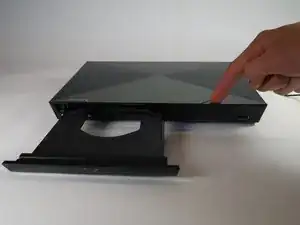
Press the eject button on either the top of the Blu-Ray player or on the remote to open the disc tray.
-
-
-
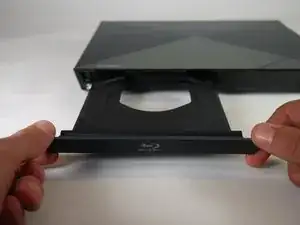
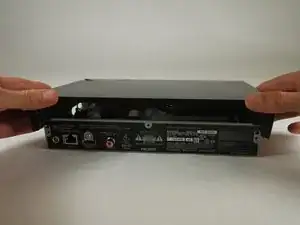
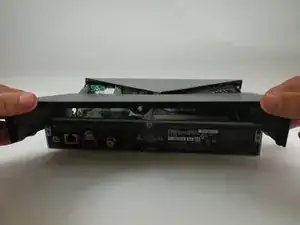
Grab the sides of the disc tray cover and carefully pull each side upwards, starting with the left side. This will unhook the cover from the tray.
-
-
-
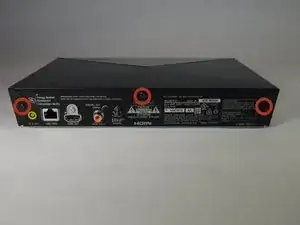
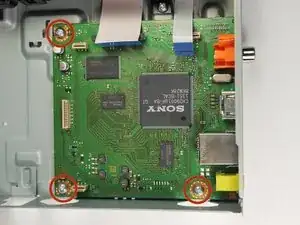
Locate the three 8 mm screws on the back of the Blu-Ray player.
-
Using the Phillips #2 screwdriver, unscrew each of the screws and set them aside.
-
-
-
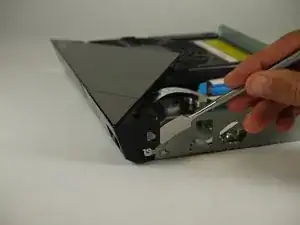
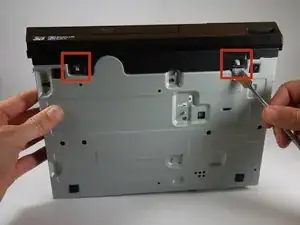
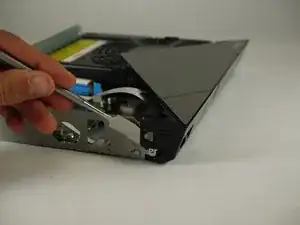
Insert the nylon or metal spudger under the clip on the side near the front of the device. Lift the clip so it is free from the device.
-
-
-
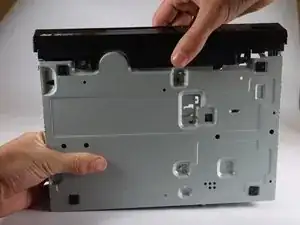
Flip device over so the bottom faces you.
-
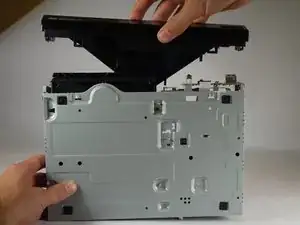
Insert the nylon or metal spudger and lift the two clips on the bottom of the device.
-
-
-
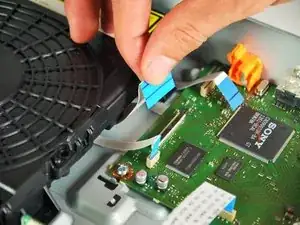
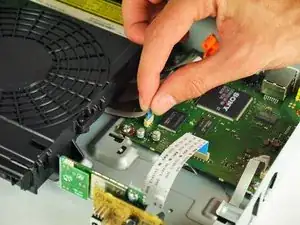
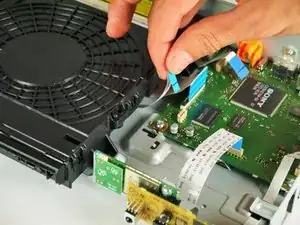
Remove the medium ribbon cable connecting the disc drive to the motherboard by lifting it out of its slot with your fingers.
-
-
-
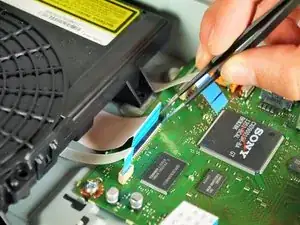
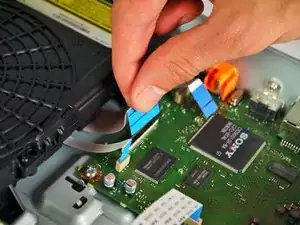
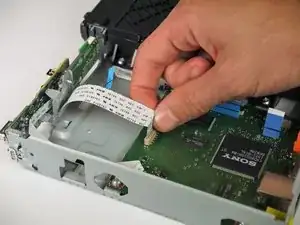
With the tweezers, remove the large ribbon cable by grabbing the black part of the connector and gently lifting up on each side.
-
Grab the ribbon with your hand and lift it out of the connector.
-
-
-
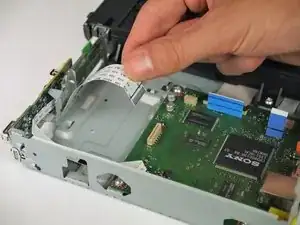
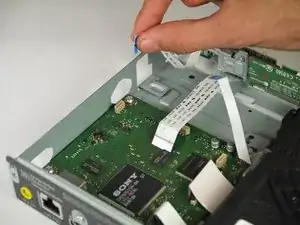
Remove the large, white ribbon cable connecting the motherboard to the port board (the larger of the two on the side nearest the front of the player) by lifting it out of its connector.
-
-
-
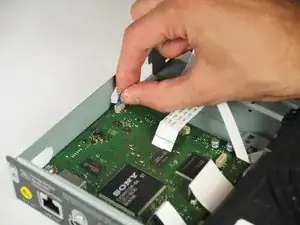
Lift up the white ribbon cable connecting the Bluetooth board to the motherboard (the smaller of the two on the front side of the motherboard) to remove it.
-
-
-
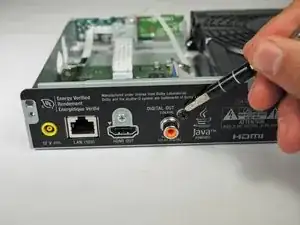
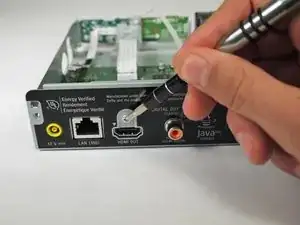
Remove the black, 1 cm screw to the upper right of the coaxial port using a PH2 screwdriver bit.
-
To reassemble your device, follow these instructions in reverse order.
Ein Kommentar
Hi,
Can you help me identify the SoC on this unit? It seems to be a Sony/Mediatek CXD90018R but i cant find any documentation about it (CPU arch, GPU, Pinout etc).
Thank you
