Einleitung
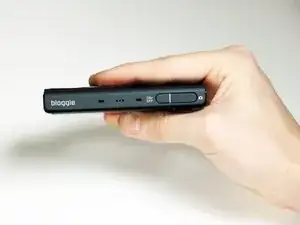
We turn our devices on and off every single day, and as such, the buttons wear over time. This repair guide will focus on replacing the electrical components controlling the On/Off buttons.
Werkzeuge
-
-
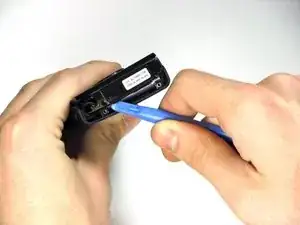
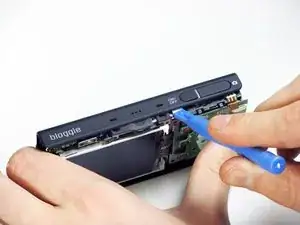
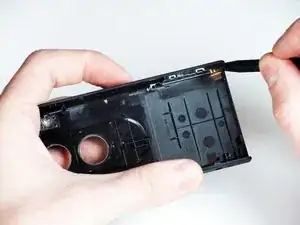
Use a plastic opening tool to pry the cover open.
-
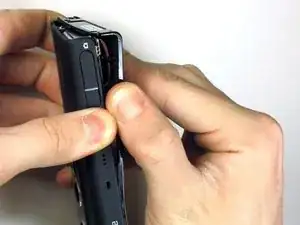
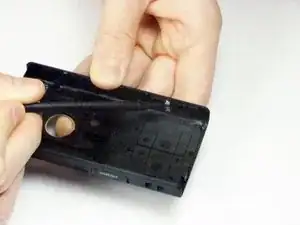
After the the cover is partly open as shown, remove the cover with your hands.
-
-
-
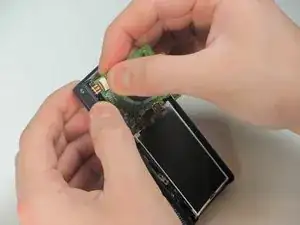
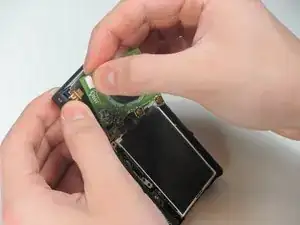
Using your hand, or a pair of tweezers, remove the ZIF connector by gently pulling it out of the dock on the circuit board.
-
-
-
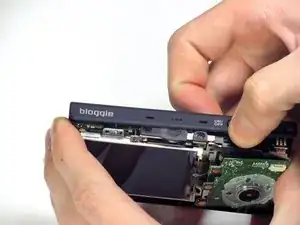
Use a plastic opening tool to loosen the back cover off the device.
-
Once the back cover is loose, remove it gently by hand.
-
Abschluss
To reassemble your device, follow these instructions in reverse order.
