Einleitung

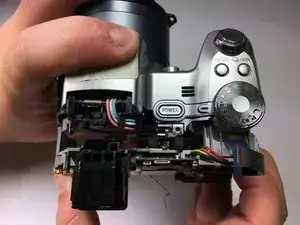
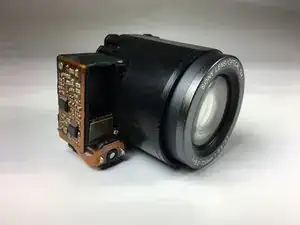
If the camera lens is unrepairable, you may just need to replace it with a brand new one. This is how you take it apart before you insert a new one.

  1. h4PyQSyCSVoiwSoI
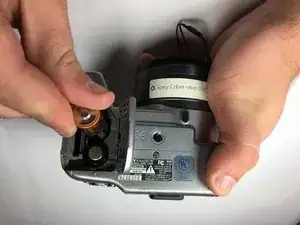
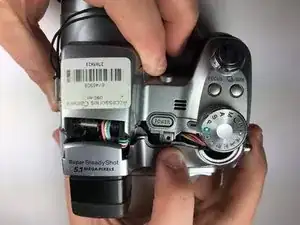
    • Power down the camera and remove the batteries.

  2. yAQXltuknoE2hEkE
    yAQXltuknoE2hEkE
    tZXNXKEryNAM2YWE
    st2SNqS2nAVewKDK
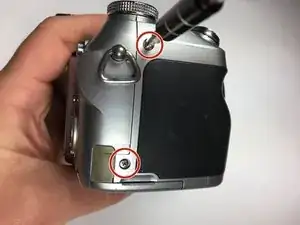
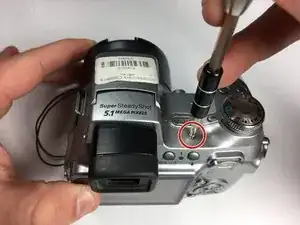
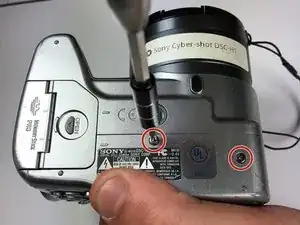
    • Using a Phillips #0 screwdriver, remove all of the screws from the back panel casing.

    • There are six 5.22mm long, 3.00mm head diameter screws total.

    • The left side is not shown but there should be 1 screw on that side.

  3. aS4YKRjZNWBwPl3i
    aS4YKRjZNWBwPl3i
    YBBnvAtxAwwocpxY
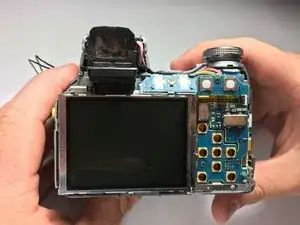
    • Remove the back casing.

    • The casing itself is sturdy so don't be afraid to remove it forcefully.

  4. PjplldWmHeBjpFOM
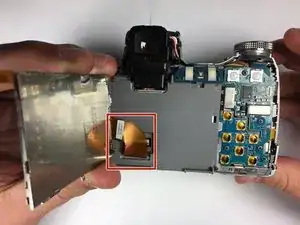
    • Take a hold of the right side of the LCD screen and lift it towards the left.

    • The screen is held firm and will require a bit of force to ease it from its housing.

    you need to open the know locked the cable on the top-right side before lift the screen.

    Linh Đoàn -

  5. YpMMKWlBmFxyfwZ6
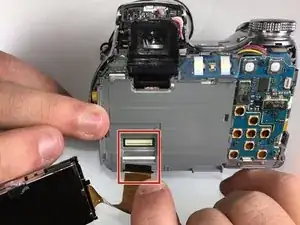
    • Unplug the large conductive tape attached to the screen.

    • Remove the LCD from the device.

  6. XadFMcOGyKf3GMDV
    XadFMcOGyKf3GMDV
    pZEucZAY6MPGlrek
    • Unscrew and remove the gray backing behind the LCD screen.

    you need to flip the blue panel beside the finder/LCD then you can open gray backing easily.

    Linh Đoàn -

  7. fRgRRsnfWHwIsqx3
    fRgRRsnfWHwIsqx3
    rVABht1XAgOdlLkP
    nJyrWJXeGCPkoHPA
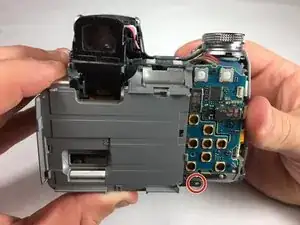
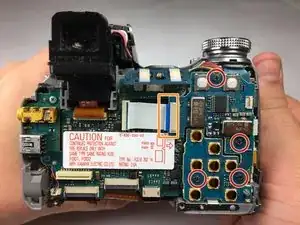
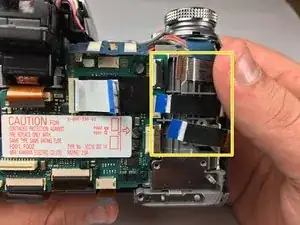
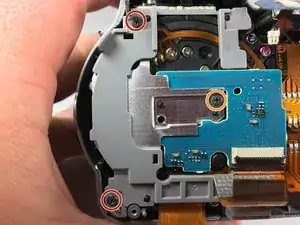
    • Using a Phillips #0 screwdriver, unscrew the four 4.24 mm black screws off the blue panel on the right side.

    • Disconnect the white conductive tape.

    • Remove the blue panel.

    • Use tweezers to remove the three conductive tape strips on the right side.

    the guide forgot to tell us to remove the left screw even after the stop 8. DONT FORGET IT OR YOU CANT REMOVE THE MAINBOARD!

    Linh Đoàn -

    There’s 1 more screw on the edge of bottom-left side, hidden behind.

    Linh Đoàn -

  8. kBhtEyvn4FlSRGty
    kBhtEyvn4FlSRGty
    FqwDpbXduYIBKwAY
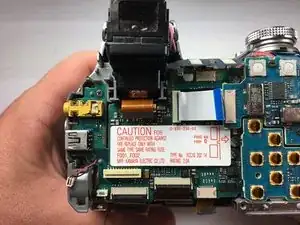
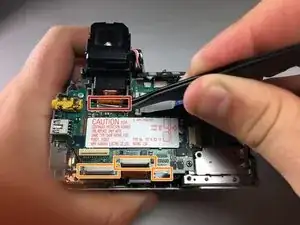
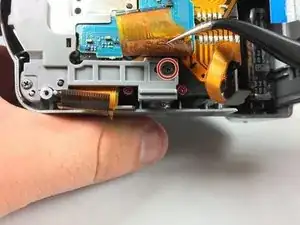
    • Use tweezers to remove the orange conductive tape located below the shutter.

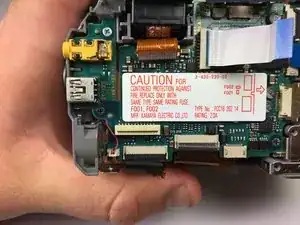
    • Unplug the three ZIF connectors from the motherboard.

    you dont need to remove the orange conductive tape.

    Linh Đoàn -

  9. H3ix5CHD2KZFLAIy
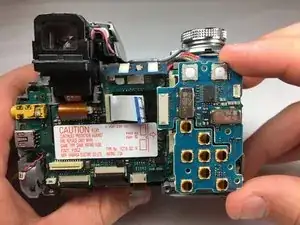
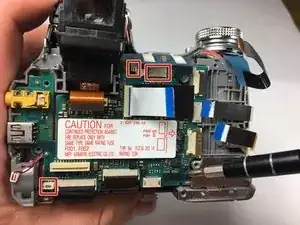
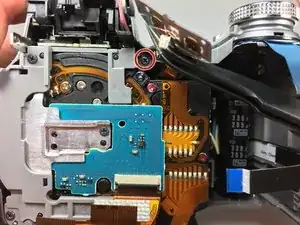
    • Flip up the blue overlapping board at the top.

    • Use tweezers to disconnect the remaining connectors.

    no need to remove the bottom-left plug.

    Linh Đoàn -

    At this point, remove the screw just below and toward the back of the red rectangle in the picture or the next step will frustrate you. Thank you.

    banutsa -

  10. neDcWsGEpdRQ63CG
    • Remove the motherboard and battery pack unit.

  11. QDPWGMVMhd1ZqJXA
    QDPWGMVMhd1ZqJXA
    oHXSfi5fHffDbSqO
    d6POKEWcB5ViElNd
    • Use a screwdriver to remove 5 screws on plastic panel.

    • Remove the single screw on the silver panel in the center.

    There’s actually 2 screws on the silver panel, so there’re total 6 screws to remove on this step.

    Linh Đoàn -

  12. dqnSxNETBvo2I1Ws
    dqnSxNETBvo2I1Ws
    65RwNFReo3fOUONT
    aEWGwkFjWAIdLSWJ
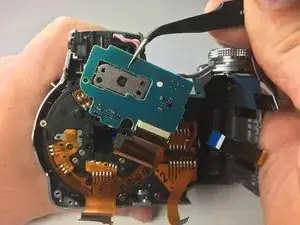
    • Use tweezers to remove the blue control panel.

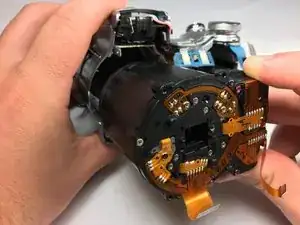
    • Remove the lens from the camera.

    Thank you - very good !

    banutsa -

    Can you please post the pics of the disambled lense am trying to put mine back together but stuck. Please help

    Sanny7 -

Abschluss

To reassemble your device, follow these instructions in reverse order.
Charlie Pugeda

Mitglied seit: 19/03/18

505 Reputation

0 Kommentare