Einleitung

This guide is for issues dealing with improper lens operations. It will fix any issues that deal with blurry images, blank images or anything that distorts the picture. This repair will solve any of the problems listed above.

  1. iYmKV56NCqGmeXBZ
    iYmKV56NCqGmeXBZ
    K1dqPsOQVLeqbSST
    ZC5WYXZgQGLOJS5o
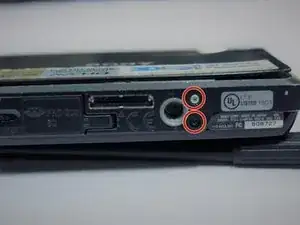
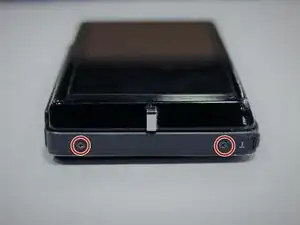
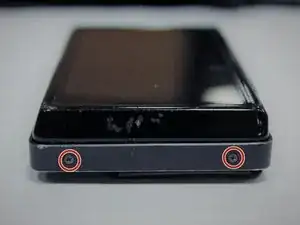
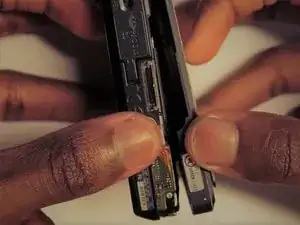
    • Use a Phillips #0 screwdriver to unscrew the six 2mm screws on the outer case of the camera.

    • If there is a battery or SD card inside remove before beginning the process.

  2. Q2Q4PhRBXoBPSCCn
    Q2Q4PhRBXoBPSCCn
    vwUPWYGscFcGBGTh
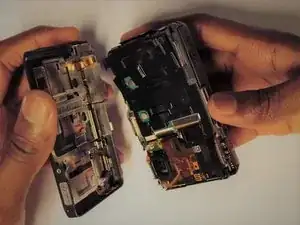
    • Use your hands or a Spudger to Pull off the front cover of the camera.

    • If the casing is not coming apart easily, do not force it.

  3. W65PVrCX1NiZPd1L
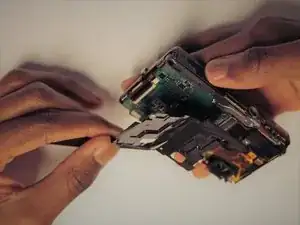
    • Remove the protective black cover layer with your hands and set it aside.

    • The use of tweezers may be necessary if the cover is difficult to remove.

  4. FPOCEuSnXEkaCE2b
    FPOCEuSnXEkaCE2b
    wNVbT3hWtW53Khxb
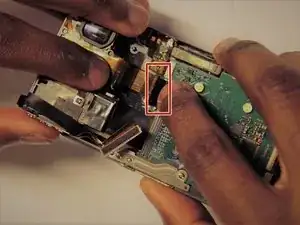
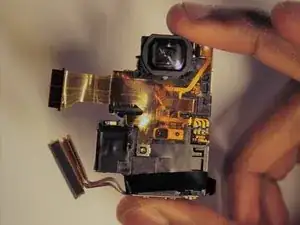
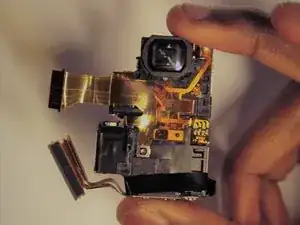
    • The ZIF connector can be removed by flipping the small black holder into the upright position and then sliding the ribbon cable out carefully.

    • Once this has been done, use tweezers to unplug the flat topped connector for the lens’ circuit board from the motherboard.

    • DO NOT force the ribbon cables or they will rip.

    • Refer to the (Erkennen und Trennen von Kabelverbindern) page for assistance.

  5. FJxwp61P1xQgULrj
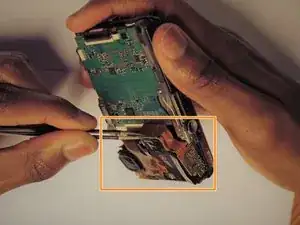
    • Using the tweezers carefully remove the broken/damaged lens with its attached circuit board

Abschluss

To reassemble your device, follow these instructions in reverse order.
robert.oliver6

Mitglied seit: 23/03/17

101 Reputation

0 Kommentare