Einleitung

Is the View Finder not working even after the LCD/Finder button has been pressed? Then the View Finder may need replacing.

  1. rmRkqHdhkT5gsVPa
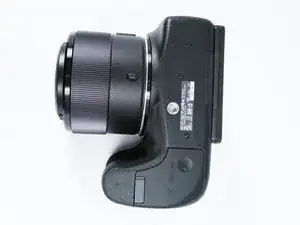
    • Make sure the camera is powered off

    • Turn the camera upside down. This is a view of the bottom of the camera.

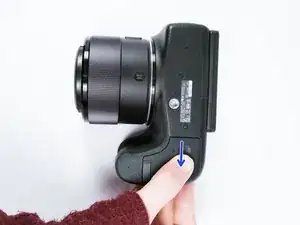
  2. GJFfowSxJqjSOXgX
    • Push battery cover away from the camera.

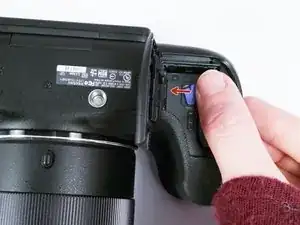
  3. j53NWvlPAILl5SIl
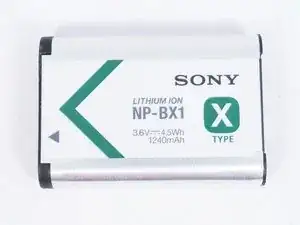
    • Push the blue tab that secures the battery. The battery will then spring out.

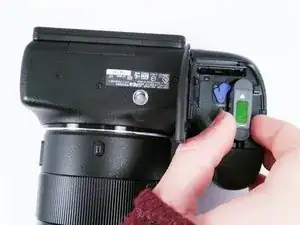
  4. kRj5atjCPjoiIZAq
    kRj5atjCPjoiIZAq
    vJqcNerElWWyDPAF
    • Remove the battery.

  5. TkHDCVbQwf3Jj4eI
    TkHDCVbQwf3Jj4eI
    FruDHL4gGEjVZ255
    NHSDRWDwElP6tDHP
    • Make sure to remove the battery before disassembly to prevent electrocution.

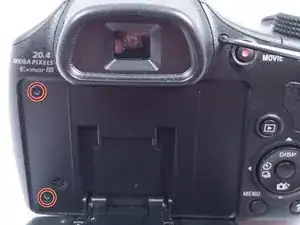
    • Remove the 3 (4 cm) Philips head screws holding the plastic camera housing together. They are located on the back of the camera.

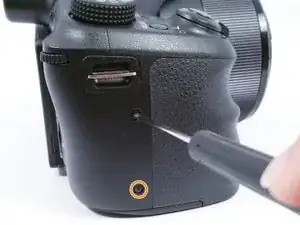
    • Remove the 2 (4 cm) Phillips head screws on the right side of the camera.

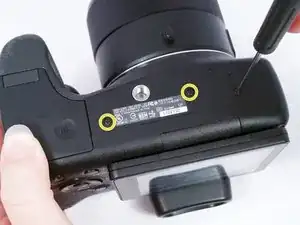
    • Turn the camera upside down and remove the remaining 3 (4 cm) Phillips head screws holding the plastic housing together.

  6. IZ3VQS6NR2tV1B1d
    IZ3VQS6NR2tV1B1d
    q2SsWnad6x2dAyGY
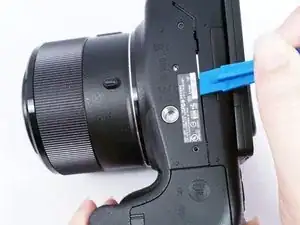
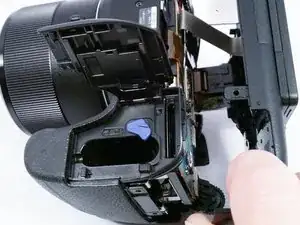
    • Using a plastic opening tool, separate the plastic camera housing.

  7. hHHpDQjIYBlwd3UZ
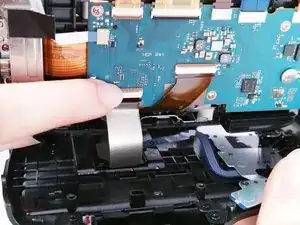
    • Disconnect the ribbon wire attaching the screen to the camera.

  8. ct31IGedSGCowEUw
    ct31IGedSGCowEUw
    1yeitVBK6MdOWwZs
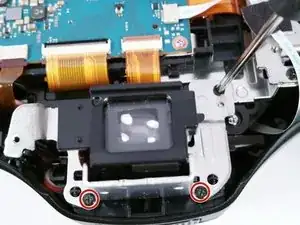
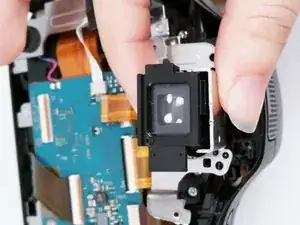
    • Remove the 1 (2 cm) Phillips head screw

    • Remove the 2 (5 cm) Phillips head screws that mount the View Finder to the camera.

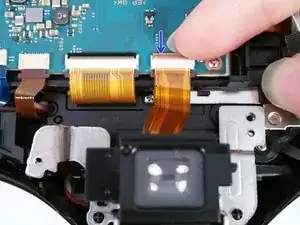
    • Carefully disconnect the ribbon wire that connects the View Finder to the Motherboard.

  9. aCVtNxP1FCUukPq6
    aCVtNxP1FCUukPq6
    QRDm2LkFpB5HrX1I
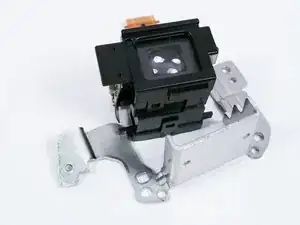
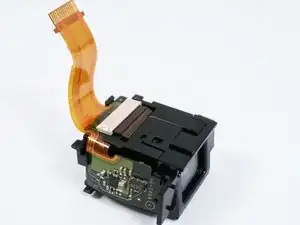
    • Gently pull the plastic View Finder off of the metal mounting bracket.

  10. NKKWj6CgiZ1m4ecU
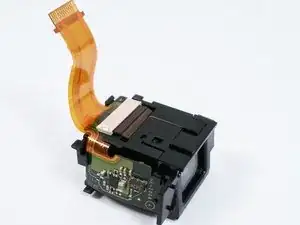
    • The replacement View Finder can now be installed.

Abschluss

To reassemble your device, follow these instructions in reverse order.
Elizabeth Surface

Mitglied seit: 27/08/15

1447 Reputation

0 Kommentare