Einleitung
If buttons are unresponsive, they may require cleaning. This guide will go through the procedure of button cleaning.
Werkzeuge
Ersatzteile
-
-
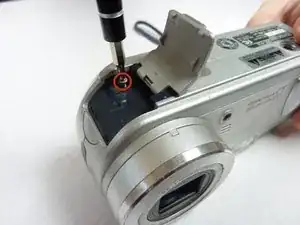
Open the battery compartment and remove the batteries.
-
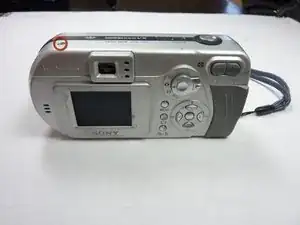
Remove all of the visible screws on the outside of the case.
-
-
-
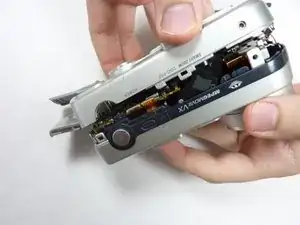
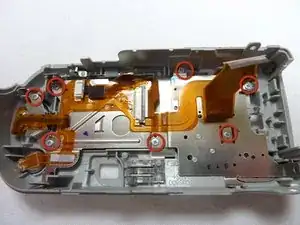
Remove the 7 screws on the backside of the case, as shown in the picture.
-
Remove the metal plate.
-
-
-
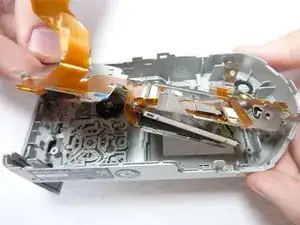
Remove the LCD plate, ribbon cables, and LCD display.
-
Watch out for loose buttons that may fall out. Keep all parts separate and organized.
-
-
-
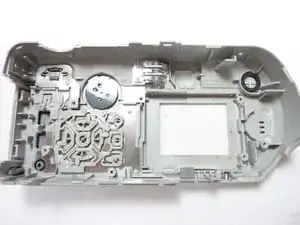
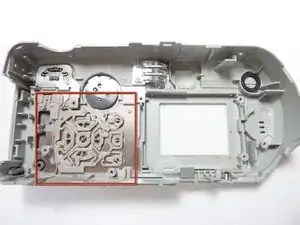
On the back cover, you will have access to the button display. Place buttons with your finger in their correct spot. Use this opportunity to clean any dirty buttons or replace missing or damaged buttons.
-
Clean or replace the damaged buttons as needed.
-
To reassemble your device, follow these instructions in reverse order.
Ein Kommentar
It just doesn't work this way! Forgotten, but very important hints:
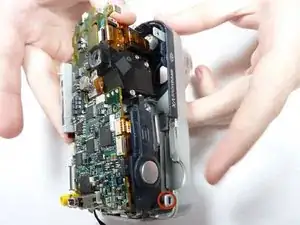
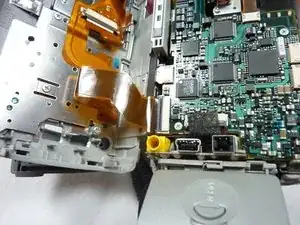
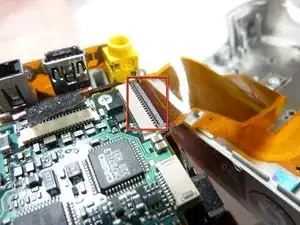
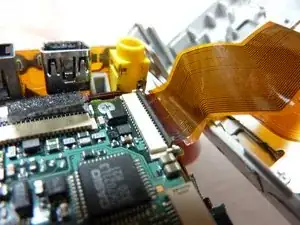
Before step 4: Do step 5 to 7 and remove the back case. Then clip off the one clip marked by a red circle in step 4. Disconnect the little red/black cable on the lens side, right next to the "2x optical zoom" writing on the case. Now the front case is still connected by a ribbon cable: In step 6 you can see the ribbon cable, which holds the back cover (and which you have just disconnected). Watch the small white connector marked in the picture with a red square. Right below the red square, you see another white connector (with no cable plugged in on the picture). This connector has no lock, like the one above, just pull the cable out. Now the back case is free!
Dennis.
