Einleitung

  1. W1jauQW4SBOCtibn
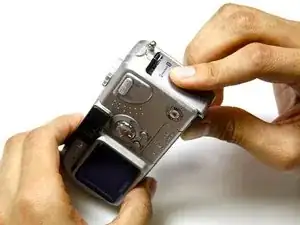
    • Slide the battery latch down the side of the camera with your hands.

    • The latch will automatically pop open.

  2. GpeakpXMWXhkjWjR
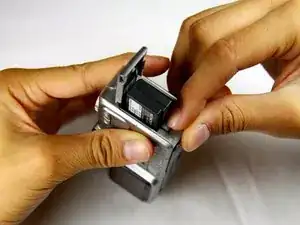
    • Unlatch the clip over the battery.

    • The battery will partially pop out.

  3. K6rJqEl3sywAZloh
    K6rJqEl3sywAZloh
    VYdysYC46oodItyT
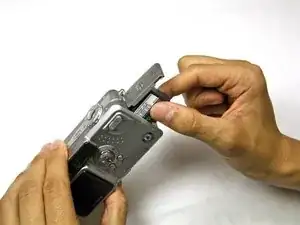
    • Remove the battery from the camera.

  4. MeYOb5hsgRTvZYto
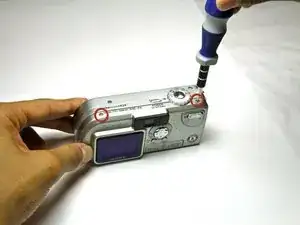
    • Unscrew the four 3.0mm Phillips #000 screws holding the back case onto the camera; there are two screws on top and two on the bottom.

  5. 2fbFCWlVFpioknUV
    2fbFCWlVFpioknUV
    iEkkHkIlEFOBVpfC
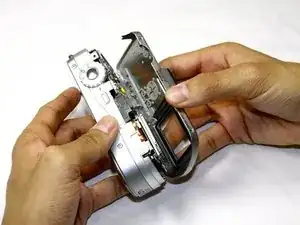
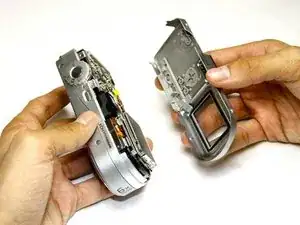
    • Pull the back case gently away from the rest of the camera.

  6. uNKpPJsmmVbnSWMX
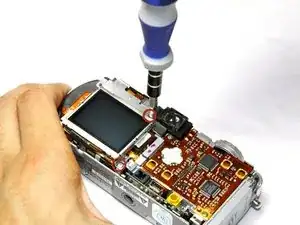
    • Remove the two 3.0mm Phillips #000 screws holding the display to the metal backing.

  7. xLUG34qtqw2PCH4J
    xLUG34qtqw2PCH4J
    Tl4WPPTDIOiUrkNH
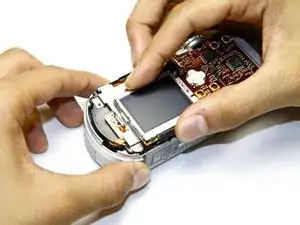
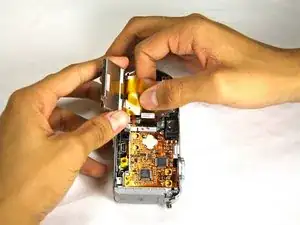
    • Unlatch the display by sliding it towards the circuit board.

  8. FGGiXXvC3T2kVu3o
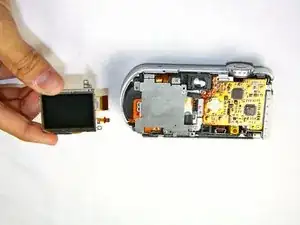
    • Remove the two ribbon cables attached to the circuit board by gently pulling them out of their slots.

    • Be careful not to rip the ribbon cables while disconnecting them.

  9. gWjemmMs3jyFQITF
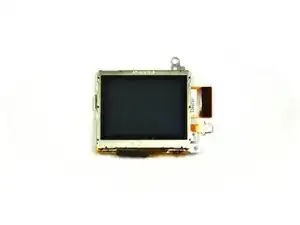
    • The LCD is now separated from the camera.

Abschluss

To reassemble your device, follow these instructions in reverse order.
Jenna Crawford

Mitglied seit: 09/04/12

50 Reputation

0 Kommentare