Einleitung

  1. W1jauQW4SBOCtibn
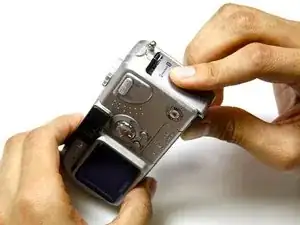
    • Slide the battery latch down the side of the camera with your hands.

    • The latch will automatically pop open.

  2. GpeakpXMWXhkjWjR
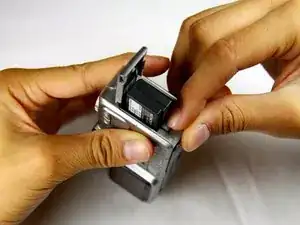
    • Unlatch the clip over the battery.

    • The battery will partially pop out.

  3. K6rJqEl3sywAZloh
    K6rJqEl3sywAZloh
    VYdysYC46oodItyT
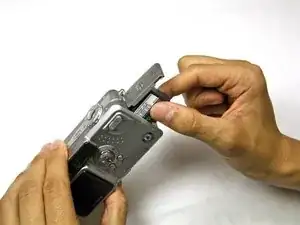
    • Remove the battery from the camera.

  4. 3mh1CSHC6oy1eWJl
    3mh1CSHC6oy1eWJl
    VNplbsHp6BunRotB
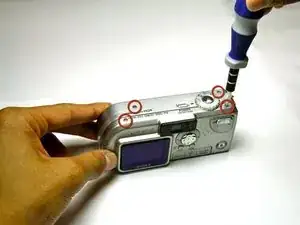
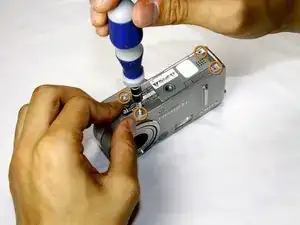
    • Remove the four 3.0mm Phillips #000 screws on the top of the camera with the phillips screwdriver.

    • Remove the additional four 3.0mm Phillips #000 screws on the bottom of the camera.

  5. K5FGjF64MIB65jIy
    K5FGjF64MIB65jIy
    OwcamSSnBywFnY21
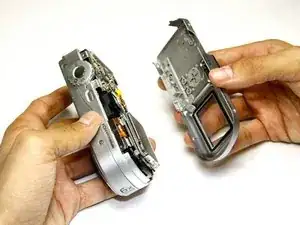
    • Once the screws are removed, slowly remove the back casing from the rest of the camera.

  6. wypwCoAjLFZX1Tt5
    wypwCoAjLFZX1Tt5
    PBw2kRnMh1hhZkQM
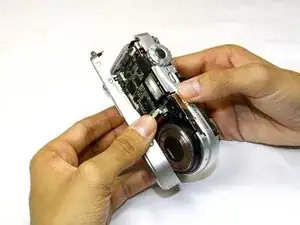
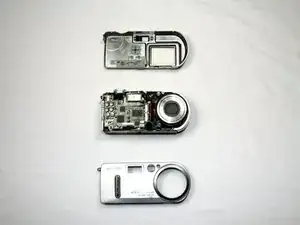
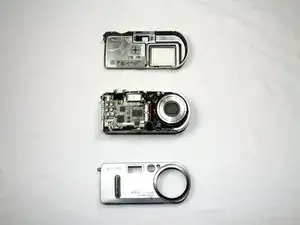
    • Then, pull the front case away from the rest of the camera.

  7. HODeFeC2vVwUbSsB
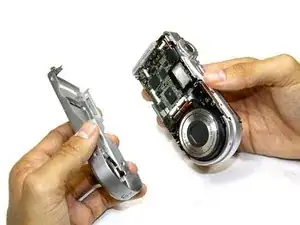
    • After the casing is removed, the camera should look as shown.

Abschluss

To reassemble your device, follow these instructions in reverse order.
Jenna Crawford

Mitglied seit: 09/04/12

50 Reputation

0 Kommentare