Einleitung
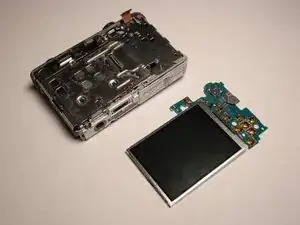
We will explain the steps needed in order to replace a LCD screen.
Werkzeuge
-
-
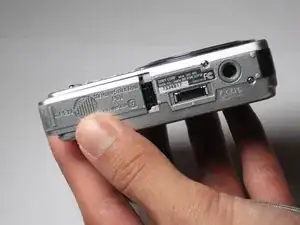
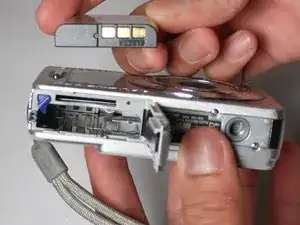
Slide the battery cover in the direction the arrow points.
-
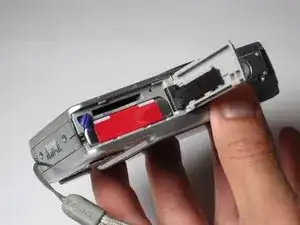
Pull the battery cover towards you.
-
-
-
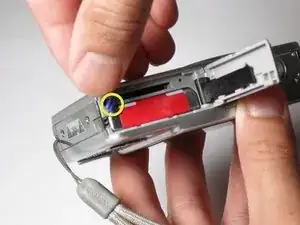
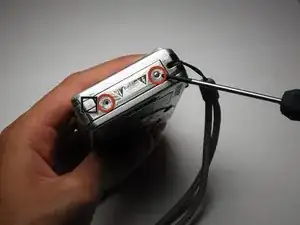
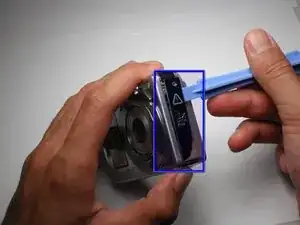
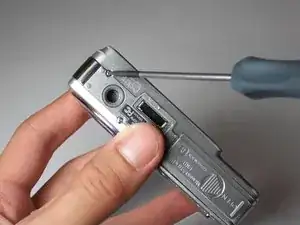
Using the Phillips #00 Screwdriver, remove the two screws from the caution panel.
-
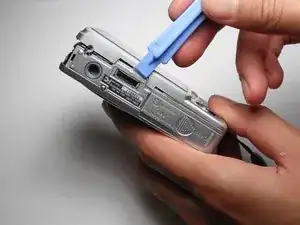
Remove that panel.
-
-
-
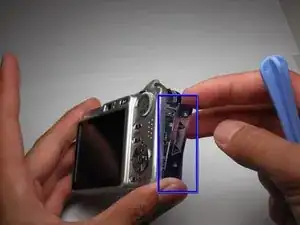
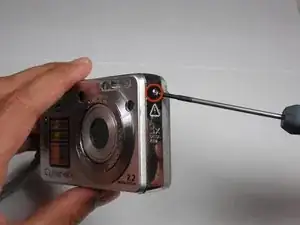
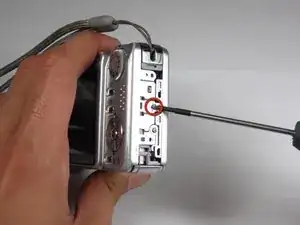
Remove the screw with a Phillips #00 screwdriver from the right side of the camera (with '3x optical zoom' engraved on the side panel).
-
Remove that panel.
-
-
-
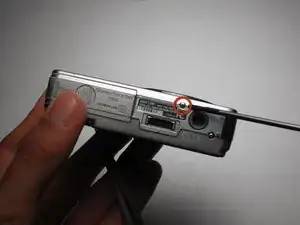
Remove the screw using the Phillips #00 screwdriver from the bottom of the camera, closest to the back cover.
-
-
-
Remove the screw using a Phillips #00 screwdriver on the left side (where the "3x optical zoom" panel use to be).
-
-
-
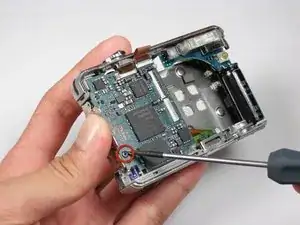
Remove the small screw using a Phillips #00 screwdriver on the bottom of the camera attached to the front cover.
-
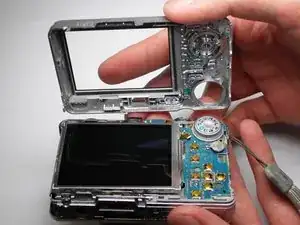
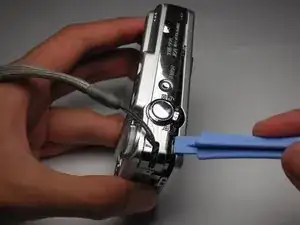
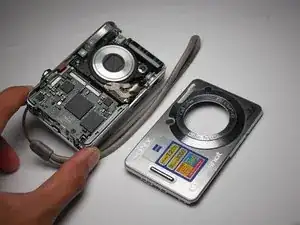
Gently remove the front cover.
-
-
-
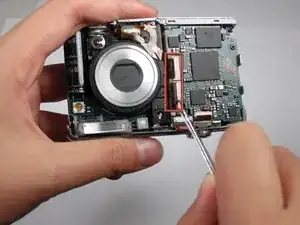
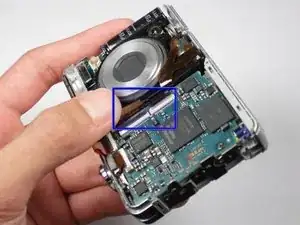
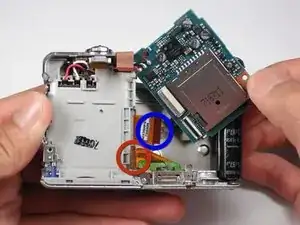
Remove the two orange cables on the top of the motherboard with tweezers.
-
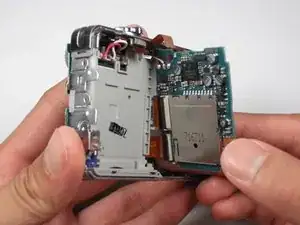
Lift the motherboard out of its slot.
-
-
-
For the AV port, detach the bottom orange cable.
-
For the LCD screen, detach the top orange cable on the right side of the motherboard.
-
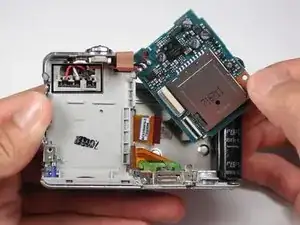
For the motherboard, detach all the orange cables.
-
-
-
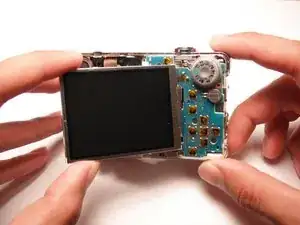
Verify the orange cables from the motherboard are removed from the LCD screen.
-
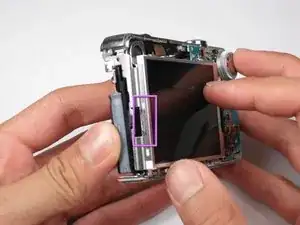
Lift the LCD screen off the hinge.
-
-
-
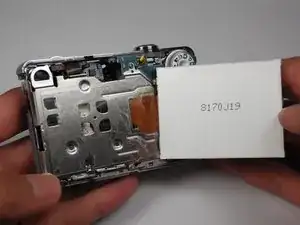
Verify that the LCD screen is attached to the chip on the back on the camera.
-
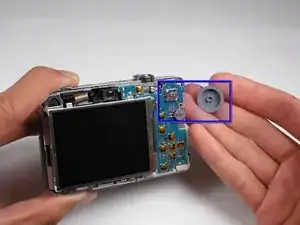
Remove the dial from the back of the camera. It pops right off very easily.
-
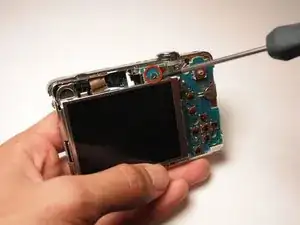
Remove the screw using a Phillips #00 Screwdriver from the camera.
-
-
-
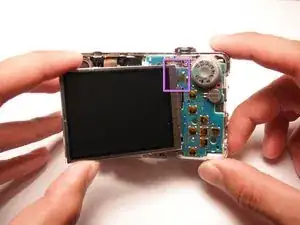
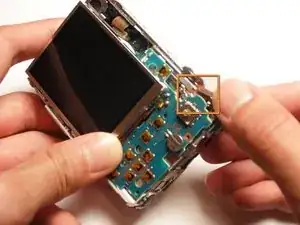
Remove the orange cable that is attached between the top of the camera and the chip. It should slide straight out with a little bit of force.
-
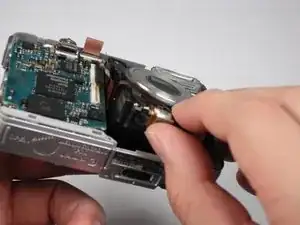
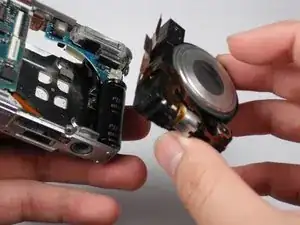
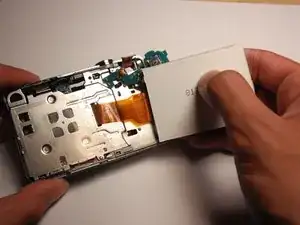
Remove the chip and the LCD screen now from the camera.
-
The chip may need a slight upward tug with a fingernail or tweezer.
-
To reassemble your device, follow these instructions in reverse order.
