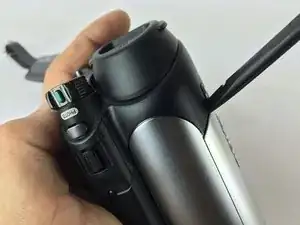
Einleitung
The lens allow for clear and consistent previews for what you are filming. Thus image quality can be compromised if either lens is compromised; maintenance of this component easy yet critical.
Werkzeuge
-
-
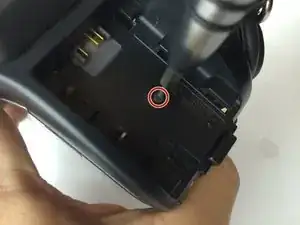
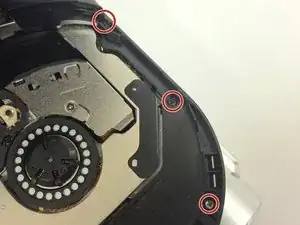
Remove all the 4.3mm screws on the bottom using a J000 Phillips screwdriver. There should be seven screws (4 silver, 2 black).
-
-
-
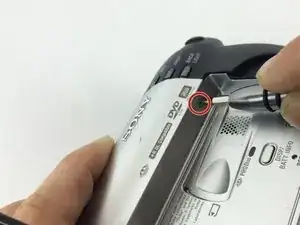
Open the dvd cover and remove the 3 4.3mm phillips screws. Including ones in the corners that may be hidden.
-
-
-
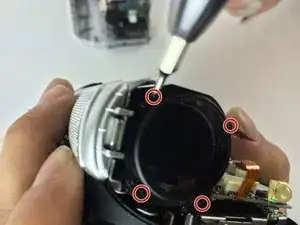
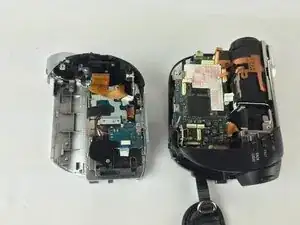
Take the half of camera containing both lens components and turn front portion towards you.
-
Remove the four 4.3mm Phillips #0 screws pictured.
-
-
-
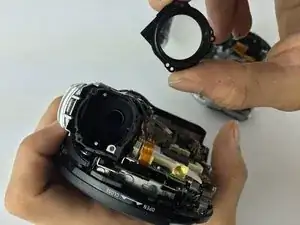
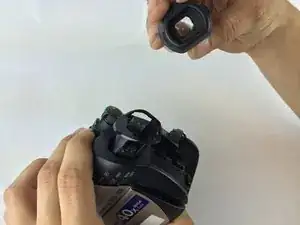
Remove front lens and inspect for "dirt," smudges. or scratches. Use discretion, if lens appears too damaged, replace part.
-
-
-
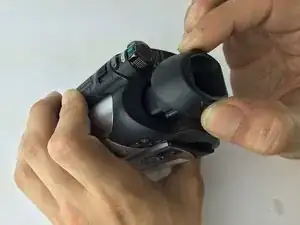
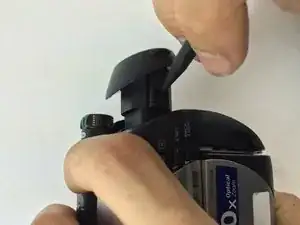
With the pointed end of a plastic spudger, press latch located on the side of rear lens housing.
-
-
-
Once loosened gently pull and remove lens housing. The lens should now be free to inspect and replace.
-


In order to reassemble your device, follow these instructions in reverse order.