Einleitung

This guide is an important pre-requisite that is required to replace the Sony DSC-RX10M3 LCD and viewfinder. You will find in this guide the important steps required to make sure that you properly remove the back casing which exposes the motherboard of the device.

  1. 4Og3FBuBaZT5CPPr
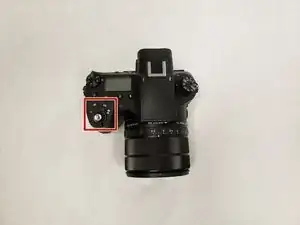
    • Turn off the Device by scrolling the tab to "OFF" indicated by the arrow.

  2. NKgNeHVavqwnSYqu
    NKgNeHVavqwnSYqu
    oNffKTlqVG6jPOPs
    UfWHfBNnLIYXsZW6
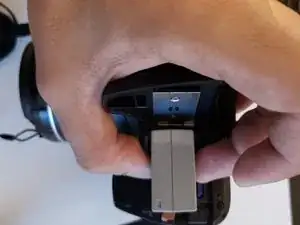
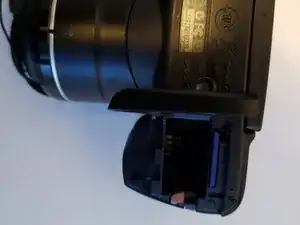
    • Remove the battery located at the bottom of the device.

  3. wjpINF2MGCCeHvYV
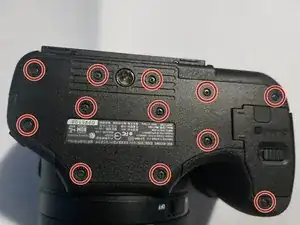
    • Remove the twelve 0.7mm Phillips #000 screws from the bottom case.

  4. hkMhcKupn2Z6joXH
    hkMhcKupn2Z6joXH
    5CRQNLyUXLNAaw1d
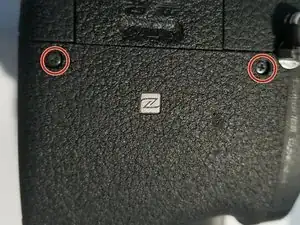
    • Remove the two 0.7mm screws that secure the right side of the camera.

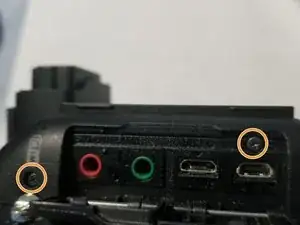
    • Remove the two 0.7mm screws that secure the left side of the camera, near the Wi-Fi logo and charging port.

  5. QVljpxnCNUSlHGan
    QVljpxnCNUSlHGan
    CLBDMoXlcN3DQYSP
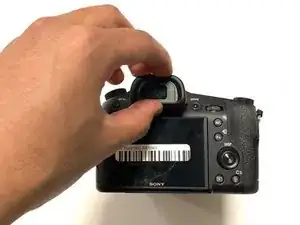
    • Gently pull off the plastic eye guard.

  6. XCBBYPQhHUXUtFck
    XCBBYPQhHUXUtFck
    LYYA1pE2yNiwYtuq
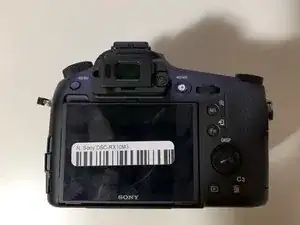
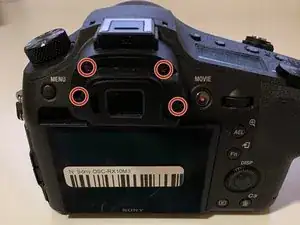
    • Use a Phillips #000 screwdriver to remove the four 0.4mm screws located under the rubber eye guard.

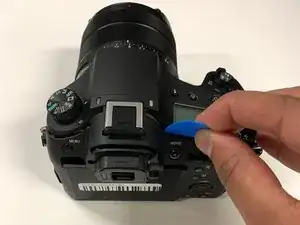
    • Use a plastic opening tool to detach the back panel of the camera.

  7. AnE2gEMKqmCOZvCF
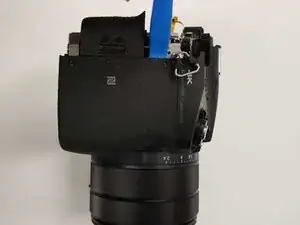
    • This is a tight spot; make sure you use minimal force when removing the cover.

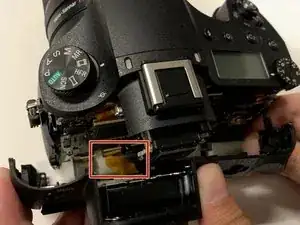
    • Using tweezers, disconnect the ribbon cable connecting the LCD to the circuit board.

  8. aNvaoLCVbbGLCOnx
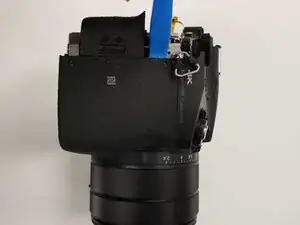
    • This step is only needed if you wish to remove the right side panel.

    • Use a plastic openeing tool to gently detach the right panel.

Abschluss

To reassemble your device, follow these instructions in reverse order.
Salman Hersi

Mitglied seit: 15/01/20

300 Reputation

0 Kommentare