Einleitung
Werkzeuge
Ersatzteile
-
-
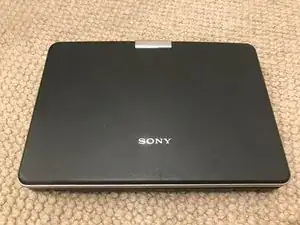
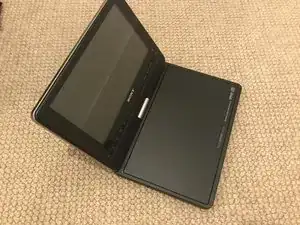
Taking a look at the device, we can see a basic portable DVD player.
-
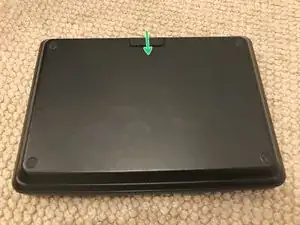
The next logical step is to remove the battery
-
-
-
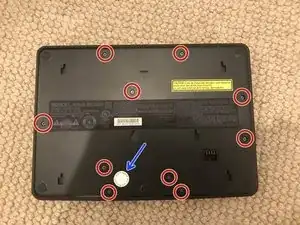
I am able to remove these phillips head screw with a PH0 bit.
-
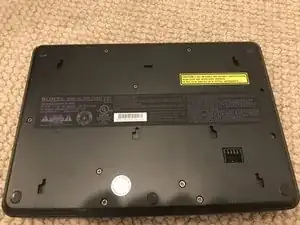
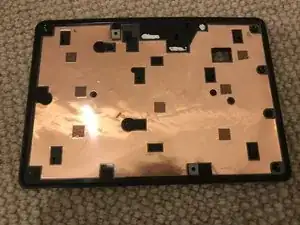
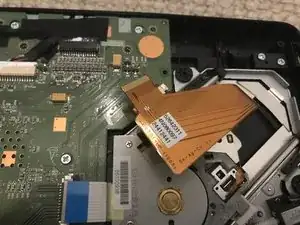
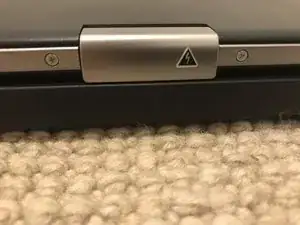
I spot an illegal sticker! These aren't legally binding, but what warranty from 2006 is even valid today anyways?
-
-
-
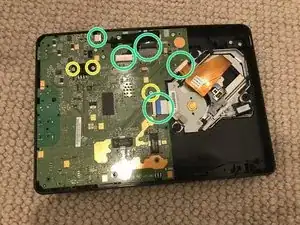
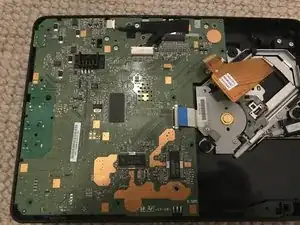
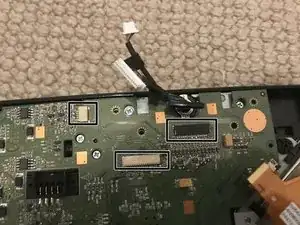
A quick glance over the motherboard reveals some fantastic user-friendly design.
-
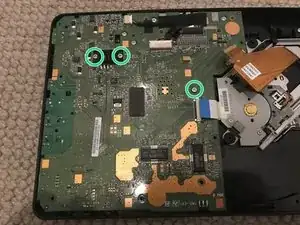
I can also spot the 3 screws holding the board down. Also Phillips PH0!
-
-
-
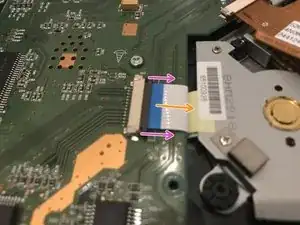
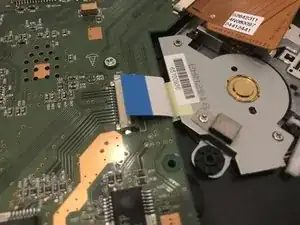
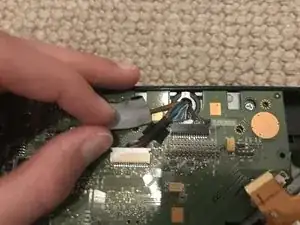
I remove these 2 ribbon cables by pulling back on the black plastic piece gently, and then pulling out the cable.
-
First, pull on both sides
-
Then pull out.
-
-
-
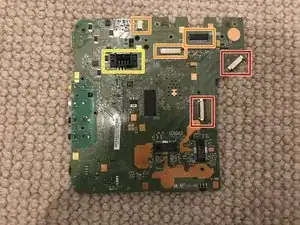
Before we remove the motherboard, we have to peel back the tape, and unplug these 3 connectors.
-
-
-
Now, we can remove the motherboard.
-
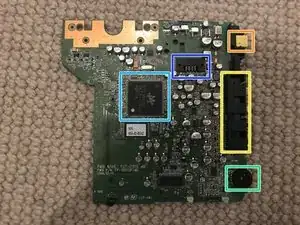
Top of motherboard
-
Power
-
I/O
-
Volume
-
CPU
-
Battery Connector
-
-
-
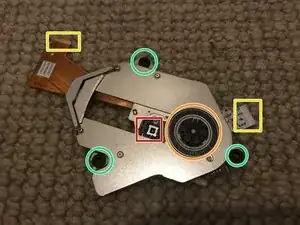
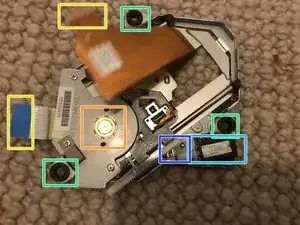
The optical drive assembly can just be lifted right off, no screws required!
-
Laser
-
Wheel
-
Connectors
-
Shock absorbers
-
Laser motor
-
Laser motor gears
-
-
-
That's all I was able to get to today, though I did notice 2 tiny screws on the bottom of the screen. It may be possible to replace the screen, though that's a question for another time.
-
The modular system allowed for a fantastic, easy, replacement of the motherboard and optical drive. Screen replacement theoretically possible.
-
To reassemble your device, follow these instructions in reverse order.
