Einleitung

Please note: you must remove the screws from the back casing before beginning this guide.

  1. ZrDcWvK2FrtbAjWf
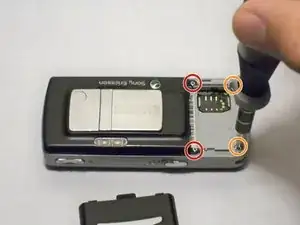
    • Remove two Phillips #0 screws from the battery chamber.

    • Remove two Torx T6 screws from the battery chamber.

  2. JZtIRSEaCJyOetJM
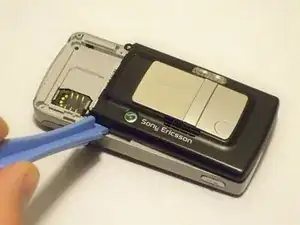
    • Gently pry off the back casing.

    • Work an opening tool around the entire seam before attempting to pull off the casing. This action will reduce the chance of cracking the casing.

  3. W6VjZP3cxjnUtjMS
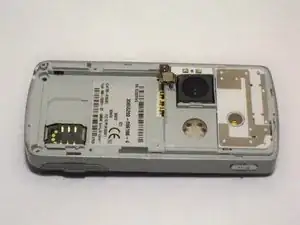
    • Remove the casing to expose the camera's components.

  4. EMOP155jhLmrTBym
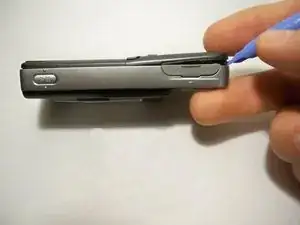
    • Gently pry open the front casing by working an opening tool along the entire seam.

  5. WqGWOFDPGvtKHjDV
    • Remove the front casing by gently lifting it from the phone.

    • Be careful not to pull off any other delicate pieces.

  6. 3ptAFD6VAwhJFo3e
    3ptAFD6VAwhJFo3e
    wSFnAlEykPRflkTC
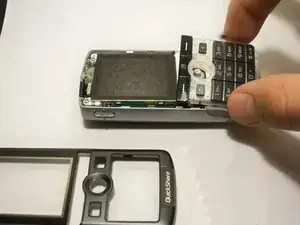
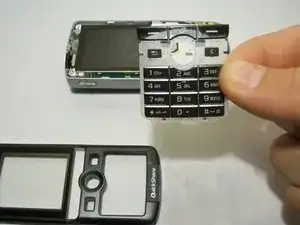
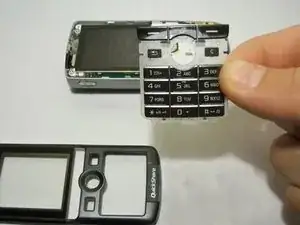
    • Remove the keypad.

    • The LCD screen is very fragile. Be careful not to catch the keypad on it while removing.

Abschluss

To reassemble your device, follow these instructions in reverse order.
Abby Evers

Mitglied seit: 04/10/11

202 Reputation

0 Kommentare