Einleitung

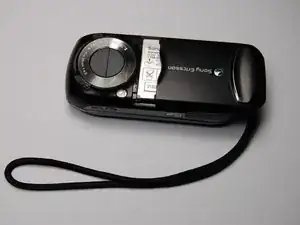
This guide will detail how to detach the two halves of the phone, remove the LCD screen, and gain access to the main control buttons.

Accessing this part of the phone will allow you to clean or replace any parts that are dirty or damaged.

  1. 5XSSXiG5JTvSDImX
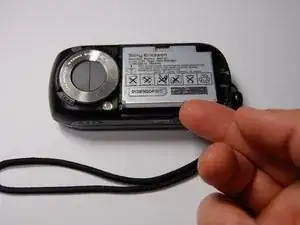
    • Remove the back cover by sliding it off.

  2. CBF2pRXYnXVhCNZo
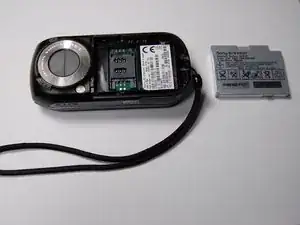
    • Pull the battery out using your finger.

  3. MAKuqLSIKUxkBko1
    • The battery can now be replaced.

    • The battery is a 780 mAh rechargeable Lithium Ion battery.

  4. jIHpHD2cuvMv5QId
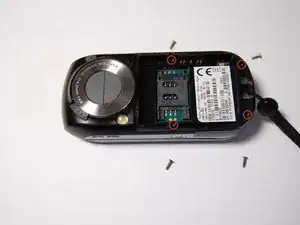
    • Remove the four 6 mm screws from beneath the battery using a Phillips #00 screwdriver.

  5. Oq2lPselEhc5IGf4
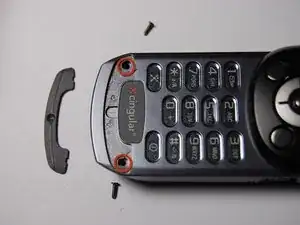
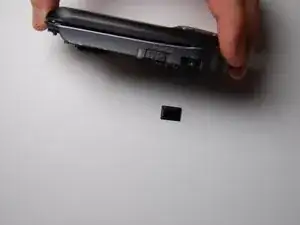
    • Remove the microphone cover using the iFixit opening tool.

  6. 3OBaI6h4jfxNybHc
    • Remove the two 6 mm screws from the front of the phone beneath the microphone cover using a Phillips #00 screwdriver.

  7. AKUCgeyWXmLLK1HP
    • Remove the black plastic piece on the side.

    • This will allow for easier access while prying the motherboard.

  8. uPUnaXrNWClYITGl
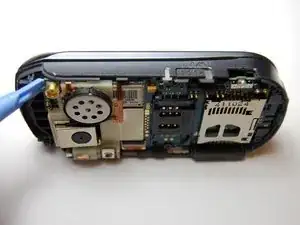
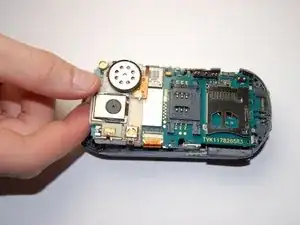
    • Use the iFixit opening tool to loosen the motherboard from the phone.

  9. sKkCTN2xH6Fki5Od
    • Lift the motherboard out with your fingers.

    • Pull slowly. This will require some force.

  10. OTR2WkjHFJaxhJN4
    • Remove the two cable connectors using the iFixit opening tool.

    • Mark the orientation and port of each cable before detaching them. The connectors are symmetrical, so this is essential for reassembly.

  11. FGbqt2gWFBl5qa61
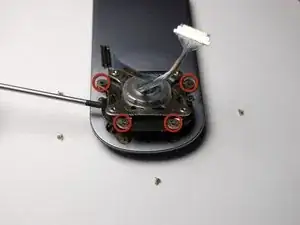
    • On the rotational assembly remove the following screws:

    • Four 3 mm screws

    • Two 2.3 mm screws

    • Lift the rotational assembly off of the phone to allow access to the other half of the device.

  12. ayHUZHgPxvvhEdFP
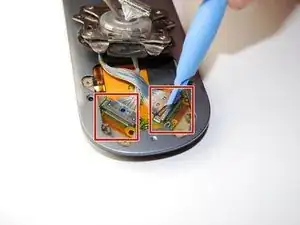
    • Detach the cable connectors on the other end of the cables using a plastic opening tool.

    • Record the orientation and location of each connector for reassembly.

  13. jAdH1Ss66tRcu1HY
    • Remove the plastic cover on the back of the phone using an iFixit opening tool.

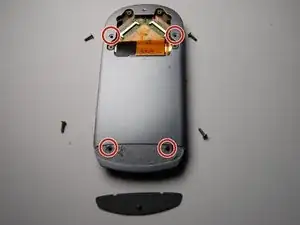
    • Remove the four 6 mm screws using a Phillips #00 screwdriver.

  14. 1tnIixFgBdxBCoV5
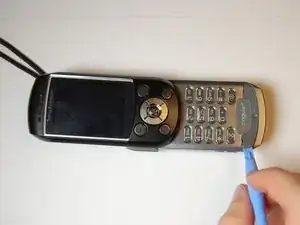
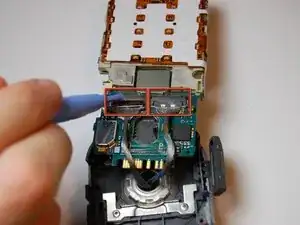
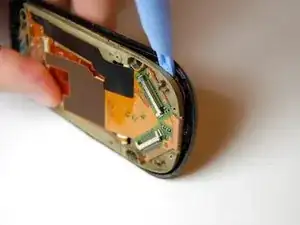
    • Pry the screen assembly from the main case using the iFixit opening tool.

  15. KtDVIXreIVwVYNyL
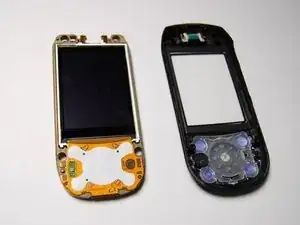
    • With the face plate and LCD screen exposed, replace the existing LCD screen with a new LCD screen.

    • Be sure to test and make sure the detachable connections are arranged correctly.

  16. cVahTrAiX3UqJv63
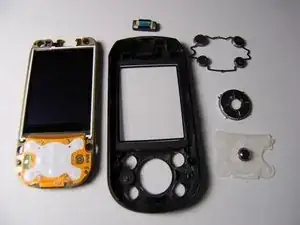
    • Remove the button and pad assembly as shown.

    • If desired, these items can now be cleaned or replaced.

Abschluss

To reassemble your device, follow these instructions in reverse order.
Alexander

Mitglied seit: 29/10/11

75 Reputation

0 Kommentare