Einleitung

The camera on a phone can break from water damage, physical force, faulty wiring to the camera, or the camera could have faulty manufacturing. Whatever the reason may be, this guide will walk you through how to replace your camera and back to taking selfies in no time.

  1. wvsQT3MHV3bZjdRT
    wvsQT3MHV3bZjdRT
    UNxYNDIVMwrFq4Pr
    gbJJJ3BjSST4Felq
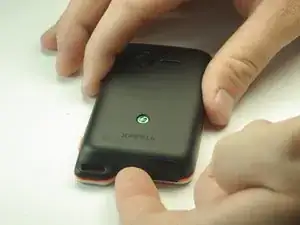
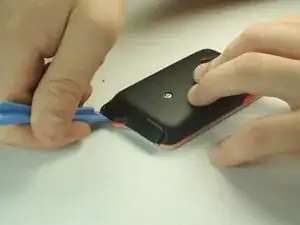
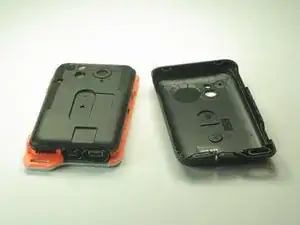
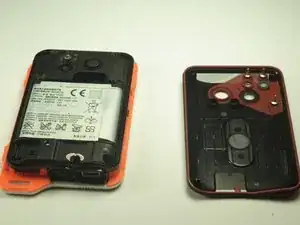
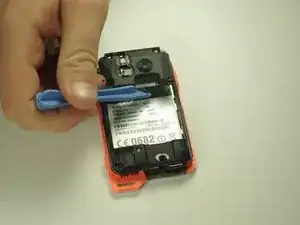
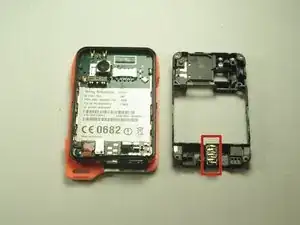
    • Open the flaps and remove the back cover using the plastic opening device.

  2. odLCBBAA1anpFM53
    odLCBBAA1anpFM53
    ryTMG5WHKeNPpCkM
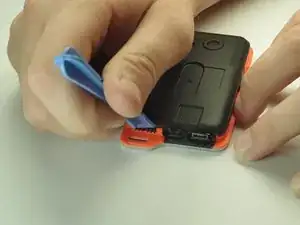
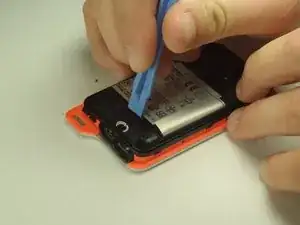
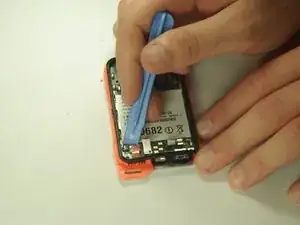
    • Remove the battery shield with the plastic opening device.

  3. UpS3tPTRQwWfmhDd
    UpS3tPTRQwWfmhDd
    NJfqUVAjLGxtL3Yu
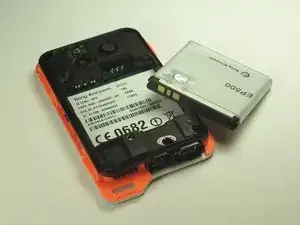
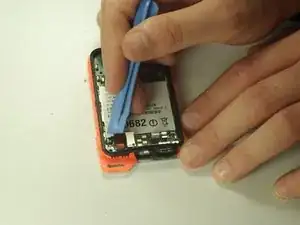
    • Remove the battery.

  4. MEEZfihYuXQASEfH
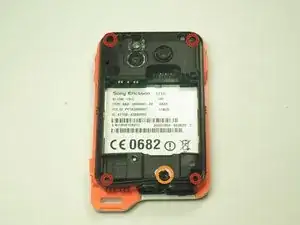
    • Unscrew the 5mm screws with the T5 head.

    • Unscrew the 6mm screw with the T6 head.

  5. MDqucJaGs1gcfKDh
    MDqucJaGs1gcfKDh
    LVVoWu1vNuZ1o4Hj
    • Remove the black cover with the plastic opening tool.

    • Remove the headphone jack from its slot.

  6. HeIMIOrMQ5lW1iGI
    HeIMIOrMQ5lW1iGI
    gIbg4OL3V1rJL2mt
    • Unplug the plug from the motherboard.

  7. wGR11xh1wONUOKtR
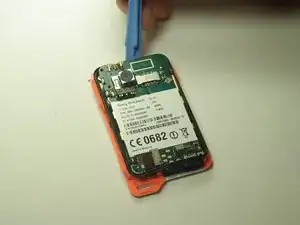
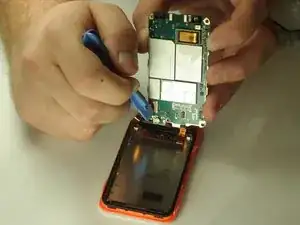
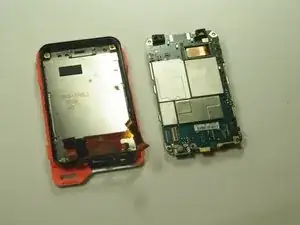
    • Using the plastic opening tool, carefully pry up on the edges of the motherboard, opposite of the jacks.

  8. ZLkdDSRySVW4pqaK
    ZLkdDSRySVW4pqaK
    ZT3SPVxc33iKI5Ja
    • Carefully pry up on the tab holding down the display ribbon cable and remove the ribbon cable.

  9. XMQDoonLHfhTVyr6
    XMQDoonLHfhTVyr6
    ILJMhXYQrpJpoMTU
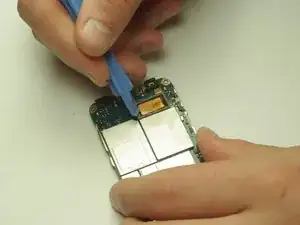
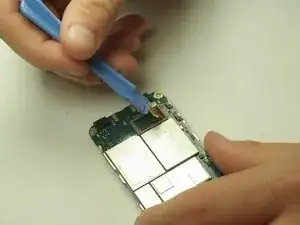
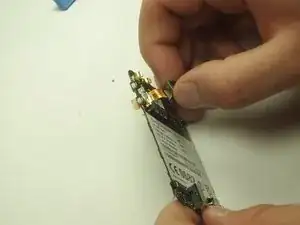
    • Use the plastic opening tool to pry the ribbon cable away from the motherboard.

  10. 6hFgDRwYtwXDxopW
    6hFgDRwYtwXDxopW
    QQIU2bLKKw3J4U61
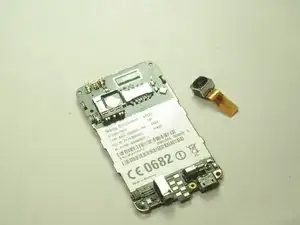
    • Pull the camera out through the front of the motherboard.

Abschluss

To reassemble your device, follow these instructions in reverse order.
Alex Tobin

Mitglied seit: 06/10/14

406 Reputation

0 Kommentare