Einleitung
The CX260V has a very complicated process in having to take apart all of the external panels in order to access the internal speaker and other internal items.
Werkzeuge
-
-
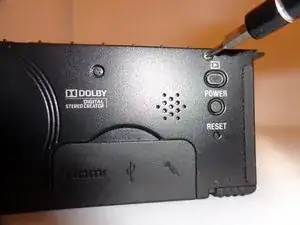
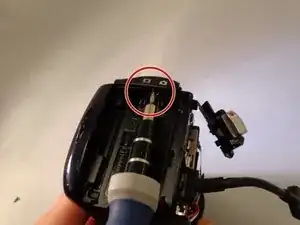
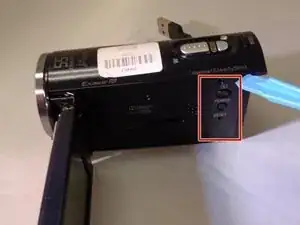
Use a Phillips #00 screwdriver to remove the one 3mm and two 5mm screws located in the battery assembly area.
-
-
-
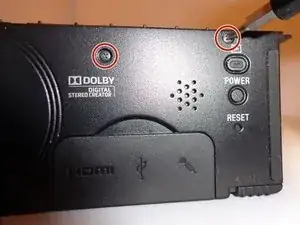
Remove the two 5mm screws located on the top left and bottom of the camera.
-
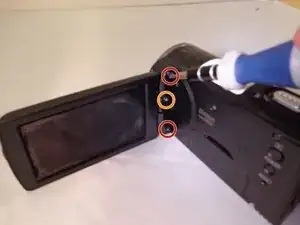
Remove the 3mm screw located in the middle of the joint attaching the LCD screen to the device.
-
-
-
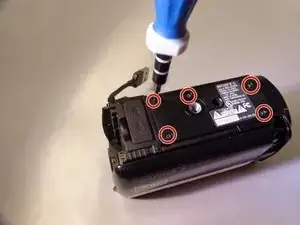
Remove the five 5mm screws located on the bottom panel.
-
Remove the bottom panel covering the internal motherboard.
-
-
-
Remove the 5mm screw located by the lens and two 5mm screws located under the handle.
-
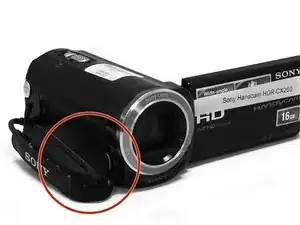
Remove the leather strap from the device.
-
-
-
Remove the 5mm screw to the left of the Record button.
-
Remove the entire right-side panel where the leather strap was located.
-
-
-
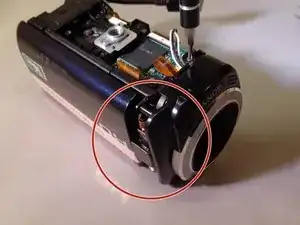
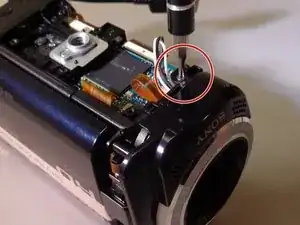
Remove the three black 5mm screws and one silver 4mm screw located on the front right-side of the camera, near the orange motherboard.
-
-
-
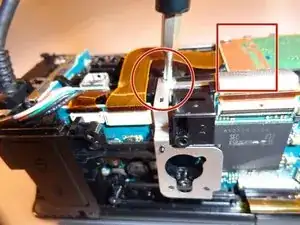
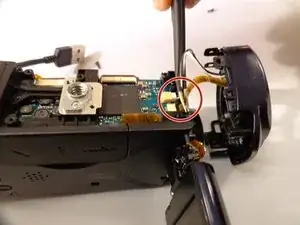
Using tweezers, carefully detach the two wires connected to the bottom motherboard portion of the camera.
-
Remove the lens panel.
-
-
-
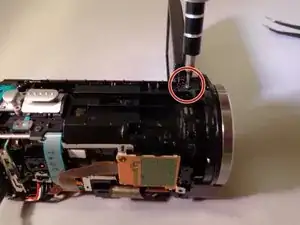
Remove the three 5mm screws.
-
Carefully remove the camera lens with your hands or a spudger.
-
-
-
Remove one 5mm screw located on the back left section near the zoom and picture control capturing button.
-
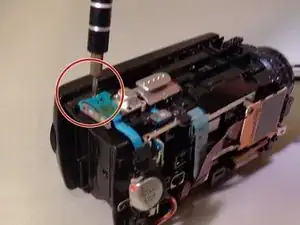
There are two flat blue wires keeping the buttons connected to the main assembly. Carefully set them aside or unplug them.
-
-
-
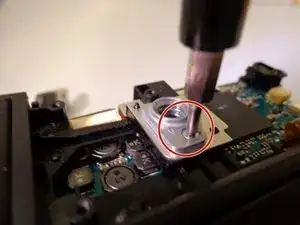
Remove one silver 5mm screw located near the tripod mount.
-
Remove the tripod mount screw that has the mount assembly underneath.
-
-
-
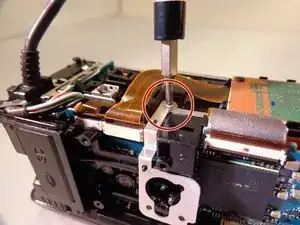
Remove the silver 5mm screw located on the front right side of the camera by the orange motherboard.
-
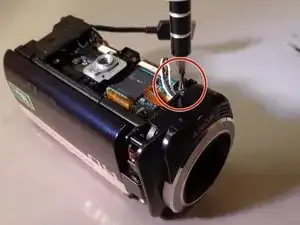
Unplug the wire.
-
Remove the silver 5mm screw underneath the wire.
-
-
-
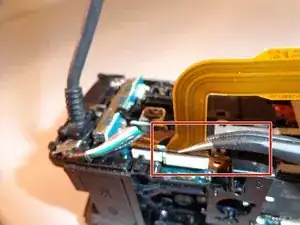
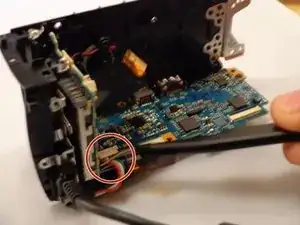
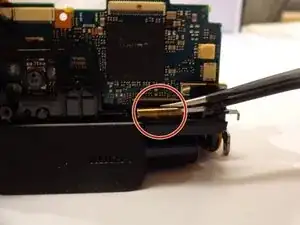
Using tweezers, release the clip attaching the main internal system to the mainframe. This allows the rest of the camera to be freely taken apart.
-
-
-
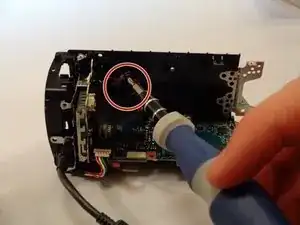
Using the screwdriver remove the two black 5mm screws located on the side of the speaker.
-
-
-
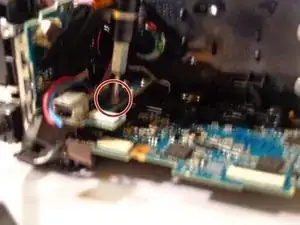
Gently remove the red and black wire connected to the mother board with the tweasers.
-
Remove the tri color wires from the mother board. (Has a white connection)
-
Unplug the orange flat wire located at the bottom of the camera.
-
Removes the Internal Speaker
-
-
-
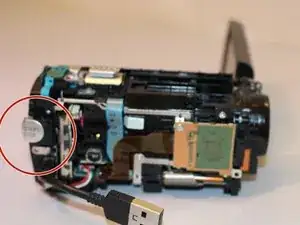
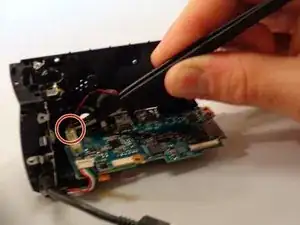
Using a screwdriver remove 5mm silver screw located in the inner back by the battery component holding down a chip.
-
Removes the Microphone Jack
-
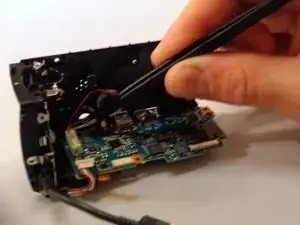
Using the tweezers, remove internal speaker.
-
To reassemble your device, follow these instructions in reverse order.
