Einleitung
The speaker allows the user to hear the audio recording playback of his or her videos. The speaker also gives alerts when the camera is running low on battery, or has run out of storage space.
Werkzeuge
-
-
Remove the battery.
-
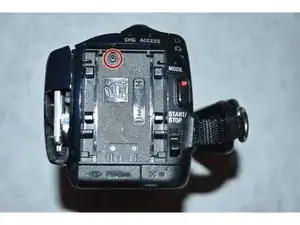
Use Philips #000 screwdriver to remove the 3mm screw under the battery
-
-
-
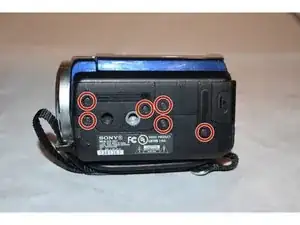
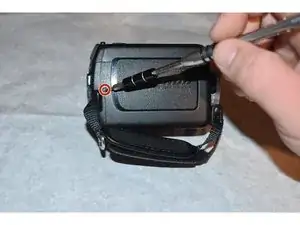
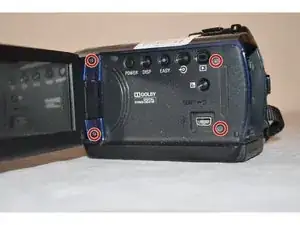
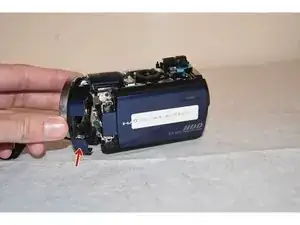
Using the Phillips #000 screwdriver, remove all 6 of the 3mm screws located on the side of the camera.
-
-
-
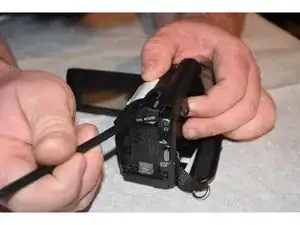
Using the Phillips #000 screwdriver, remove the one 3mm screw on the back of the camera
-
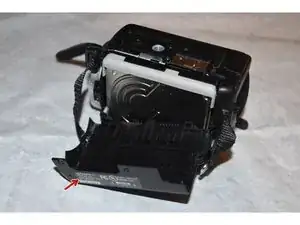
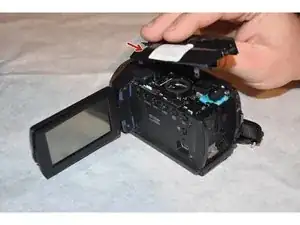
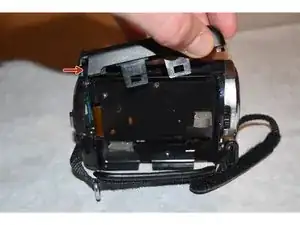
Pull away the back shell of the camera, exposing the hard drive.
-
-
-
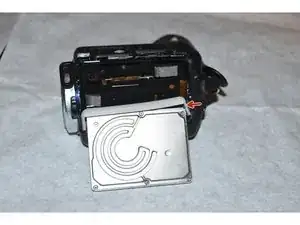
Gently pull the flex cable away from the hard drive. It should pop-off with minimal effort.
-
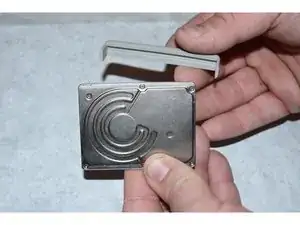
Once removing the flex cable, remove the plastic guard from the side of the hard drive.
-
-
-
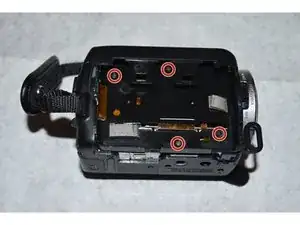
Using the Phillips #000 screwdriver, remove the four screws from the housing under the hard drive.
-
Remove the top plastic housing of the camera. All screws attaching the housing have previously been removed.
-
-
-
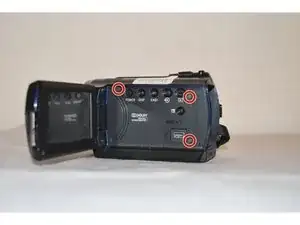
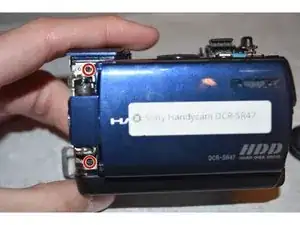
Using the Phillips #000 screwdriver, remove the two 3mm screws from the LCD Screen connector and the two 3mm screws on the front plate of the camera
-
Remove the two 3mm screws that were exposed through the previous image
-
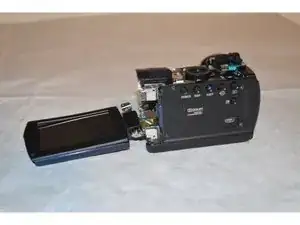
Carefully detach the LCD Screen from the rest of the camera.
-
-
-
Carefully remove the lens covering from the camera in order to access the internal components
-
-
-
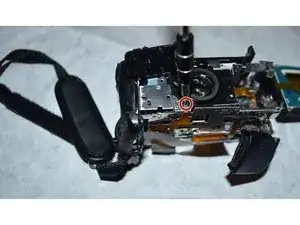
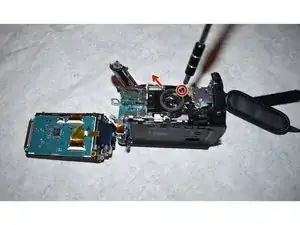
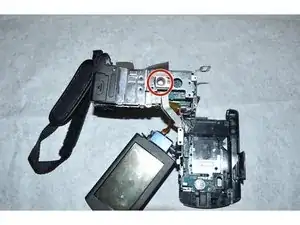
Using the #000 Phillips Screwdriver, remove the one 3mm screw holding the speaker housing
-
Once the screw is removed, the speaker can be separated from the camcorder
-
-
-
The speaker is now removed, and the speaker port is open. Replace the new speaker with the damaged one, and replace the one 3mm screw
-
To reassemble your device, follow these instructions in reverse order.
