Einleitung

Can't listen to recording with scratchy or without sound! Follow this speaker replacement guide to once again be able to listen those recordings.

  1. WZL5CraCybNaCGNE
    WZL5CraCybNaCGNE
    oTbMvRKSXhFUFluX
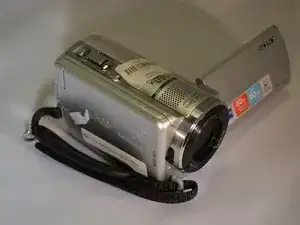
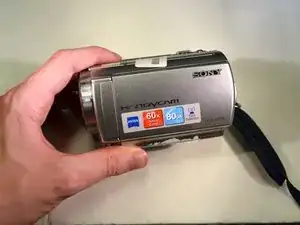
    • Remove battery before working on device.

    • Undo hand strap.

    • Get iFixit screwdriver and a JIOS Philips head bit.

  2. PZbPC3GNT6KPQom3
    PZbPC3GNT6KPQom3
    DKaHjmNtTqDSwgvx
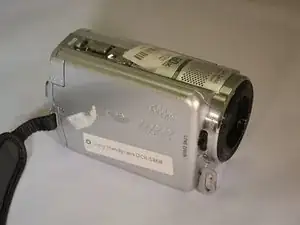
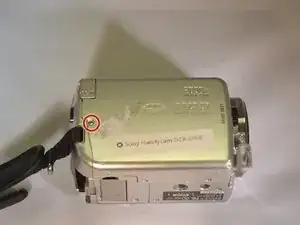
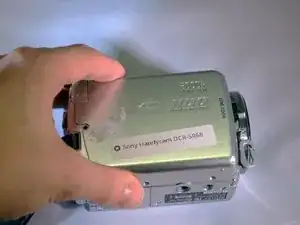
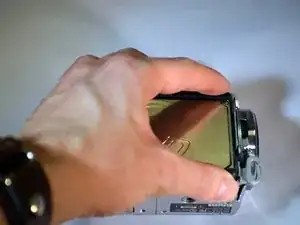
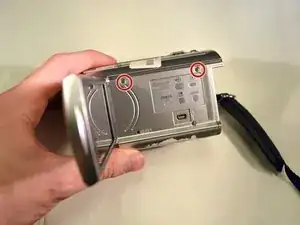
    • Place device on left side with lens facing right.

    • Using the screwdriver, unscrew the left middle screw.

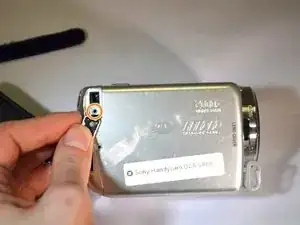
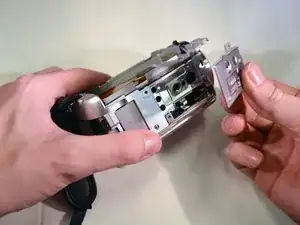
    • Open the "DC IN" tab.

    • Second screw is revealed.

    • Unscrew this screw.

  3. IWxCdTVDeYDLWjVj
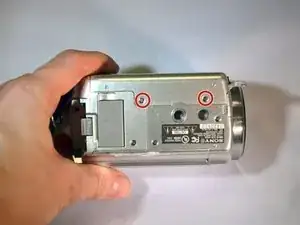
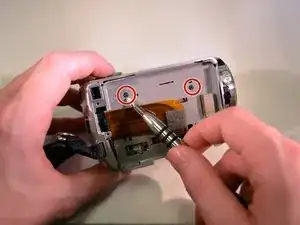
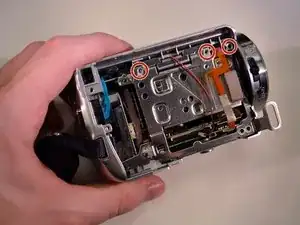
    • Turn device onto it's top with the lens facing right.

    • Unscrew the top left and top right screws.

    • Right side casing is now free.

  4. CGGWofJH6fW3wKUd
    CGGWofJH6fW3wKUd
    OWAZWFQjABfQQy24
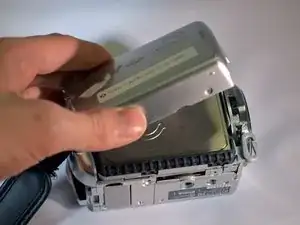
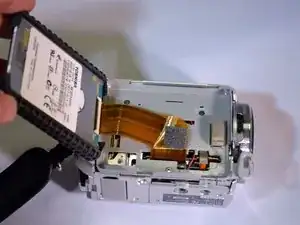
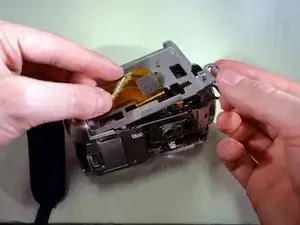
    • Remove the right side casing by pulling away.

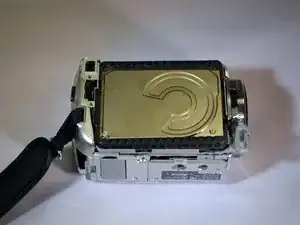
    • HDD is now revealed.

  5. DfhJjTMhLCDKCwn4
    DfhJjTMhLCDKCwn4
    S335VVoXaflsYscS
    FAIPSEr1PZLGx2cC
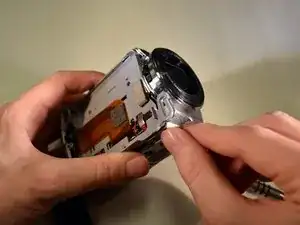
    • Using your fingers, lift the HDD by it's right end, pivoting on it's left end.

    • HDD ribbon wire is now exposed.

  6. l2Znyt1qklFv5aLo
    l2Znyt1qklFv5aLo
    5JQf4BgNhYp6dBIW
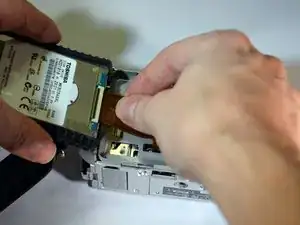
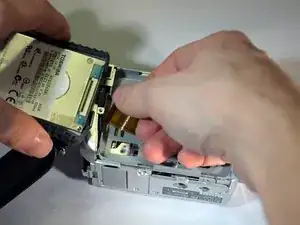
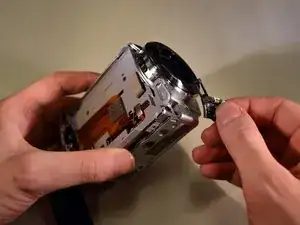
    • Using your fingers, pull the ribbon wire out of it's socket.

    • HDD is now free from device.

    • Set HDD aside

  7. oxrG1GGitNwmGaVx
    oxrG1GGitNwmGaVx
    YyTBmpUeEpf3ml6L
    • Using your fingers, remove the A/V tab.

  8. PS4XdRWY2mNZ3JTe
    PS4XdRWY2mNZ3JTe
    vdrcYKhpMweNt2mp
    vlcaw1XDPSi1JqXS
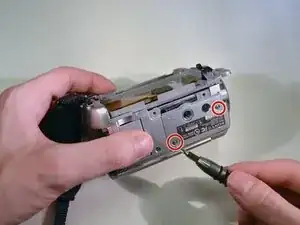
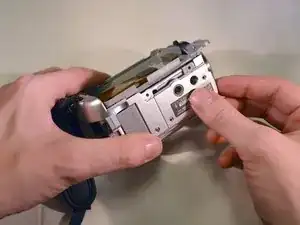
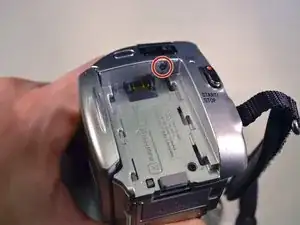
    • On the bottom of the device, unscrew the right and middle bottom 3mm Philips screws.

    • Remove panel.

  9. UbXhfk2XlppiCOMA
    UbXhfk2XlppiCOMA
    IggWdXCPSdklrDkC
    • Using the screwdriver, unscrew the top two black 3mm Philips screws.

    • Lift out the grey tray, being careful when feeding the large ribbon wire though the slot.

  10. eXlJgNQpJf1RFOLI
    eXlJgNQpJf1RFOLI
    MxvgoChqtT43CULh
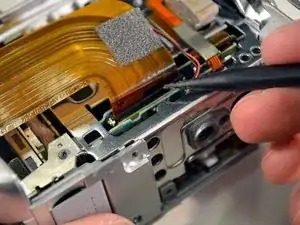
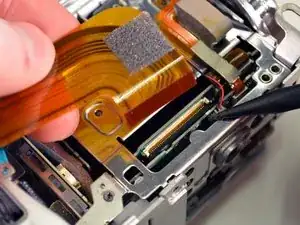
    • Using the black pointed spudger, carefully pop op the latch on the large ribbon wire's port.

    • Set large ribbon wire aside.

  11. 1jywJGwkjbtKIvnT
    1jywJGwkjbtKIvnT
    eC4lfyctXgBNBjwx
    glnn1WAXiorsQuif
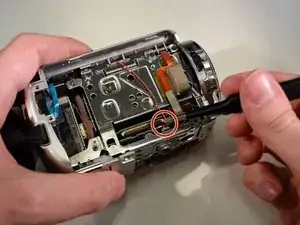
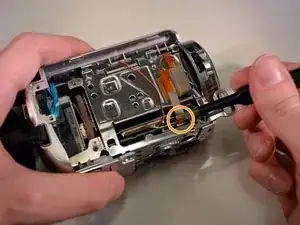
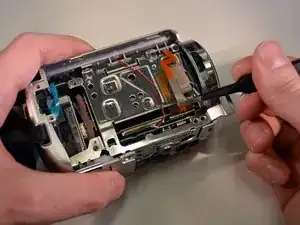
    • Using the blunt tweezers, unplug the red and black wires.

    • Using the blunt tweezers, unplug the small ribbon wire.

  12. vZAW6KDOgIJxYWyi
    • Unscrew the top 3 3mm Philips screws from right to left.

  13. fVUYlGKpXwuEh1pf
    • On the back of the device, unscrew the top 3mm Philips screw.

  14. lwdUYWTb2Va2IqQV
    lwdUYWTb2Va2IqQV
    b2WXVP6bRecjZMNh
    • On the left side of the device, unscrew the top 2 3mm Philips screws.

    • The top of the device is now free.

  15. jJMwUqvCPMeKEDk3
    jJMwUqvCPMeKEDk3
    1A2g15UJlIBfXnFZ
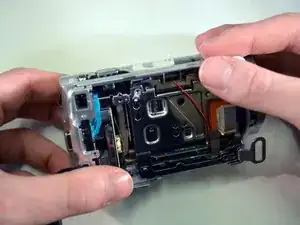
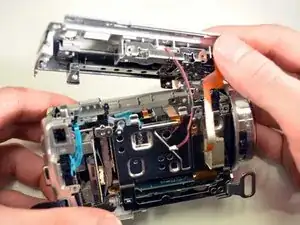
    • Remove the top of the device by lifting it upwards.

    • Be careful of the wires becoming snagged on the frame.

  16. KYbDr2UItSUjGUG5
    KYbDr2UItSUjGUG5
    lZrQTP3Vja5BAHbk
    GAAL6aEIVkMYSLCA
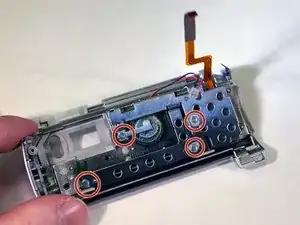
    • With the top of the device in hand, remove the 4 visible 3mm Philips screws.

    • Remove the frame by lifting away.

  17. a4DNKZeTVnU2iB6B
    a4DNKZeTVnU2iB6B
    5k4XLwXxBONrFTPC
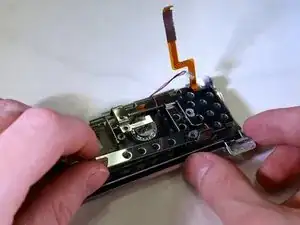
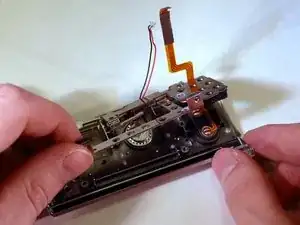
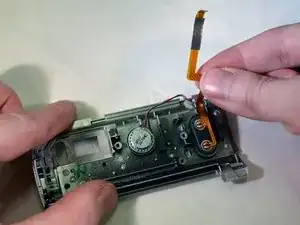
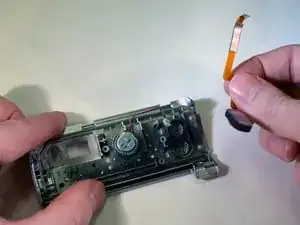
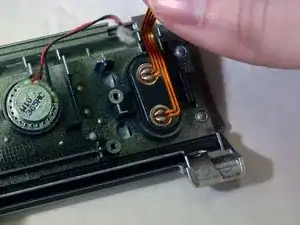
    • The speaker is the object on the right with a ribbon wire connecting to it.

    • Remove the broken speaker with your fingers.

    • Replace with new speaker.

Abschluss

To reassemble your device, follow these instructions in reverse order.
alejandro zuniga

Mitglied seit: 07/01/16

736 Reputation

0 Kommentare