Einleitung
Use this guide to help you remove the broken or defected motherboard in your Sony Handycam HDR-Cx220.
Werkzeuge
-
-
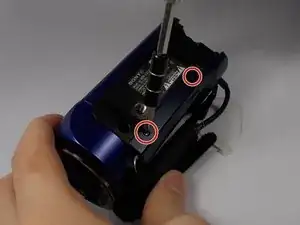
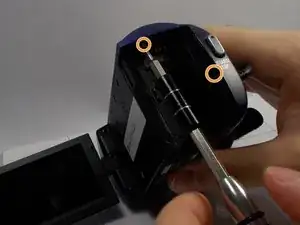
Use the Phillips #0 screwdriver to remove the two 5mm screws.
-
Use the Phillips #0 screwdriver to remove the two 5mm screws.
-
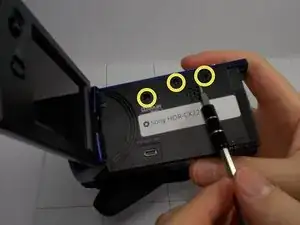
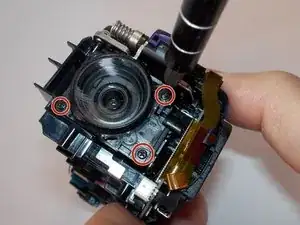
Use the Phillips #0 screwdriver to remove the three 5mm screws.
-
-
-
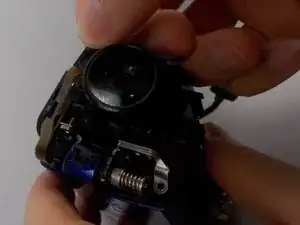
Use the Phillips #0 Screwdriver to remove the 5mm screw
-
Use the Phillips #0 Screwdriver to remove the 5mm screw
-
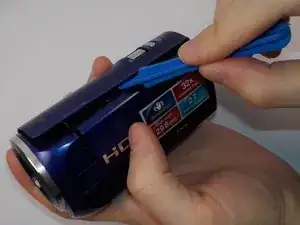
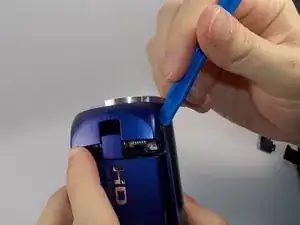
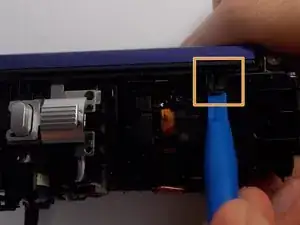
Use the Plastic Opening tools to unhook the highlighted area.
-
-
-
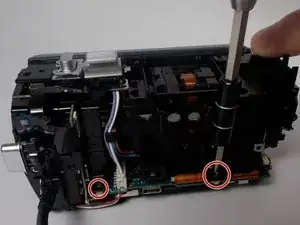
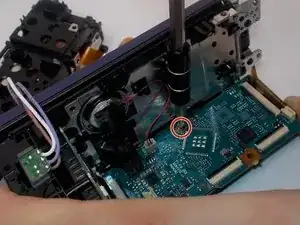
Use the Phillips #0 Screwdriver to remove the shown 5mm screws.
-
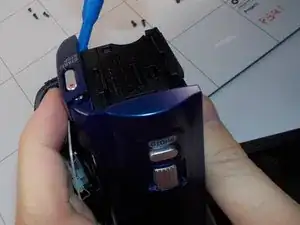
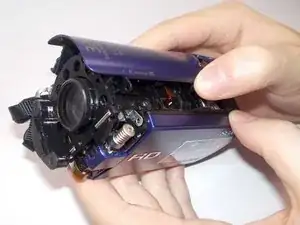
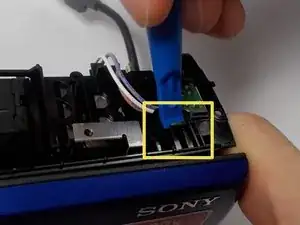
Use the plastic opening tool to release the front hook.
-
Use the plastic opening tool to release the back hook.
-
-
-
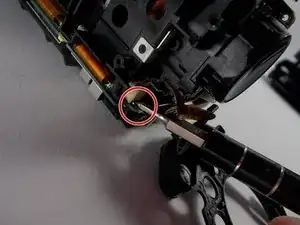
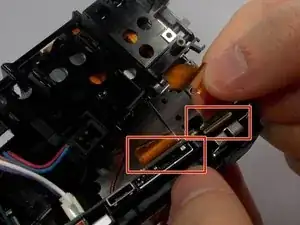
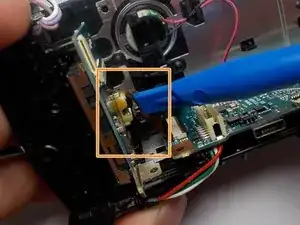
Gently pull on the 2 wires shown on the bottom of the camcorder.
-
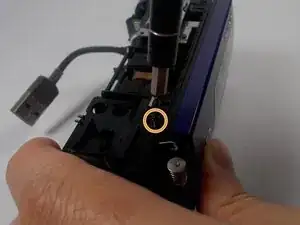
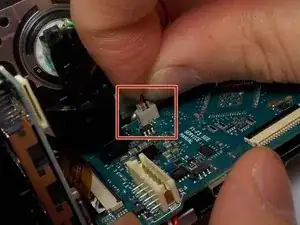
Disconnect the wire shows on the second picture.
-
-
-
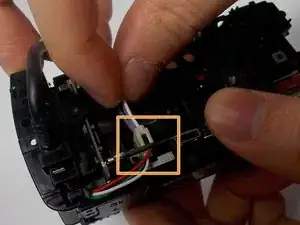
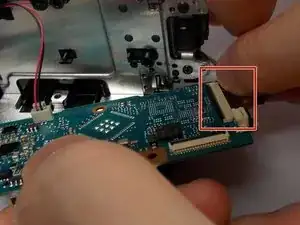
Remove the side wire from the motherboard as shown on the photo.
-
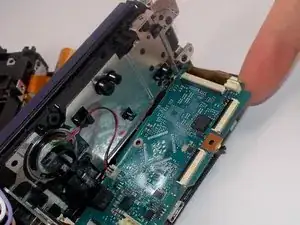
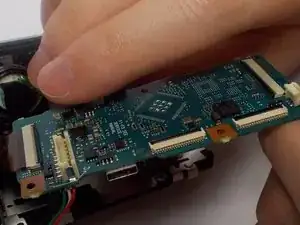
Remove the top wire from the motherboard as shown on the photo.
-

To reassemble your device, follow these instructions in reverse order.