Einleitung
Ersatzteile
-
-
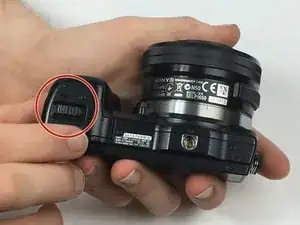
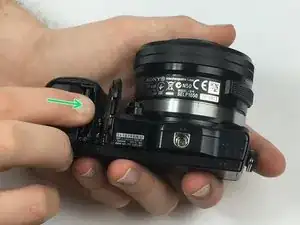
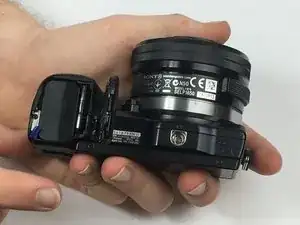
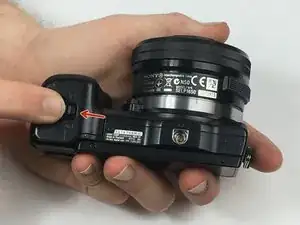
Begin by holding the camera upside down with the bottom facing you. Identify the housing for the SD card, and battery.
-
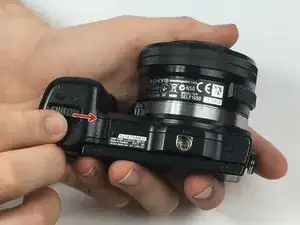
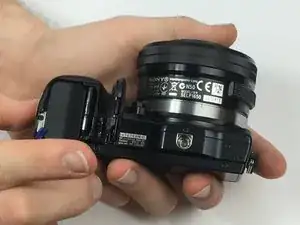
You will use your other hand to slide the lock switch to this housing to the right. This will release the cap, allow it to come upwards.
-
-
-
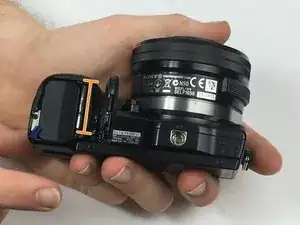
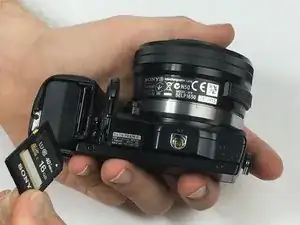
Now that the cap to the battery and SD card housing is open, the SD card is visible.
-
You will need to press down on the SD card until you hear a click. Release the SD card and it will now be available to remove.
-
Grip the SD card and pull it out of the SD card slot.
-
-
-
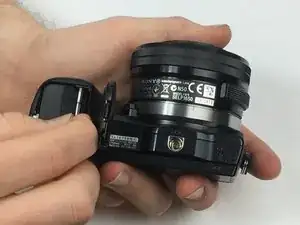
To reinsert the SD card place it in its housing.
-
You will then need to push down on the SD card until you hear a click.
-
-
-
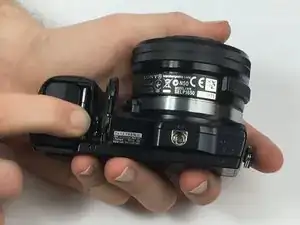
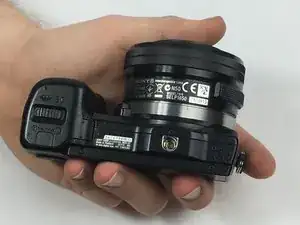
You may now close the housing for the SD card and battery.
-
Close the cap and while holding it down slide the locking tab to the left. This step should lock the cap in place.
-
